The ability to draw under the lineart is one of the perks of digital art. But for this to work, your lineart has to have a transparent background, which isn’t always the case—for example, if you drew your sketch on paper, or just forgot to create a separate layer for your lineart. Whatever the reason, in this short tutorial I’ll show you how to make the background in your lineart transparent—for free, without Photoshop!
How to Make the Background Transparent
Step 1
You need a photo editor for this trick. We’re going to use Photopea—a free, web based app. Click the link and simply drag your image into the browser.

Step 2
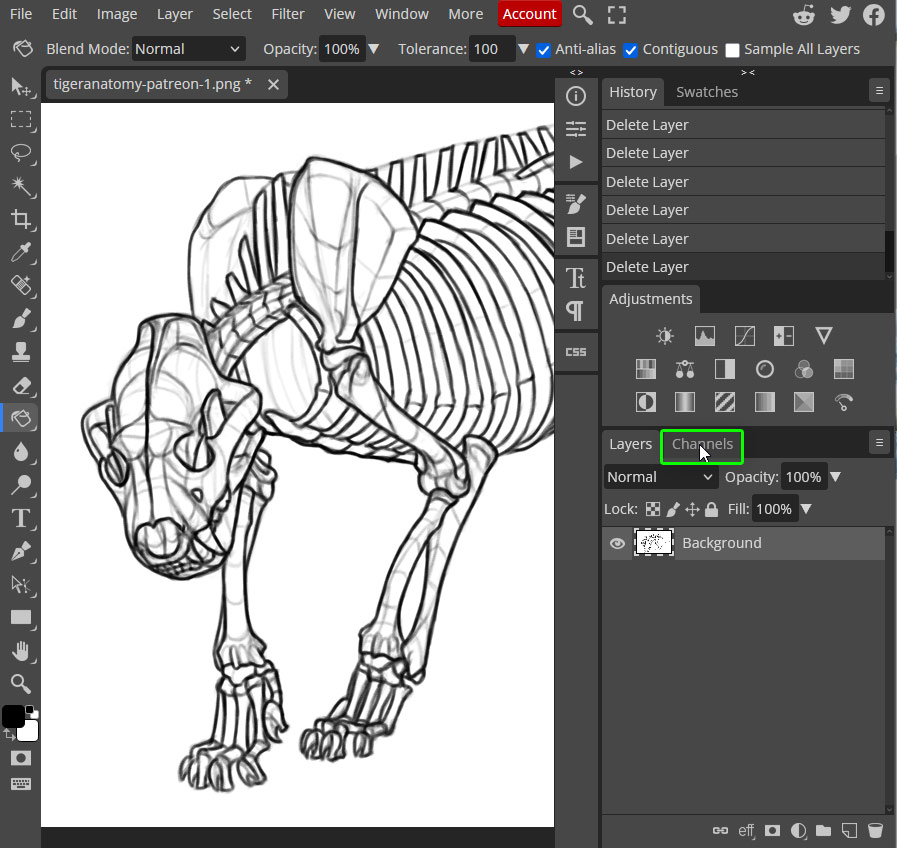
Look at the the Layers panel on the right—switch from the Layers tab to the Channels tab.

Step 3
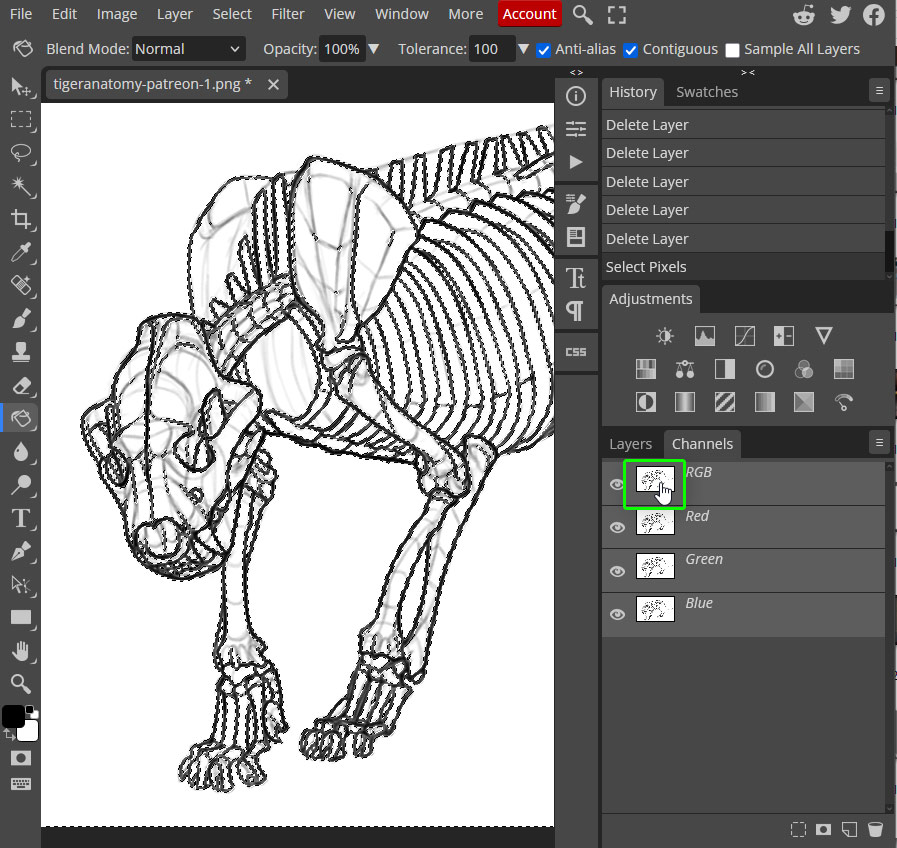
Hold the Control key and click the thumbnail of the first “layer”—the RGB one. A selection will be created—precisely, all the white in the layer will be selected.
Step 4
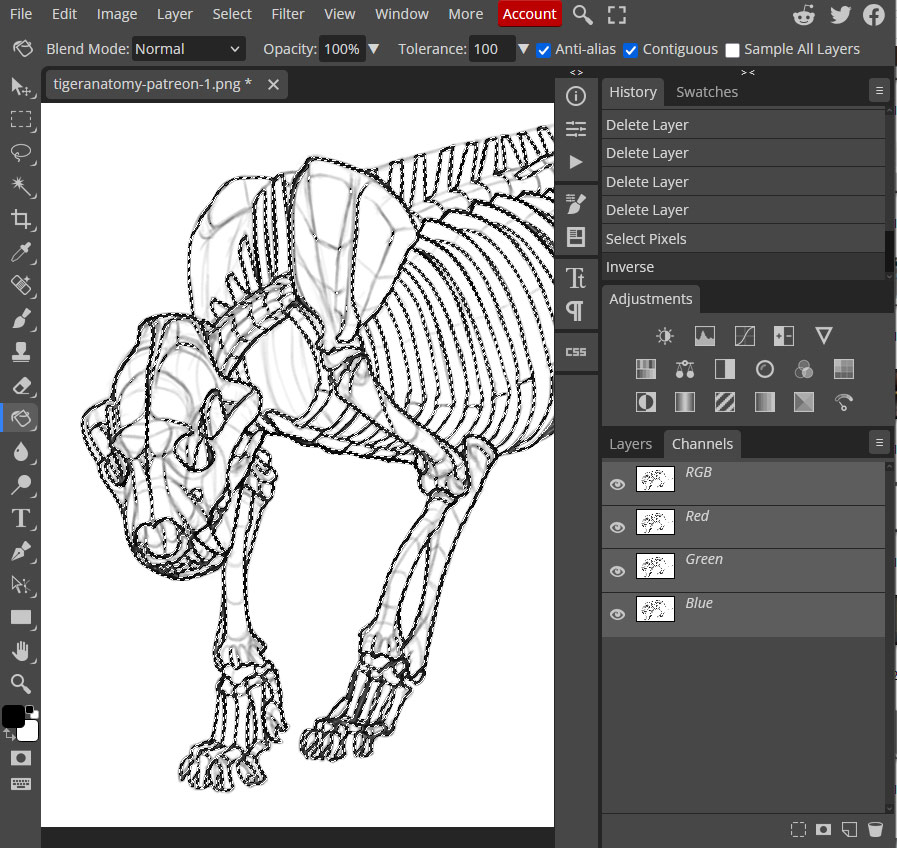
We need to select all black instead, so press Control-Shift-I to invert the selection.
Step 5
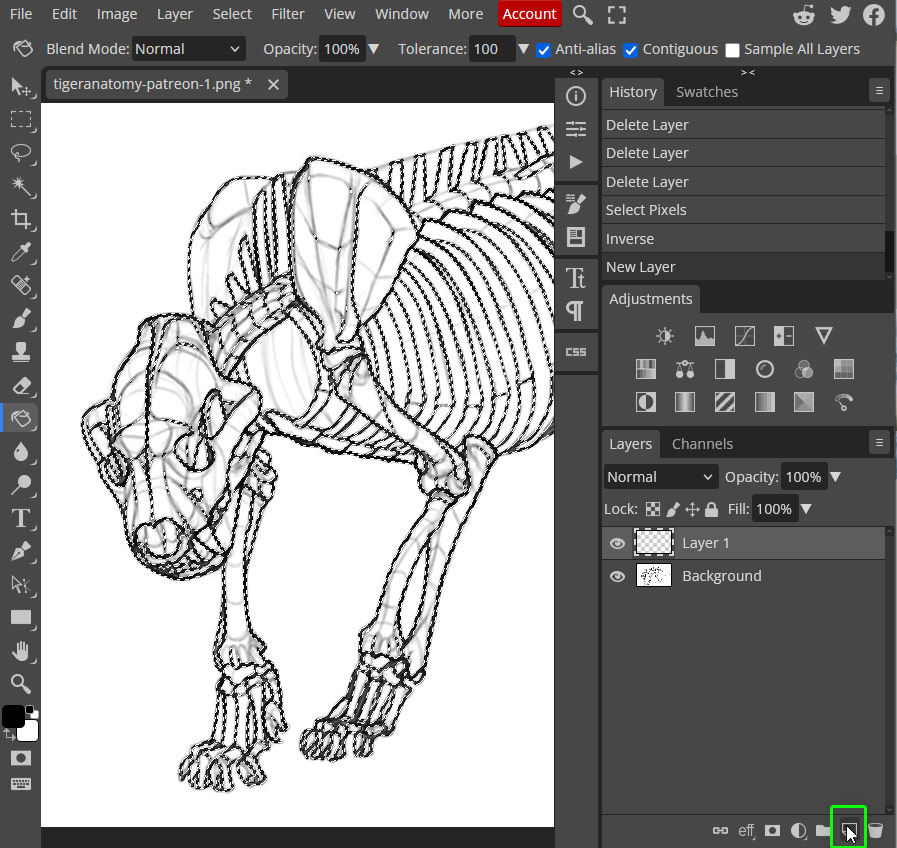
Go back to the Layers tab and create a new layer.
Step 6
Press D to reset the colors, then press G to pick the Paint Bucket Tool. Click on the selection to fill it with black.
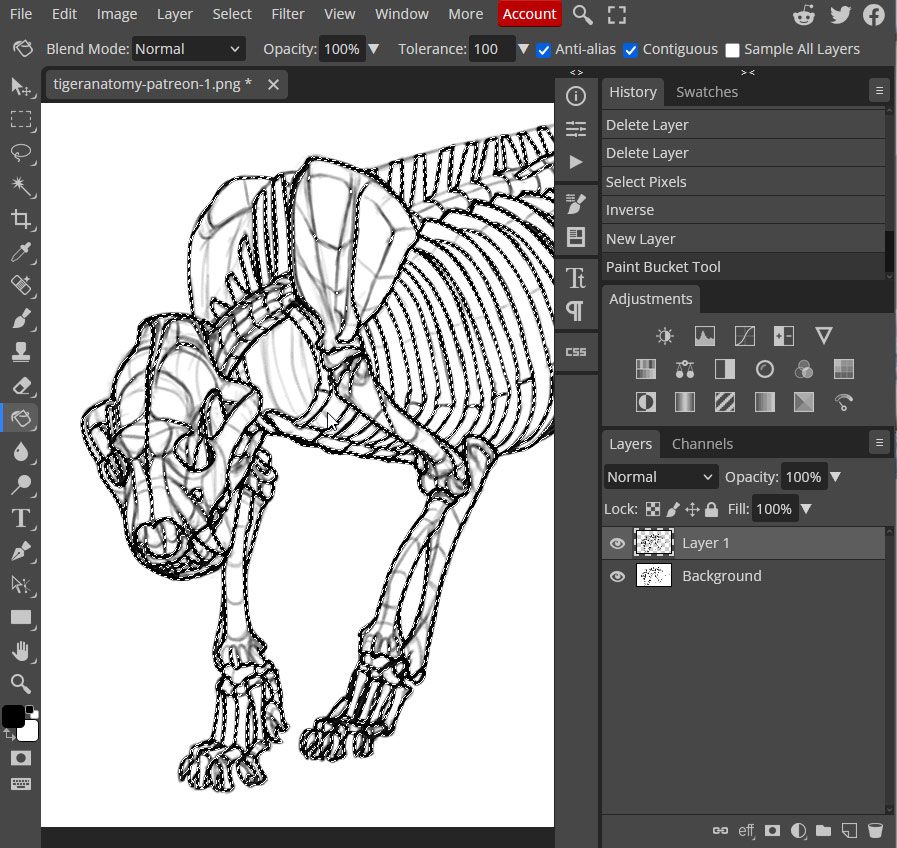
Step 7
Press Control-D to deselect. Then click the original layer and remove it by clicking Delete.

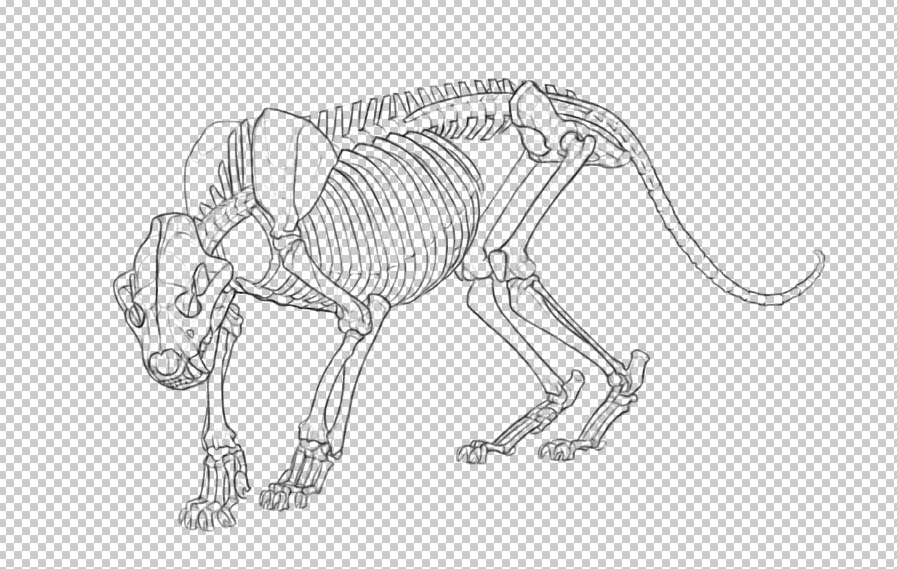
Step 8
That’s it! The white background has been removed. You can now go to File > Export As > PNG to create a new, transparent version of your lineart.
What If It Didn’t Work?
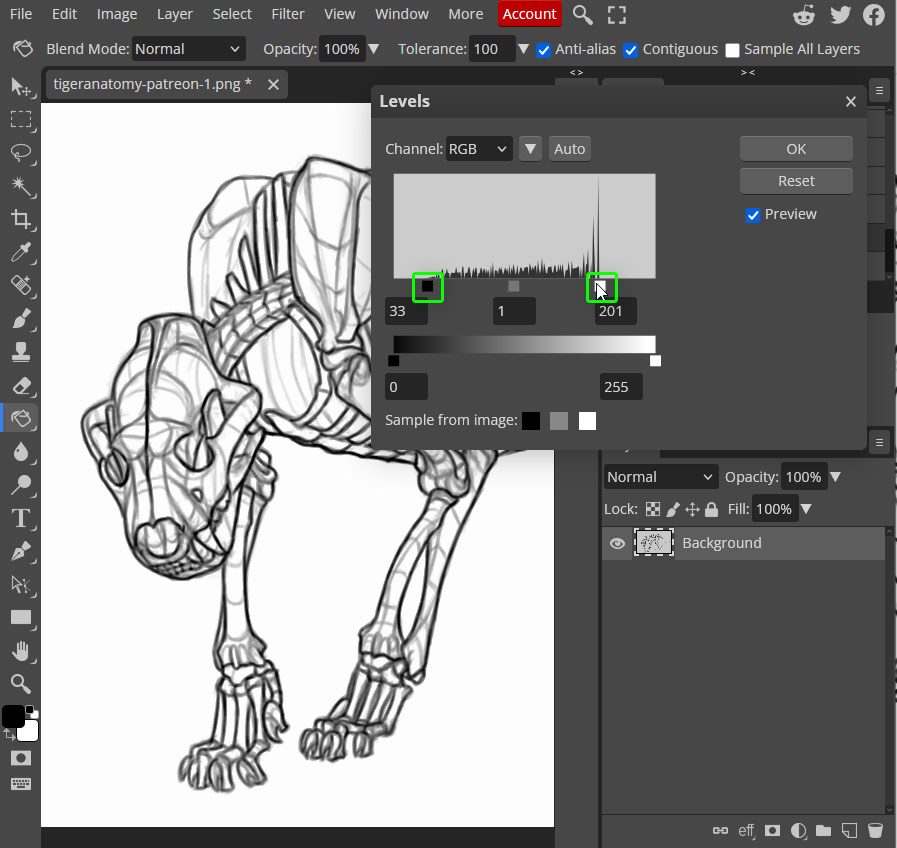
There are two reasons why this method may fail: first, your scan/photo may be low quality. If the app can’t easily see the difference between black and white in your image, it will likely create a wrong selection.
If this is the case, make sure to prepare your image first: press Control-Shift-U to remove any stray colors, and go to Image > Auto Contrast to quickly fix the contrast. If it’s not enough, go to Image > Adjustments > Levels, and drag the black and white markers towards the middle, until the white background is nicely white, and the lines nicely black.
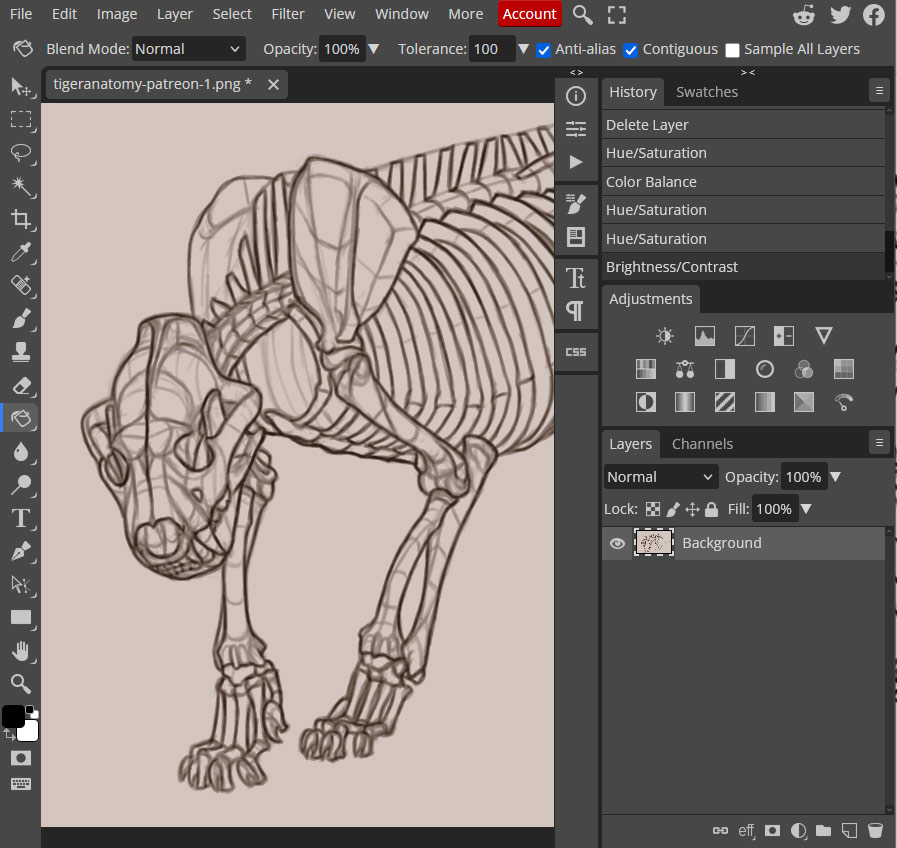
The other reason is your lines may be thin and light by design, and when you fill them with black, they become thick and dark. If this is the case, the better option for you is to simply change the Blend Mode to Multiply. It’s not perfect, because it just makes the background transparent instead of removing it—but it will preserve the lightness and thinness of your delicate lines.
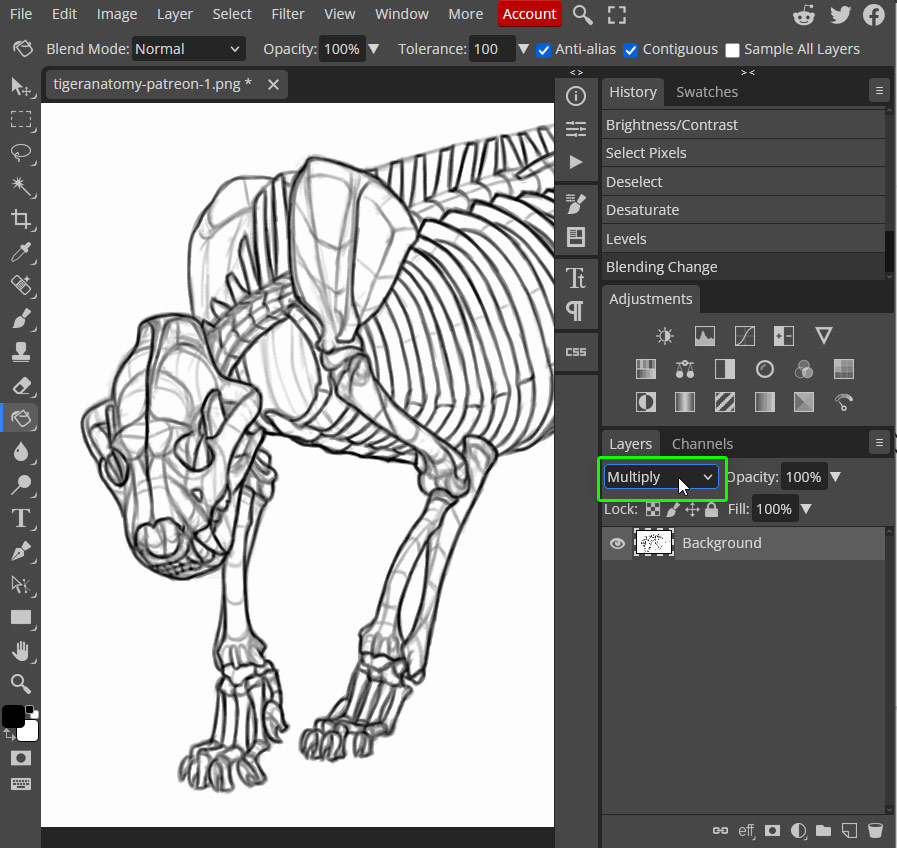
By the way, do you like drawing animals? If so, you should join my animal anatomy study on Patreon—this is where this cool skeleton drawing comes from!

0 Comments