If you want to become a digital artist, but you don’t know where to start, this series is for you! I’ll explain to you all the basics in an organized way, without assuming any prior knowledge about the topic. In this first part I’ll show you what program I consider the best for beginners and professionals alike.
When I first got into digital art, I didn’t have all this fancy stuff that I use today. I simply scanned my traditional drawings and colored them using Photoshop Elements, the only program that I owned capable of this task. But if you tried this method, you know that it doesn’t really resemble real painting. It feels like you’re painting either with a spray can, or with a finger!
And drawing is out of question as well. You can only draw a line of one thickness and one opacity at one time, because there’s no way to transfer pressure through the mouse. You can only click or not, there’s no inbetween. And the precision of the mouse is terrible! So if you want to draw and paint on the computer just like on paper, you need a graphics tablet. It doesn’t matter how big it is, or how many pressure levels it has. Even the cheapest tablet will be a million times better than the most expensive mouse!
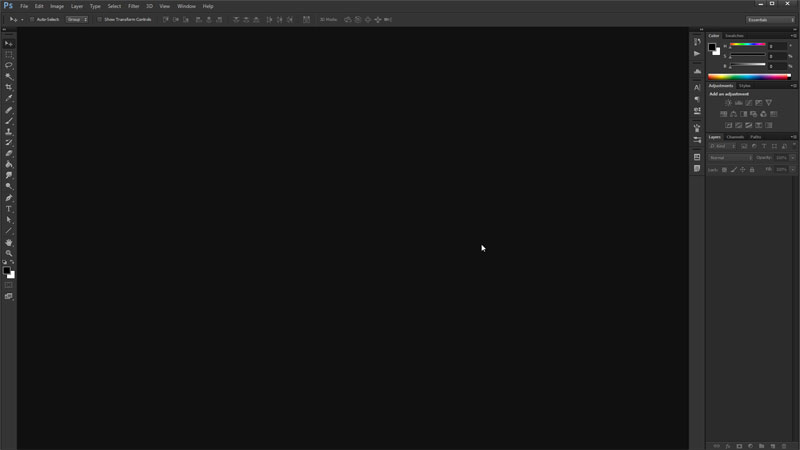
But even if you have a tablet, you still need a drawing program. For a long time I used Photoshop – first, because that was the only graphic software I knew how to use, and second, because everyone else was using it for art. But if you open Photoshop for the first time, it doesn’t look very friendly. It’s a complex program created for very complex tasks, and as such, its interface doesn’t promote the drawing tools in any way. So before you start learning how to draw digitally, you need to learn how to use Photoshop, which is no small task. And most importantly, Photoshop is very expensive, and most of its price covers the functions you’ll never going to need!
But as popular as Photoshop is among artists, it’s not the only drawing program, and certainly not the best of them. A few years ago, when I was working on a video course about digital drawing for Envato Tuts+, I had a chance to compare a few different programs. One of them has stolen my heart immediately, and made me forget about Photoshop. It’s called Autodesk SketchBook. So let me show you why I believe it is the best drawing program for beginners and professionals alike.
Disclaimer: Because I work on PC, I will be talking only about the PC version of this program.
Intuitive and Natural
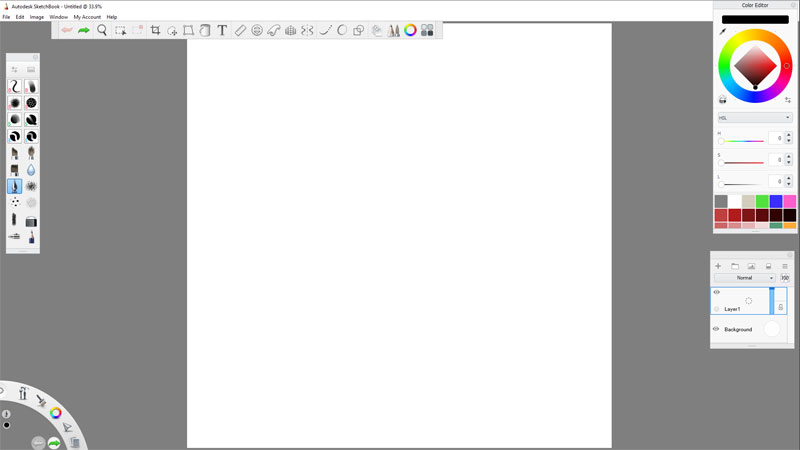
First of all, it has a very simple interface. For me it’s almost like a desktop with the tools lying around and a sheet of paper right in front of you. You can just go and start drawing, because you only need a little bit of intuition to work out the tools. This is what I love most about SketchBook – it’s so clean, there are no distractions, just what you need and nothing more.
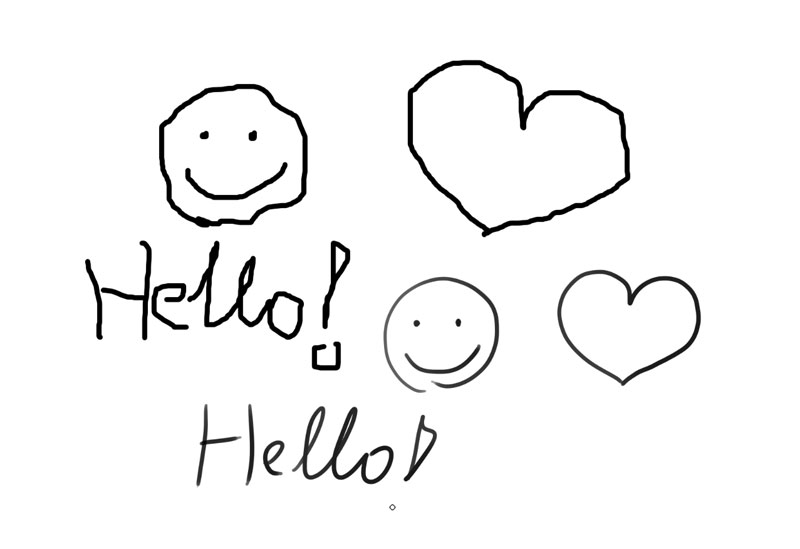
And if you start drawing, you’ll notice one more thing: the lines are incredibly smooth. I never felt it in Photoshop, even though I was using the same tablet settings for both. In SketchBook drawing feels so natural that it’s almost like using a real pencil. And if you need extra support, SketchBook has a built-in line stabilization to keep you precise even if your hands are a little shaky.

SketchBook was designed with tablets in mind, so its interface is created for one hand use. You can do most of the things without ever touching the keyboard! Clicking and dragging has been cleverly applied to many actions that you would normally need a shortcut for, and it’s especially useful when you don’t have much space on your desk, or if you keep your tablet on your lap during travel. It also makes it feel more like traditional drawing, because you can use the other hand for holding a reference, or even resting your chin.
It’s All About Brushes
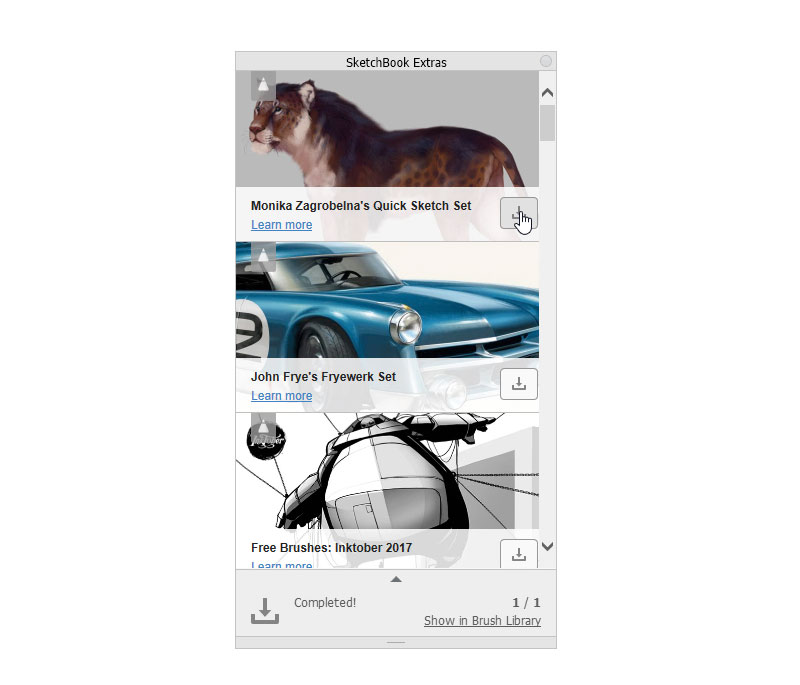
There are a couple of default brushes available right at the beginning, but if you want, you can download set created by other artists right from the SketchBook Extras window. Here you have a list of brush sets hosted by SketchBook, and you can download them and install automatically. For example, you can download my own basic set right here! It contains a few brushes that I use the most, for drawing, painting, smudging, and erasing.
That list is no longer available in the program, but you can download all the brushes from this archive. My brush set is available here.
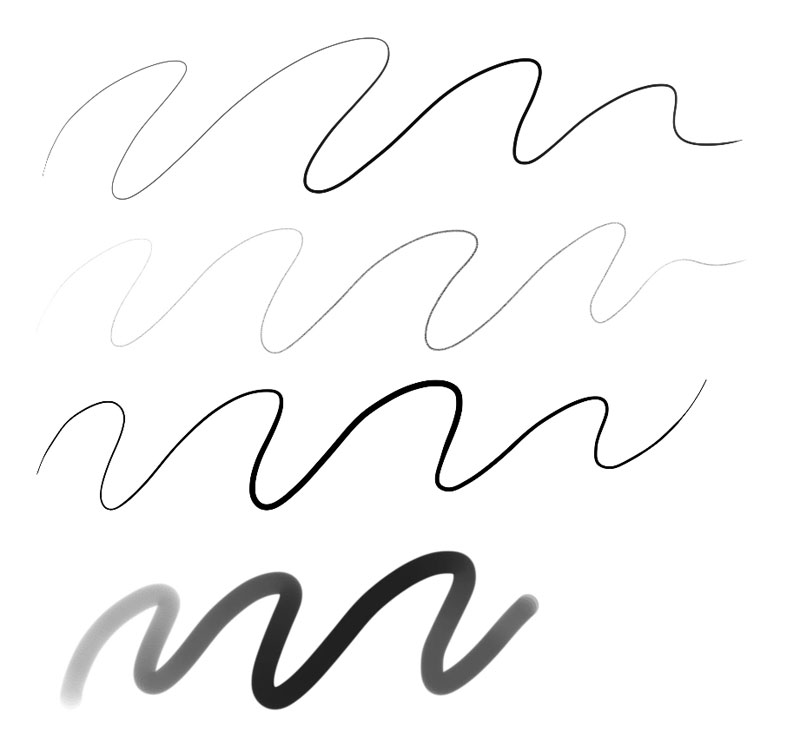
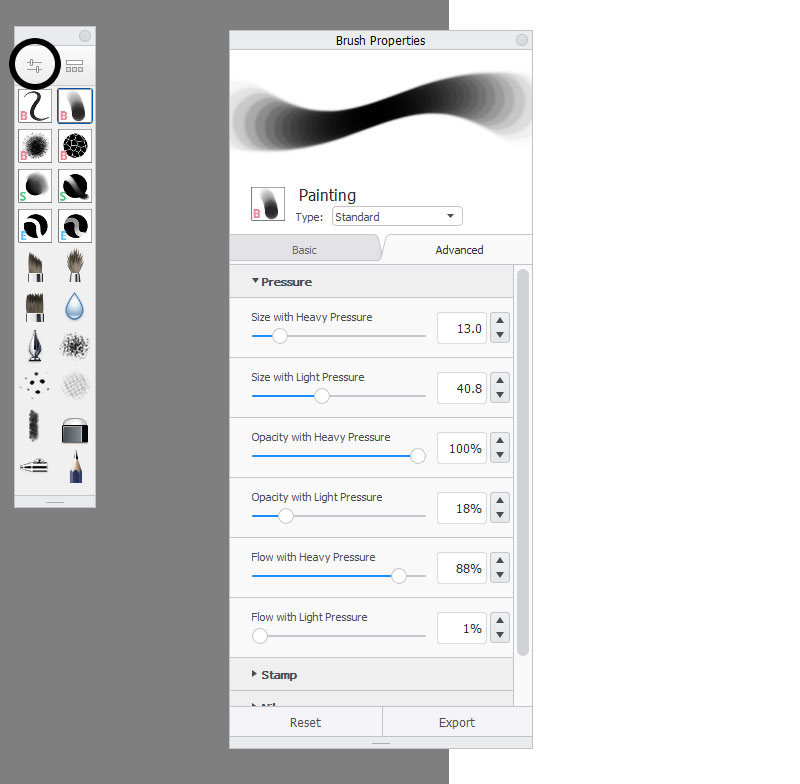
But how did I create my own brushes? It’s very easy! Over the brushes palette you have two buttons: one opens the brush library, and the other opens the options of the currently selected brush. You can either adjust its basic options, like size and opacity, or use the more advanced options to create a brush of your dreams. This panel offers more settings than its Photoshop’s counterpart, but at the same time the options are named so intuitively that you can easily guess what they do. You also get a live preview, so that you can experiment until you get that perfect effect.
You can also set the blend mode of the brush, to add one more type of functionality. Every brush can be turned into a smudge brush, or a glow brush, or even an eraser. And because it’s non-destructive, you can safely experiment with these settings as well!
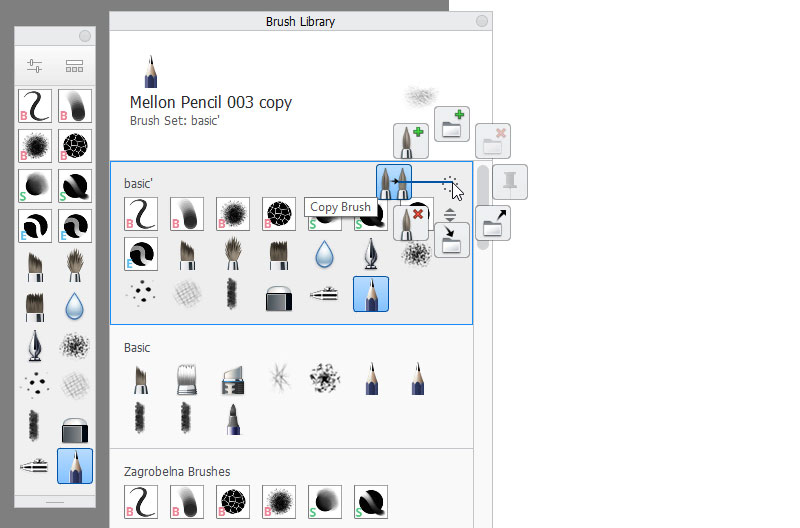
I created all my brushes by copying a brush that I liked, and modifying its settings until it was everything I needed. After you copy a brush, you can change its name, and even add your own icon. You can also create a new set to keep your brushes organized. If you want to place your new brush in the brush palette, just drag it to it. See how easy it is? It’s all visual!
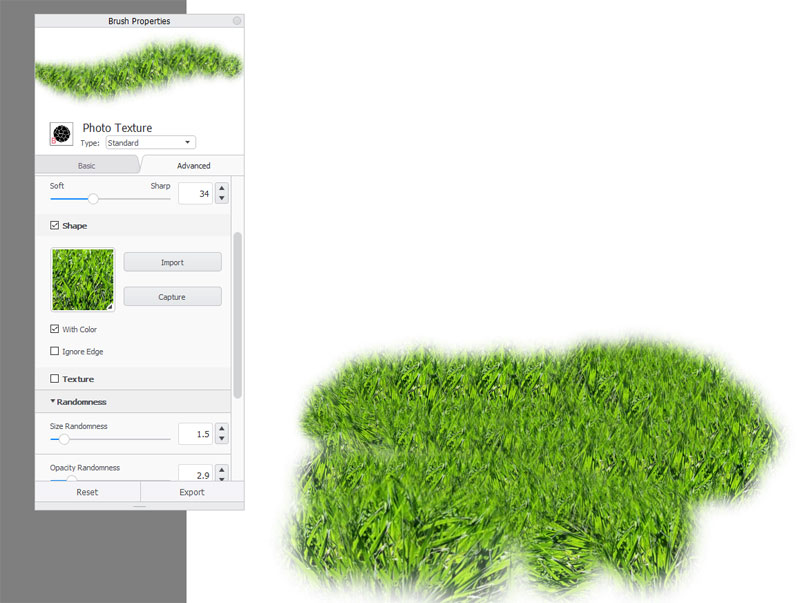
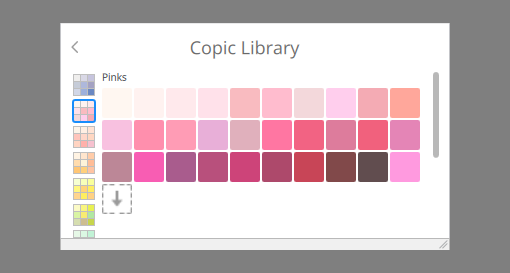
One of the coolest features of SketchBook is color brushes. In Photoshop you can only create grayscale brushes, where the shades define the brightness of the color. In SketchBook you can create brushes straight from a photo, keeping all its colors, or create a multiple color brush.
That’s Not All!
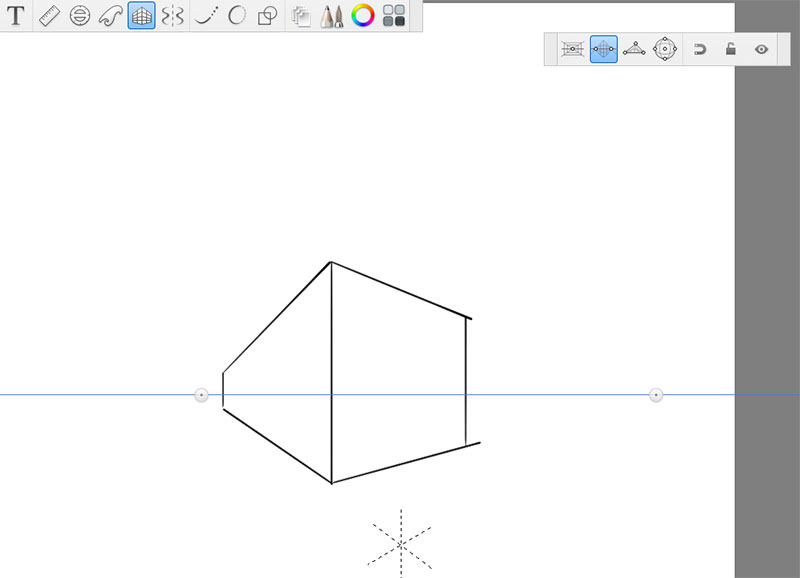
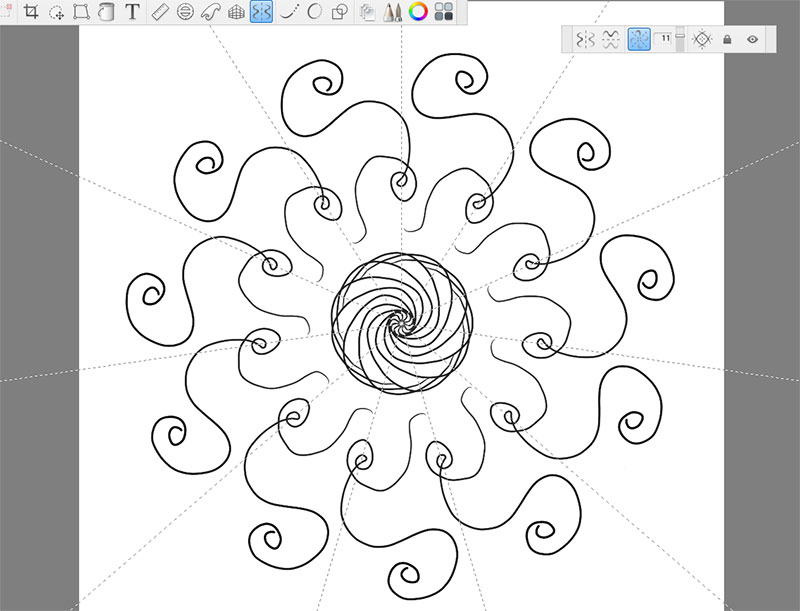
Beside the basic drawing and painting options, SketchBook also offers a couple of handy tools, like a paint bucket, selecting tools, type tool, different types of rulers, and even a perspective tool and a symmetry tool. You don’t need these functions to draw, but they can make the process easier, especially if you’re more into technical drawing, or designing intricate mandalas.
As a bonus, SketchBook also includes a simple animation tool called flipbook. It’s very intuitive and works just like traditional animating, so despite its simplicity, you can create very cool animations in it.
So Why Sketchbook?
Ok, so I said a lot of nice things about SketchBook, but does it mean it has no flaws? Of course not, no program is perfect. SketchBook doesn’t have filters, or complex, non destructive color adjustments, the liquify tool, or layer masks. But the point is, its simplicity is what makes it so great. I improved so much since I started using SketchBook, and I think it’s because I finally started treating digital painting as painting, and not a product of using hundreds of fancy tools, effects, and tricks. In SketchBook it’s just me and the brushes, and it feels so natural!
And even if you’re still not convinced, think of it this way: when paying for Photoshop, you pay for a whole set of functions created for photographers and graphic designers. If you are a photographer or a graphic designer, then that’s a great value! But if you only want to draw, is it really worth paying for? Even though there are free alternatives available, designed with your needs in mind?
As you can see, there’s plenty of reasons to love SketchBook. I paid for Photoshop’s license, I used it for years for my art, and yet today I can’t imagine coming back to it. SketchBook changed the way I see digital art and it helped me become a better artist. So that’s why I recommend it to everyone, especially for beginners. Give it a try – for the price of 0 dollars, what’s the risk, really?
- Download SketchBook Pro for free here (legacy version)
- Download new Sketchbook Pro here
And if you’re still not sure if such a simple program can do its job right, just watch this process:
Check out other parts of this series:
1 Comment