Dragons are my favorite subject to draw, but I don’t do it very often. Why? Because drawing scales is so time consuming! For many years I have searched for ways to draw scales faster without giving up on realism, and I think I have finally found it. I still have to warn you that it’s not some magic trick that will give you great results without any effort – this whole drawing took me almost four hours, with 1 and a half hours spent solely on rendering the scales. Still, it’s much less than it used to take for me, so I think it’s still a great method.
1. How to Draw a Creature
Here I’ll show you how I drew the creature. If you’re only interested in the scales, skip to section 3.
1. Do Some Research
Even if you think you know what you’re going to draw, it’s good to prepare by drawing real animals from a reference—the ones that have something to do with your creature. The real world in a never-ending source of inspiration!
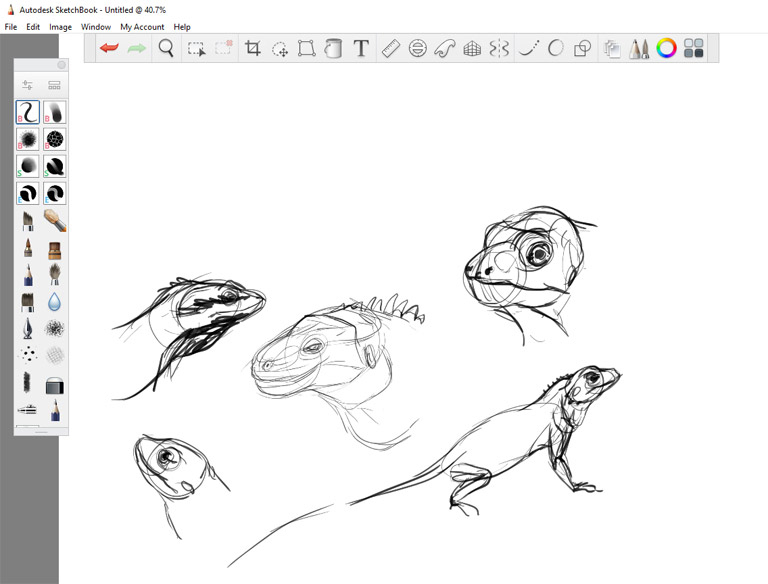
Keep it diverse—you never know what’s going to be useful!
2. Sketch the Body
After your research, start sketching the creature, keeping it small for now. Here’s the important thing: don’t settle for your first sketch. Experiment, try different poses, different shapes. For me it takes a while to warm up and start producing something I’m happy with!
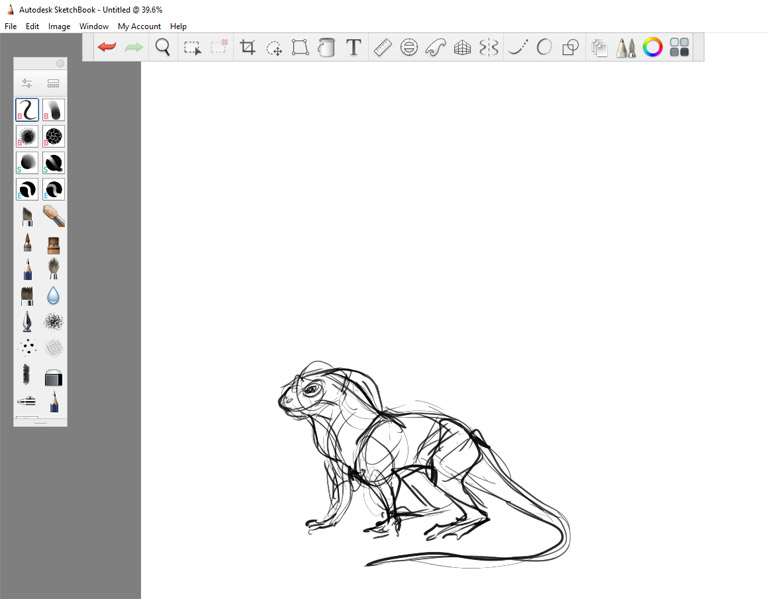
That’s my first sketch in this session. In moments like this, I start doubting if I even can draw at all!
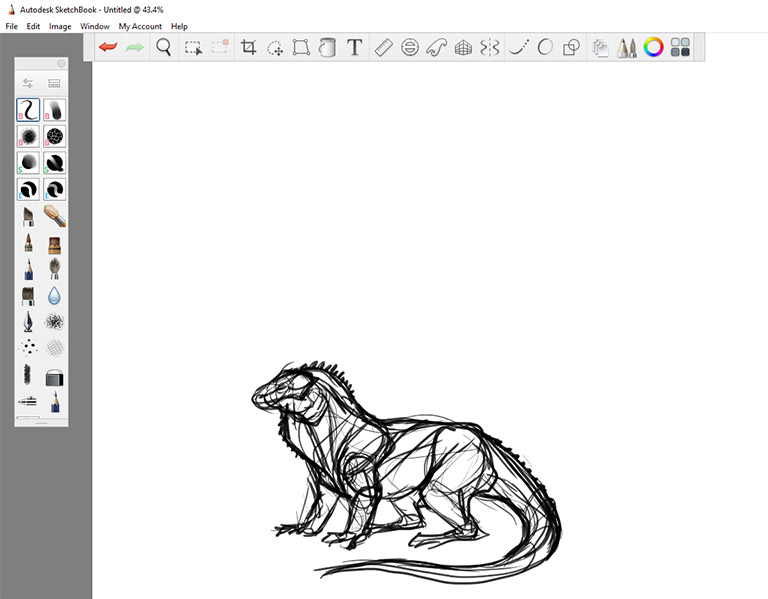
Ok, this one’s a lot better!
3. Add Details to the Sketch
Enlarge the little sketch and lower its Opacity. Create a New Layer and draw a more detailed version of the sketch, using the lower layer as a suggestion.
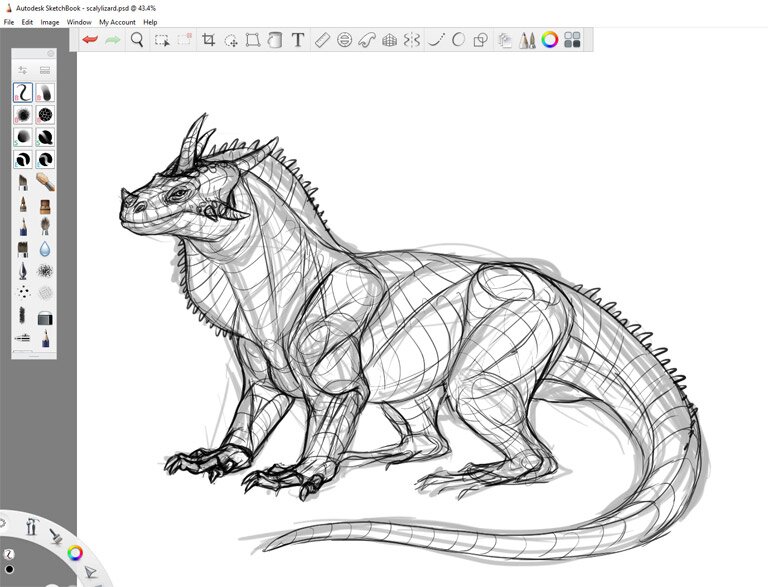
Your sketch should be clear, but not necessarily clean. What I mean by this, you should focus more on making the creature visibly complete, rather than pretty.
2. How to Paint a Creature
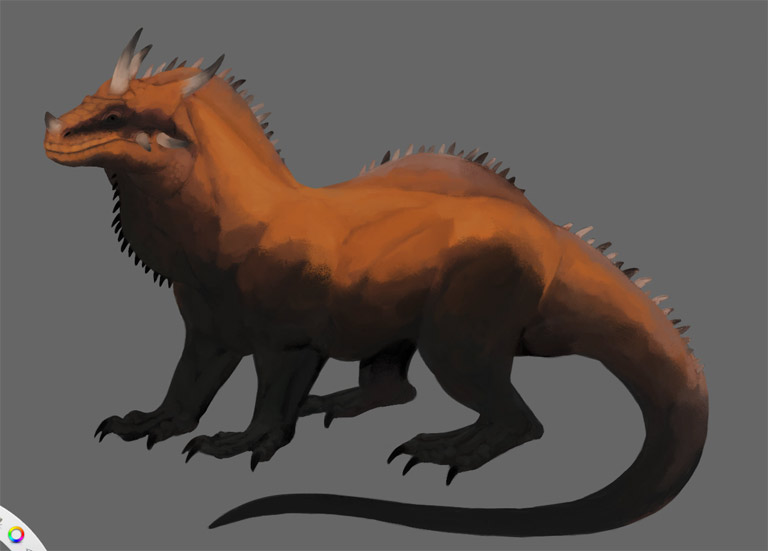
1. Add Basic Colors
First, lower the opacity of the sketch of your creature, and paint its basic colors underneath. Ignore the details like spots and stripes for now, just define the basic color pattern of the creature. Use textured brushes to create nice, natural transition between the colors.

If you want to use vibrant colors, mix them with low saturated ones for a more natural effect.
2. Add Details
When you’re done, merge the colors with the sketch and resize the canvas size to around 6000 pixels wide, to have enough space for details. Now start covering the lines by adding the details and blending the colors. I used mainly two brushes here: my Painting brush and a modified version of the synthetic paint brush from the Giuseppe Set. I also used an eraser to clean up the outline of the creature.
You may notice that I didn’t really add real shadows here. This is
because in nature there’s usually so much ambient light present that you
can barely see any directional shadows on the body. This is why I try
to not waste time on creating a shadows layer, and just add the basic
form-building shadows as I go.
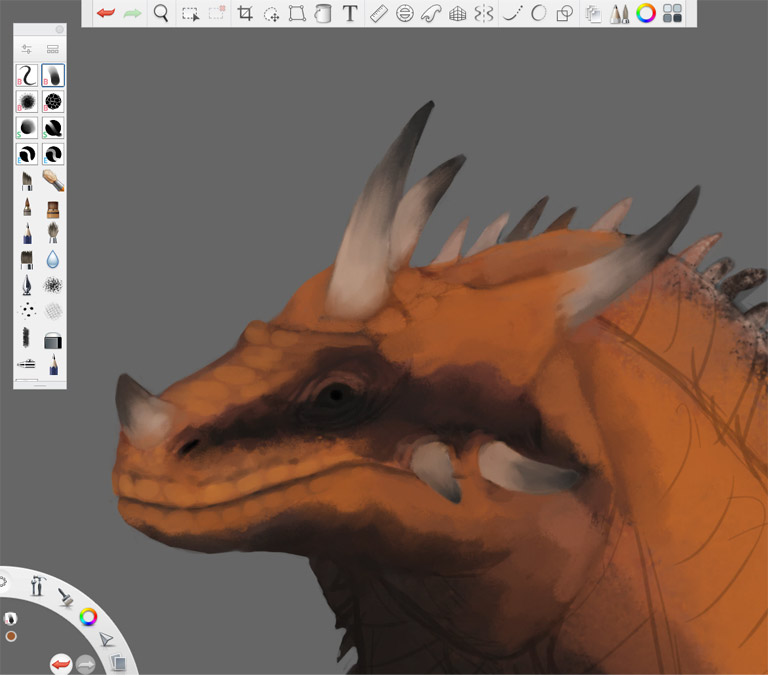
Avoid any shine! Try to imagine the creature is under water
Does the lack of shadows bother you? Don’t worry—we’re going to replace them with something better soon!
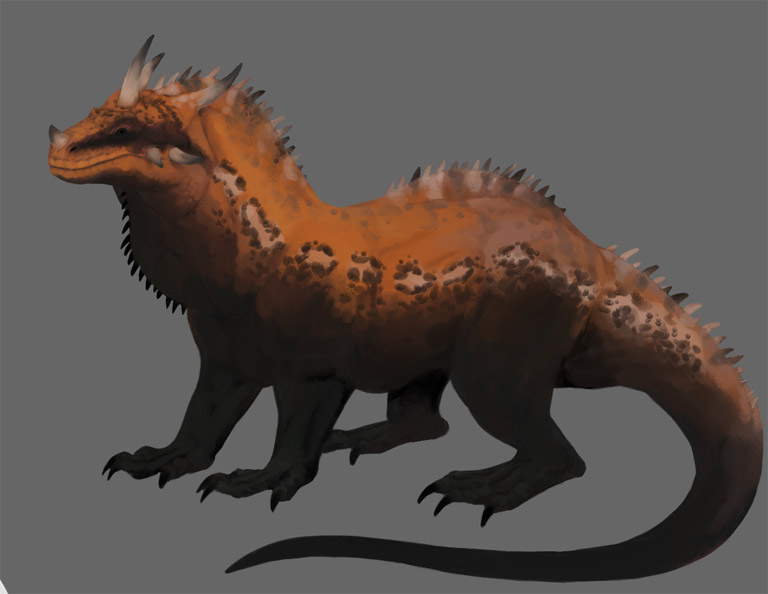
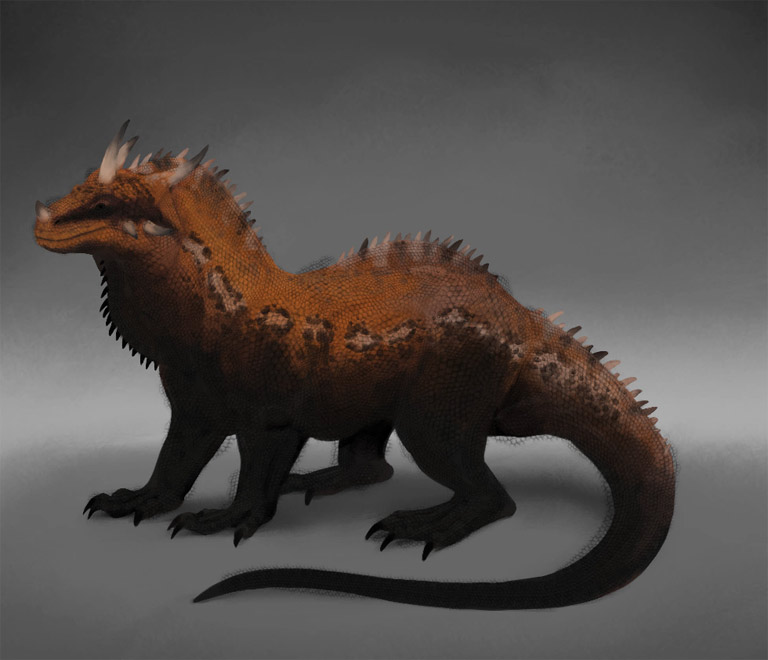
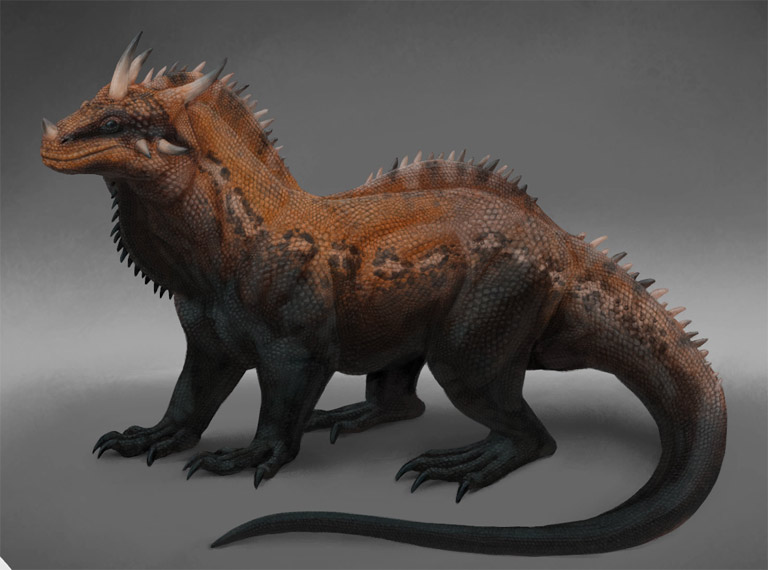
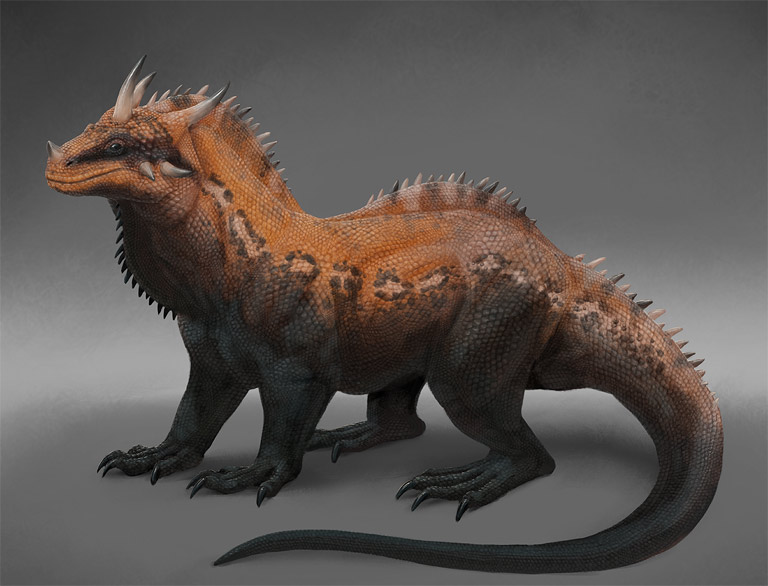
3. Add the Pattern
Now it’s a good time to add the detailed pattern. It should follow the shading of the body!
4. Add the Background
It’s good to add simple background at this point, to better see what kind of contrast we have to go for. I prefer simple, undefined grey environment that adds some depth to the image without dragging attention from the creature.
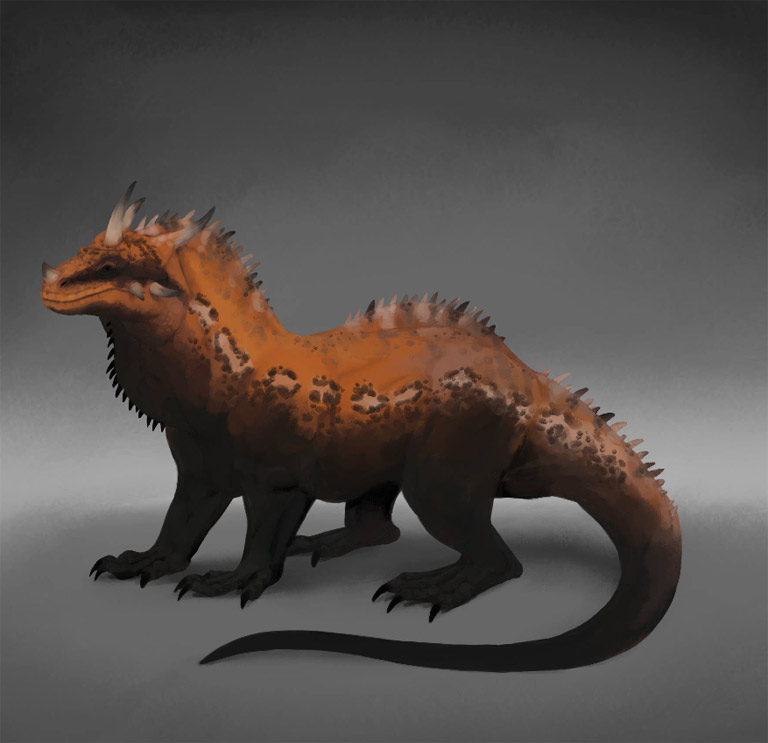
You can call it lazy, but I call it efficient!
3. How to Paint Scales Digitally
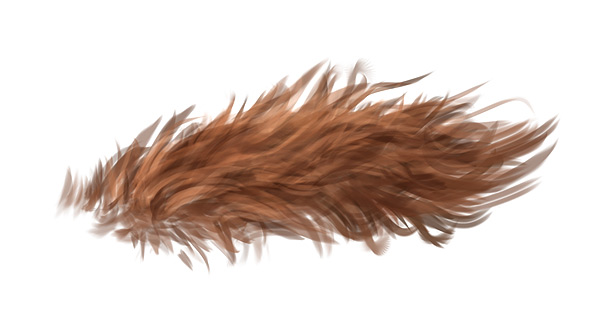
1. Use a Scales Brush
Create a New Layer and paint the scales using a photo brush. If you don’t have one, check my tutorial about creating photo brushes in SketchBook (and the video is available here). Use a proper Blend Mode and opacity, and adjust the size if the scales to the form of the creature, otherwise it will look flat.
If you want to save time you can download the scale brush here.
A little randomness in the size of the scales will make them look more natural
2. Clean up the Texture
Select the outside of the creature’s body to remove the texture from this area.
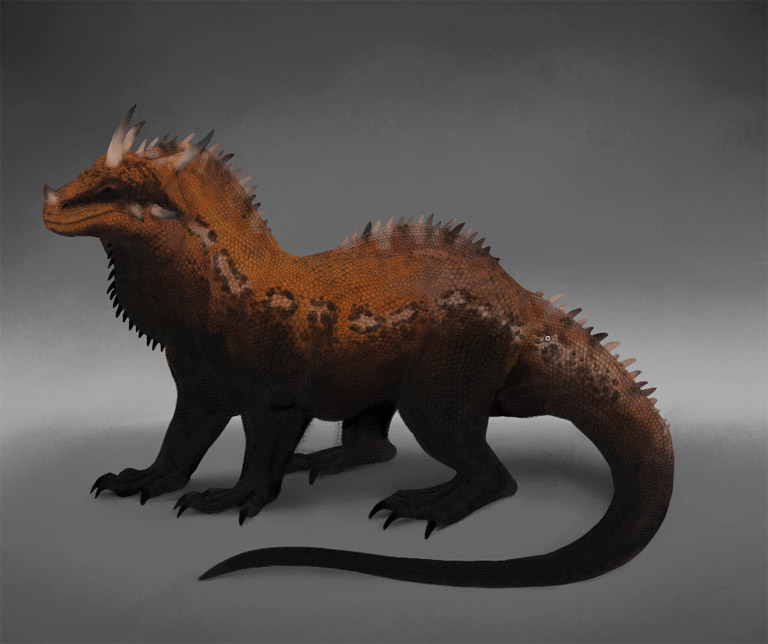
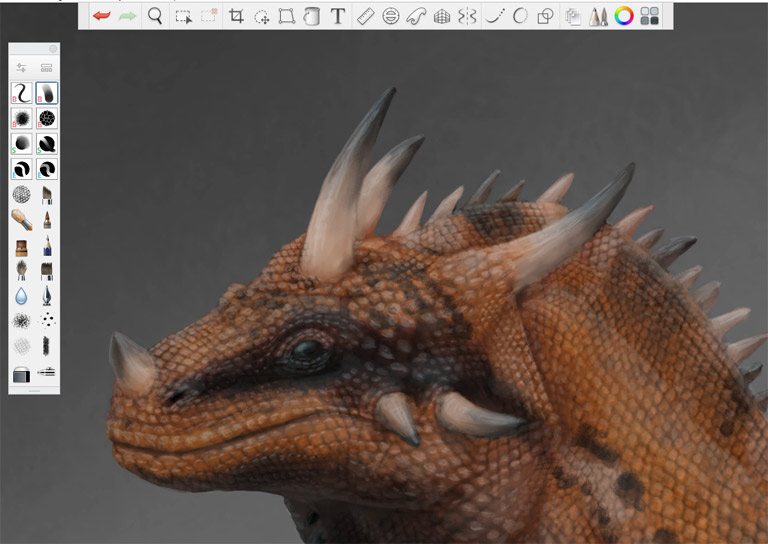
3. Add Basic Shine
But that was the obvious part. Let’s see how to make these scales more realistic. The whole secret, as I discovered, lies in shine. Create a New Layer and set its Blend Mode to Screen. This mode brightens the colors beneath, regardless of how dark is the color you’re painting with. So pick dark blue and paint big strokes of shine all over the body. Shine reveals the form of the body even in shadow, and even if it’s darkly colored. The color of the shine should come from the ambient light in the area.

4. Add Details to Shine
Create a New Layer, and set it to the Screen mode. Time to zoom in and start adding some detail to the scales that you have brightened in the previous step. Use dark blue again and try to treat each scale as a miniature object. Shade them all consistently – if you decide that the light comes from the top, then the top of every scale should be brightened, with accordance to its shape. Your brush should never be bigger than the scale you’re working on, otherwise you’re risking filling the shadow between scales with light, which would have a flattening effect.
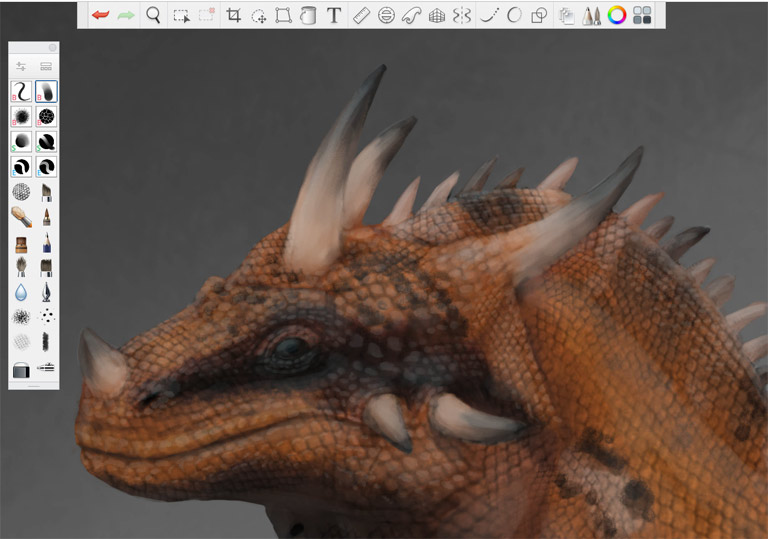
I love this part—suddenly the scales start looking like 3D objects!
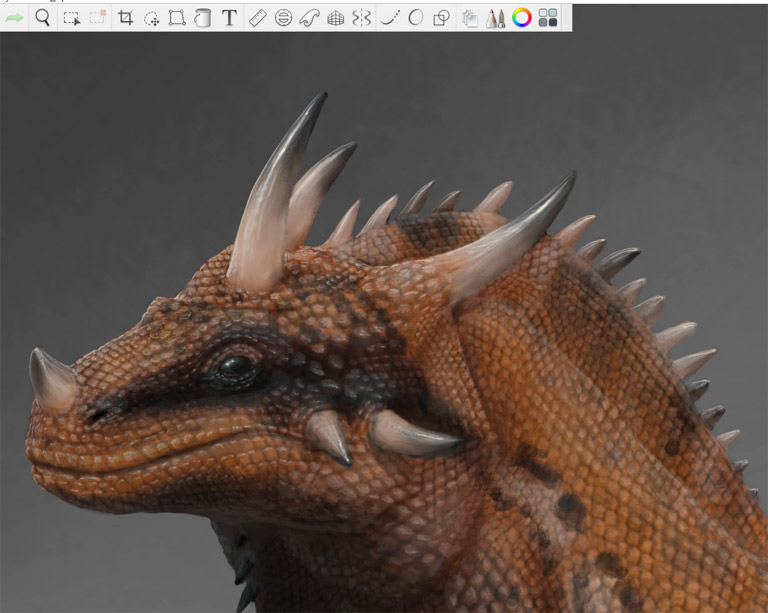
5. Add More Details to Shine
Time for another Shine layer. This time use a slightly brighter color. Paint the details in the area that you have brightened on the previous layer, and keep your brush smaller than this area. You can even draw zig zags and cross hatching to create an illusion of texture catching the light. Be very patient here – if it takes longer than the previous stage, this is completely normal. The more precise you try to be, the more time it takes. That’s the cost of realism!
Don’t overuse this effect!
6. Add Highlights and Rim Light
Create a New Layer, this time leaving the blend mode at normal. Use a very bright color, but not white, and paint with a tiny brush to add the tiniest of details. This is a good time to add rim light to make the edges softer. Be very, very careful – this brush adds the strongest effect and should be used sparingly, unless it’s your goal to make the creature look wet. Don’t ever make the brush larger than the other shine areas you have painted before, and don’t cover the shadows with it.
You can use the same effect for reflected light, using a darker, less saturated color.
The power of this effect lies in its scarcity—if you use too much of it, it will stop working.
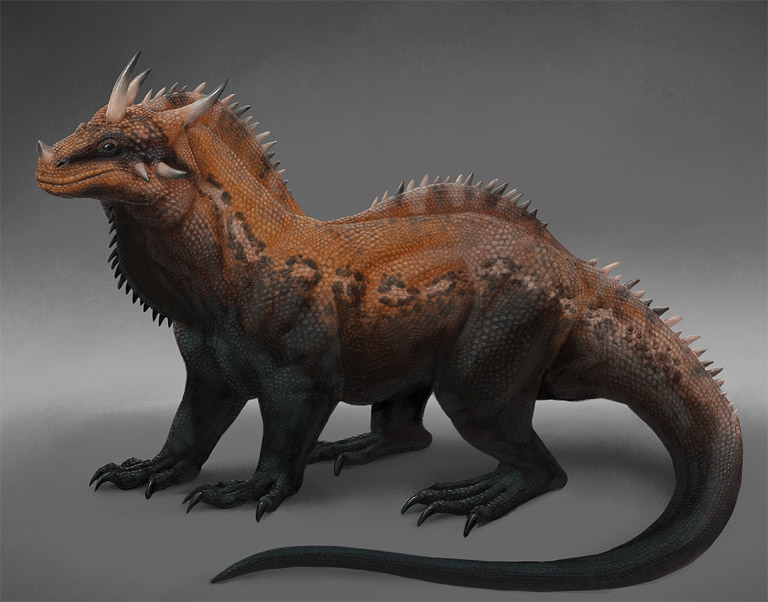
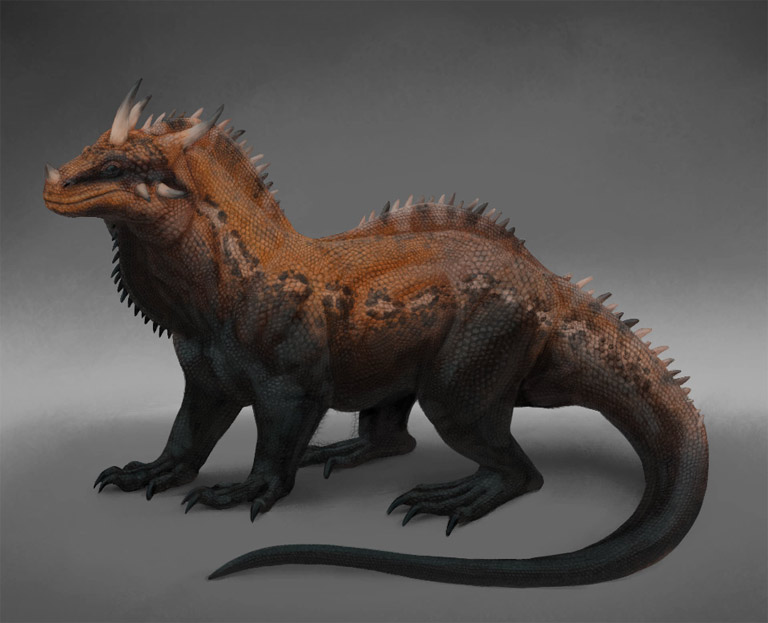
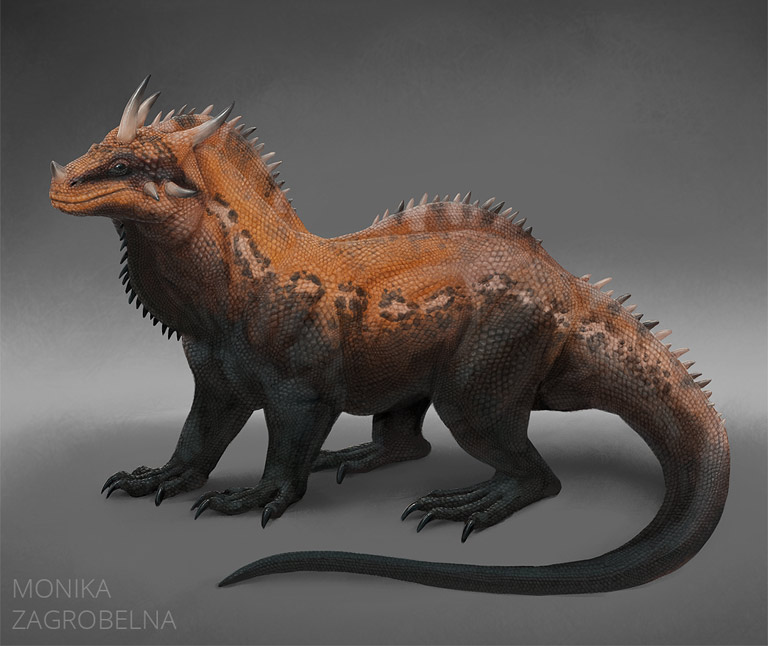
7. Review the Artwork
When I revisited the artwork after a few hours, I noticed that it’s a little too dark, so I change the blend mode of the scales to soft light. Fortunately, such a change was only a matter of a few clicks!
That’s All!
So that’s my current method of painting realistic scales digitally. If you have any questions, please post a comment and I’ll do my best to help!
0 Comments