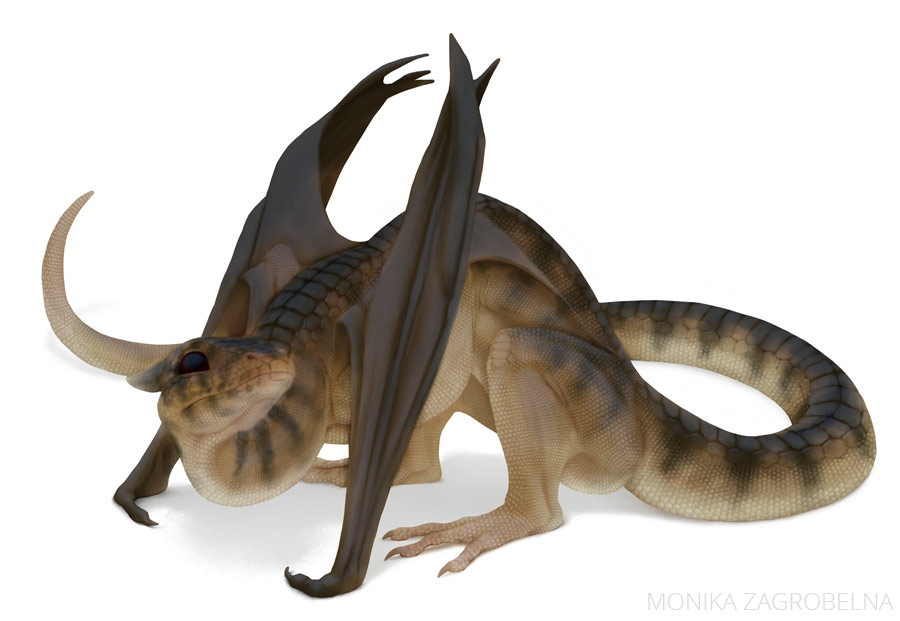
I’m still not confident enough in this method to create a full tutorial on it, but if you want, I can share my current process with you. Here’s how I painted my shy baby dragon in Autodesk SketchBook!
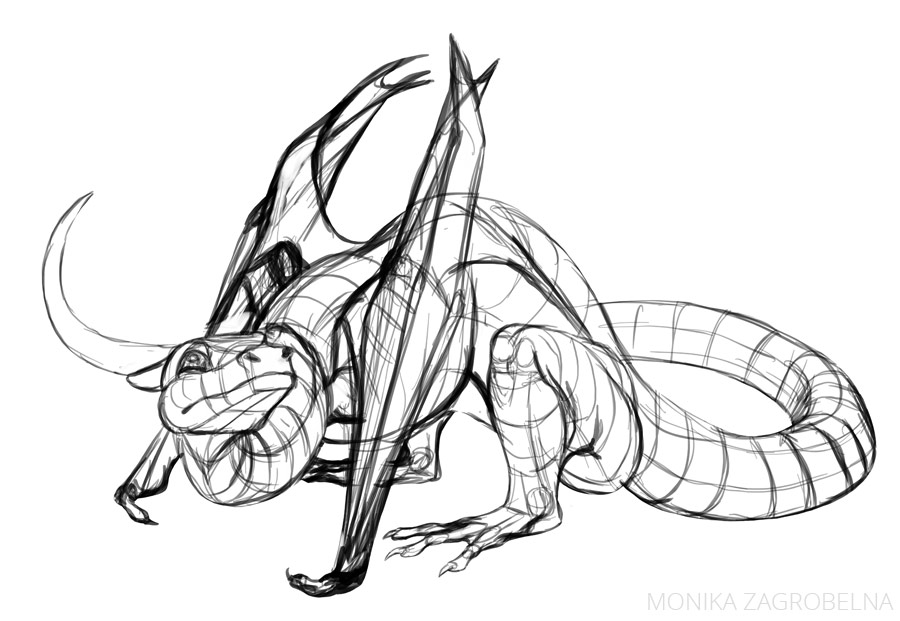
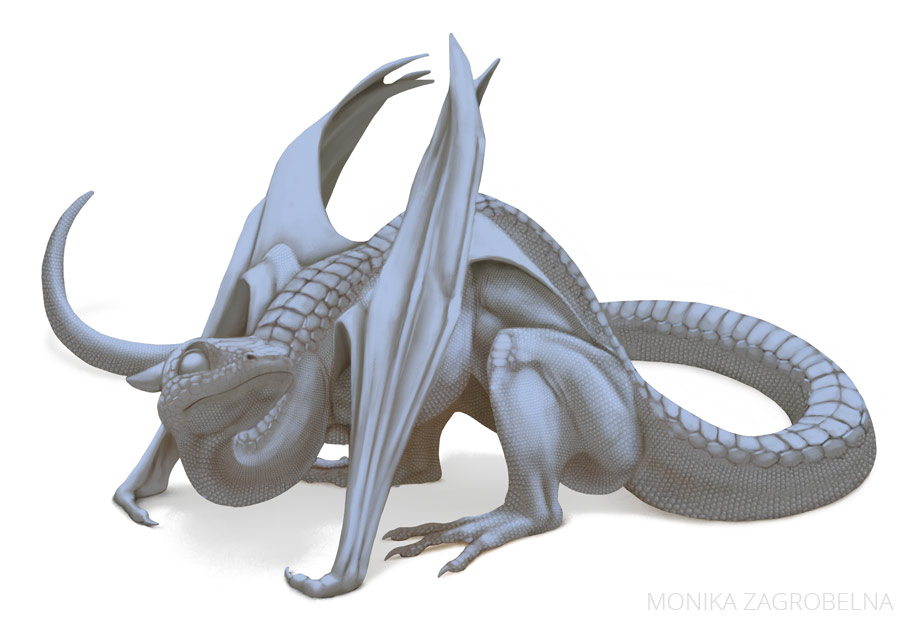
1. Sketch
As always, I started with a loose sketch that presents the forms and the necessary details. Notice that it’s not a flat piece of line art! You can learn more about this method of drawing here.
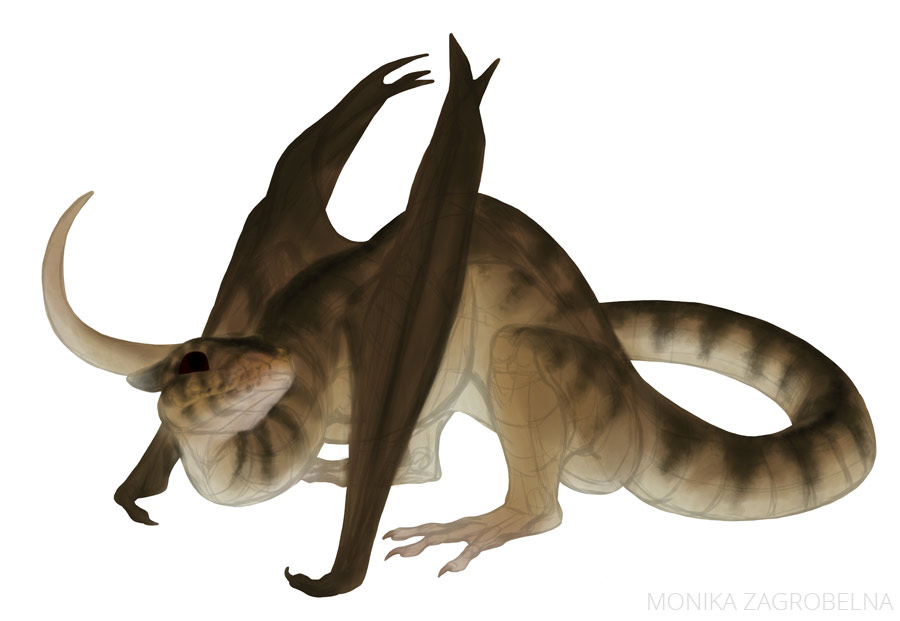
2. Colors
I’ve created a clipping mask, lowered the Opacity of the sketch, and painted the basic colors. You can learn about creating a mask like this and painting nice gradual colors in this tutorial.
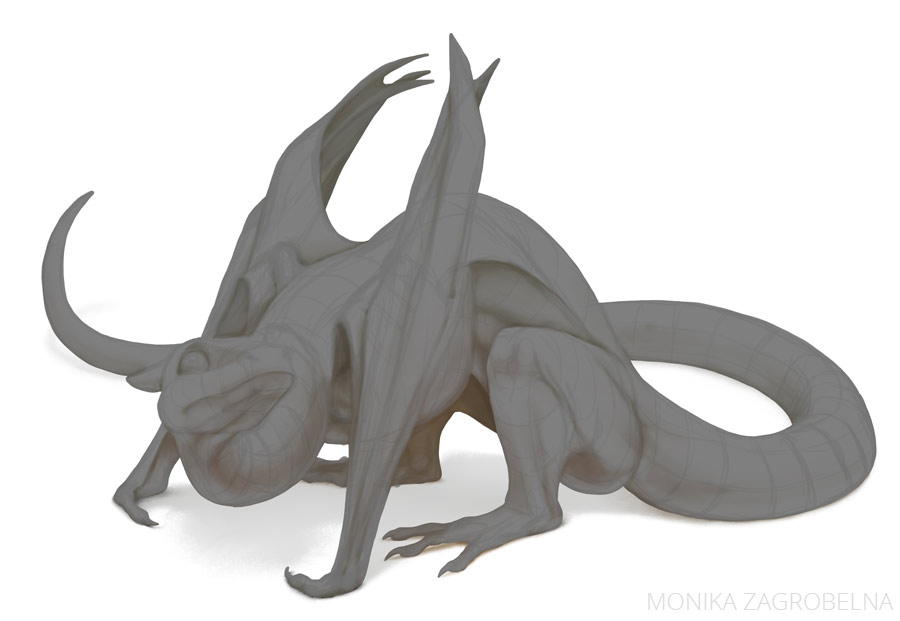
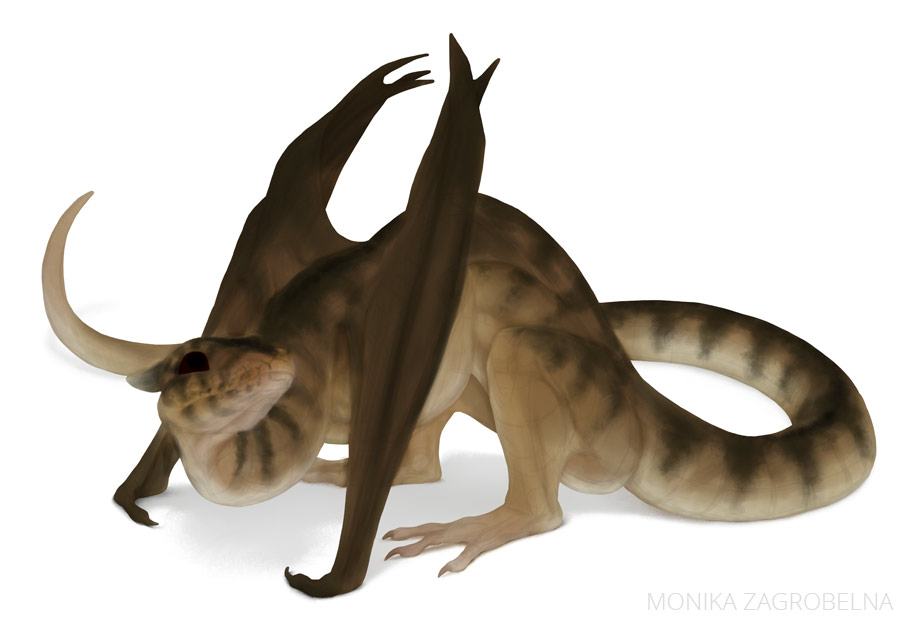
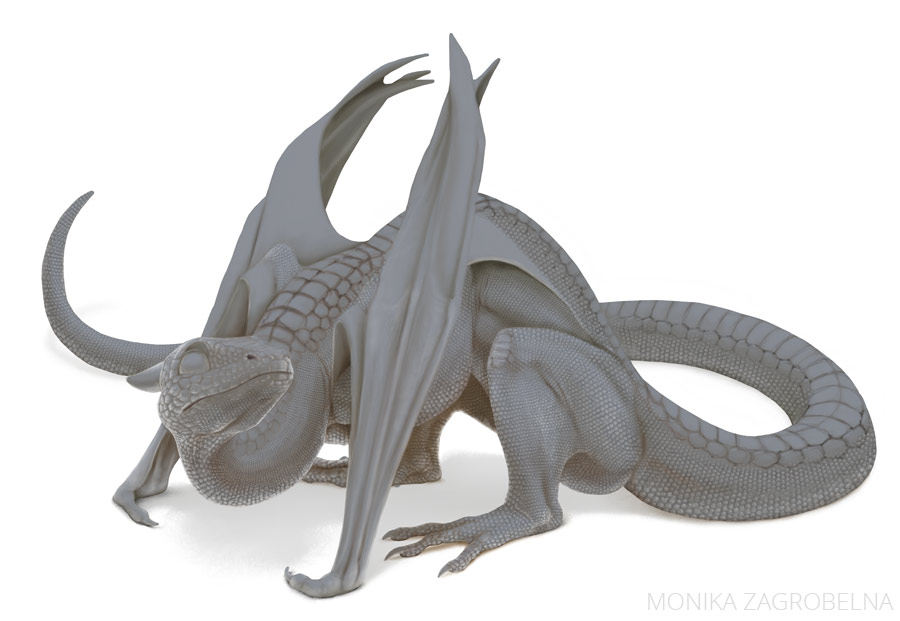
3. Shadows
I painted the shadows on a separate layer. They’re warm and not very dark. Also, I removed the shadow from the areas that should reflect the whiteness of the ground. The shadow layer has its mode set to Multiply.
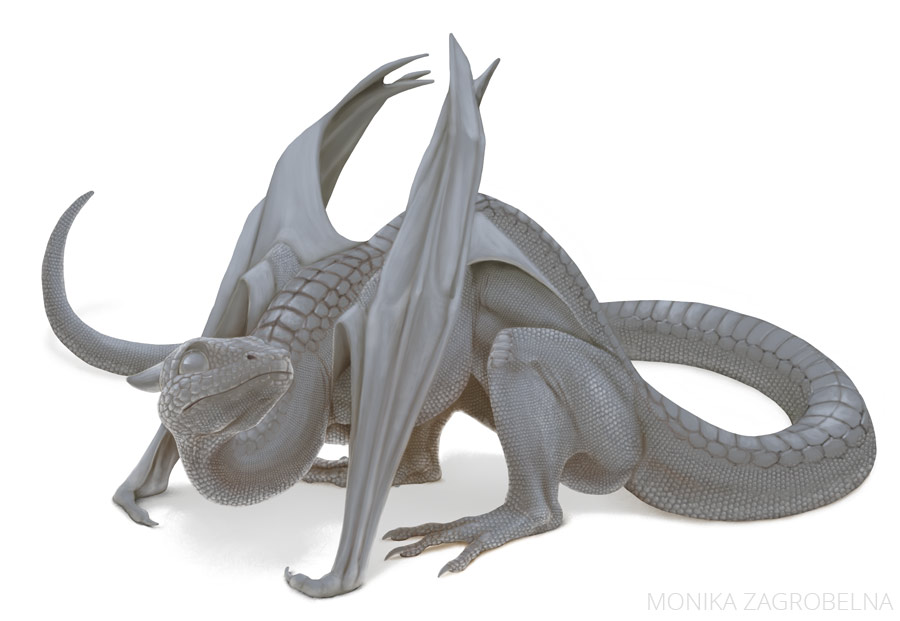
4. Ambient Occlusion
Some areas need a deeper shadow, independent from the light source. When you draw them, you don’t need the line art anymore!

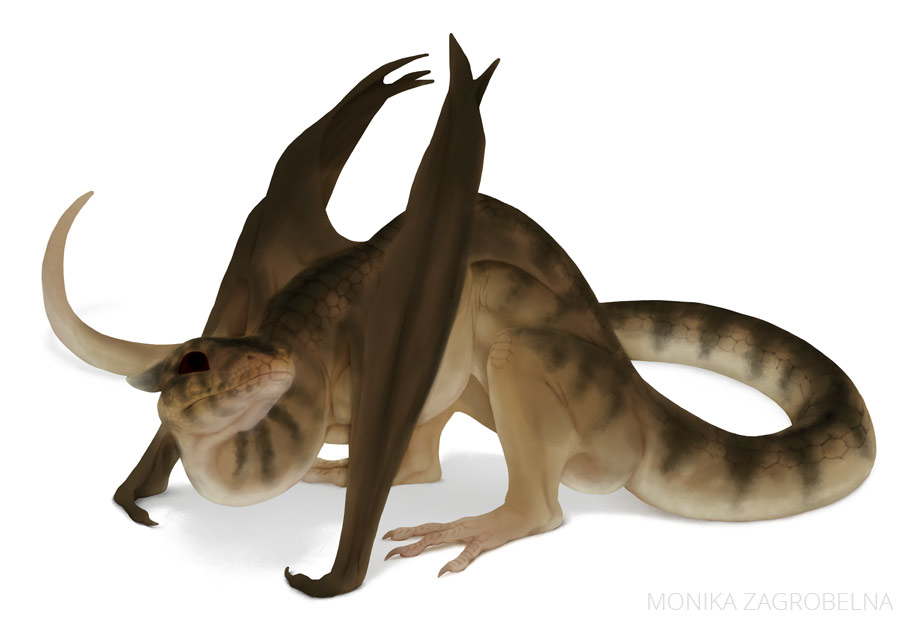
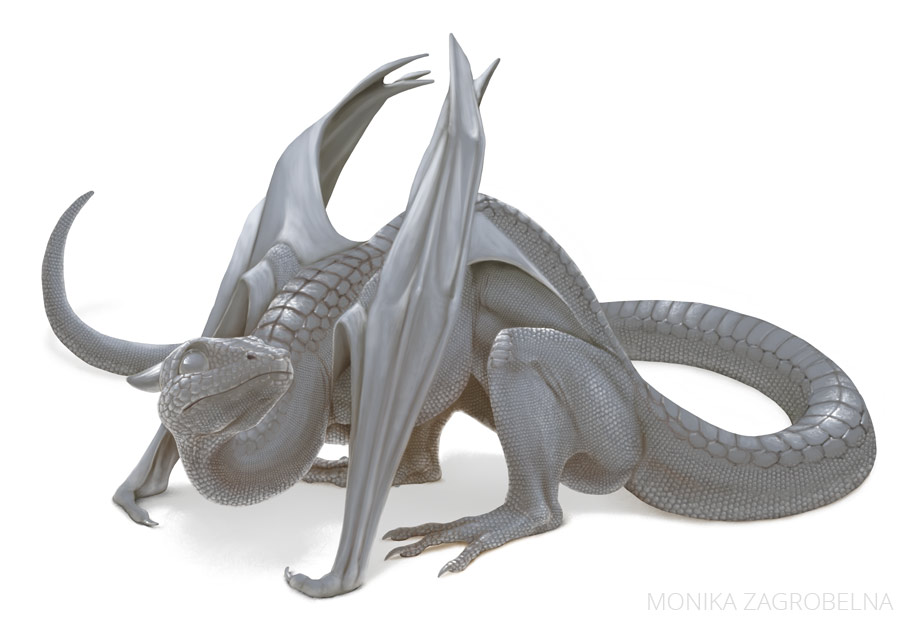
5. Scales
I added some scales using a custom brush, on a layer in Soft Light mode. I’m still working on a big scale brush set, but if you want to use the same brush, you can download it here.

6. Big Shine
I’ve created a layer in Screen mode and painted the reflection of the sky on the top. Then I lowered its Opacity.
7. Bottom Reflected Light
The ground is white, so it reflects a lot of light around. I added this light with another Screen layer.

8. Top Reflected Light
Time for more shine in the illuminated area!

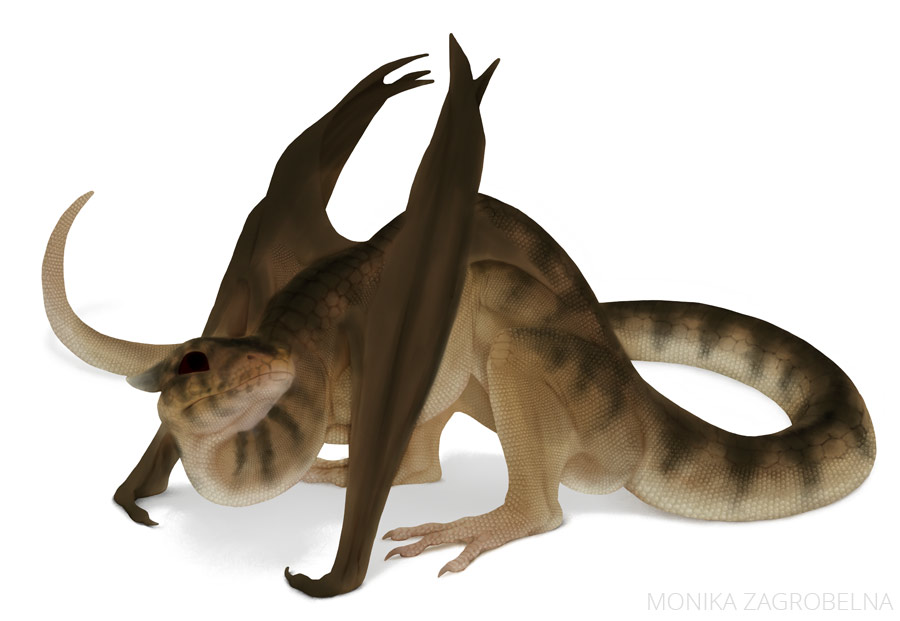
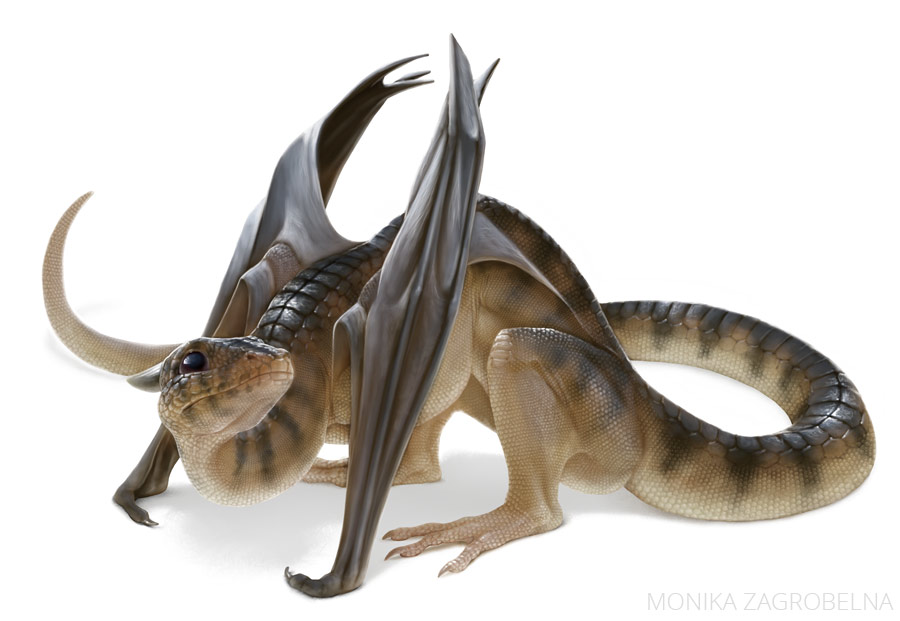
9. Highlights
If the surface is shiny, I can add a reflection of the light source in some places. It helps accentuate the scales!
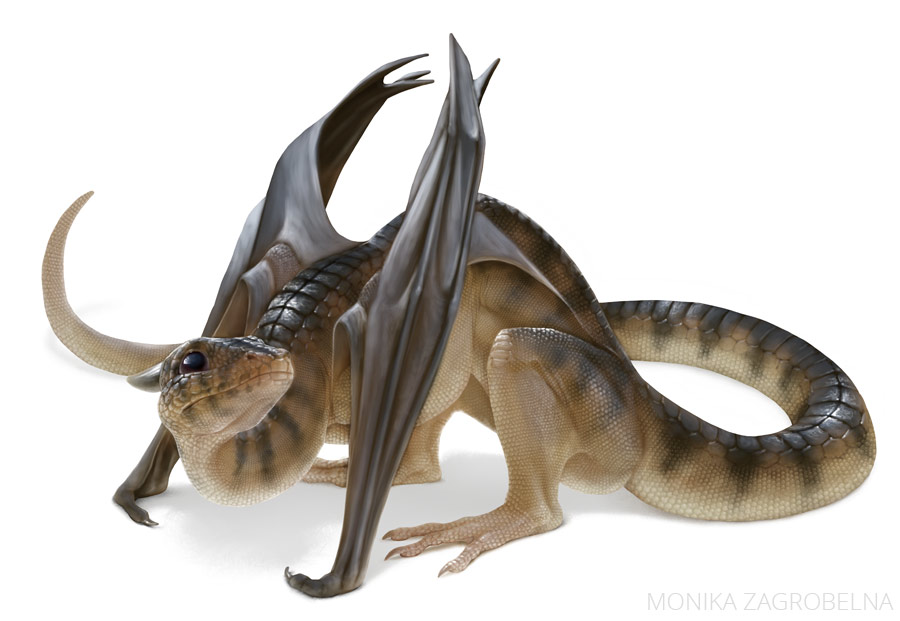
10. Fresnel Reflection
I added some blurry whiteness around the edges to soften them. You can learn more about this effect here.

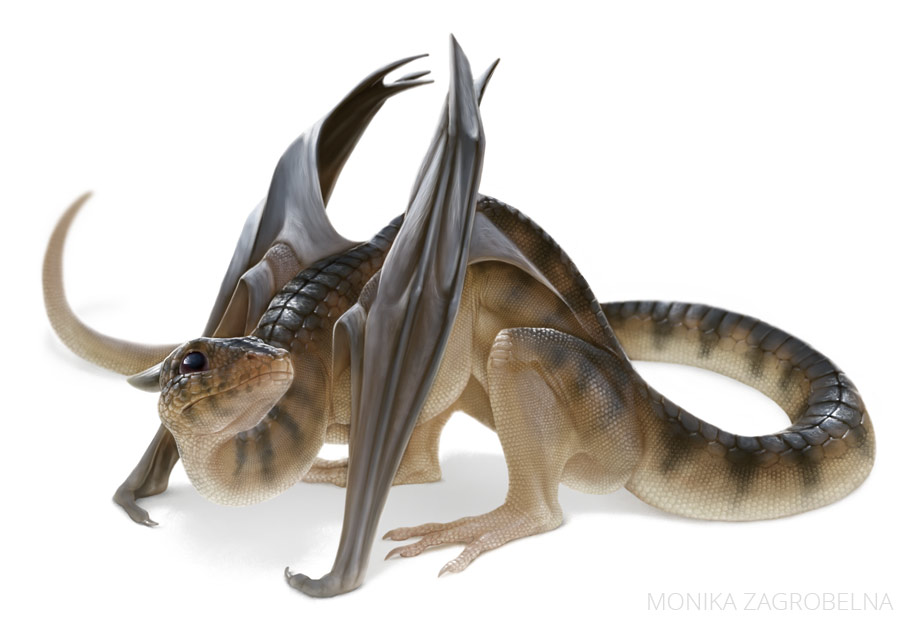
11. Finishing Touches
Finally, I merged all the layers and added some blur and other special effects.

1 Comment