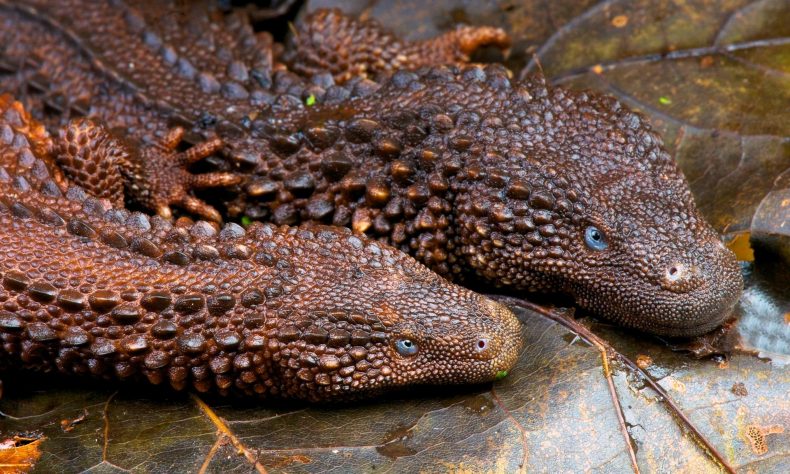
Recently I found this photo of earless monitor lizards, and I loved how dragon-like their scales looked, so I decided to study them. But to make it more interesting, I decided to paint these scales on a dragon instead of simply copying the lizards. The final result looks quite cool, although I’m still quite far from what I intended. I still have problems with painting the shine on big areas without losing texture, and keeping proper contrast. Still, I have learned a few things about painting scales, and today I want to share them with you! It’s not a full-fledged tutorial yet, I experimented too much to create any solid instructions out of this work, but I feel I’m getting close to understanding this subject.

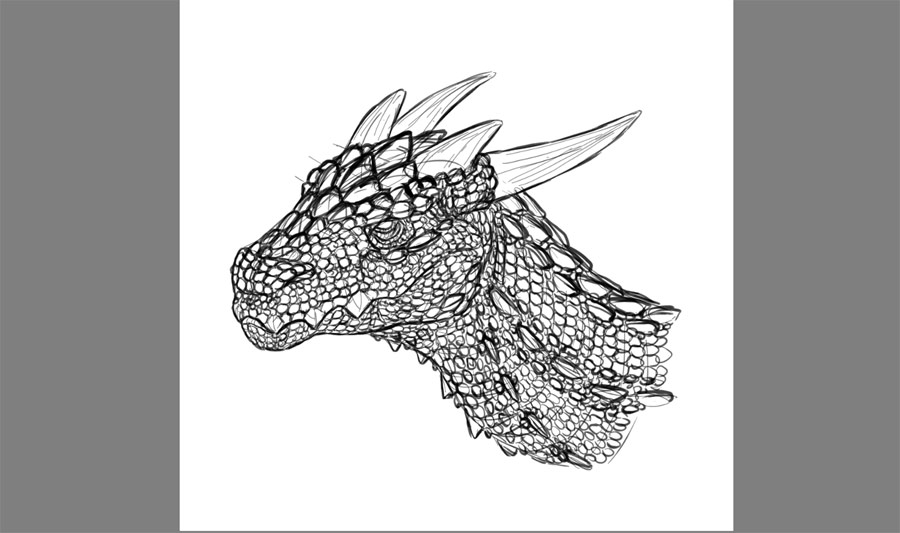
Step 1
As always, I started with a piece of line art. Not very clean, but clean enough to keep me from guessing in the later stages.
Step 2
I draw an outline of the head on a new layer, then filled the outside of it to create a clipping mask.

Step 3
I blocked the pixels on this layer and painted some chaotic background colors with a textured brush.
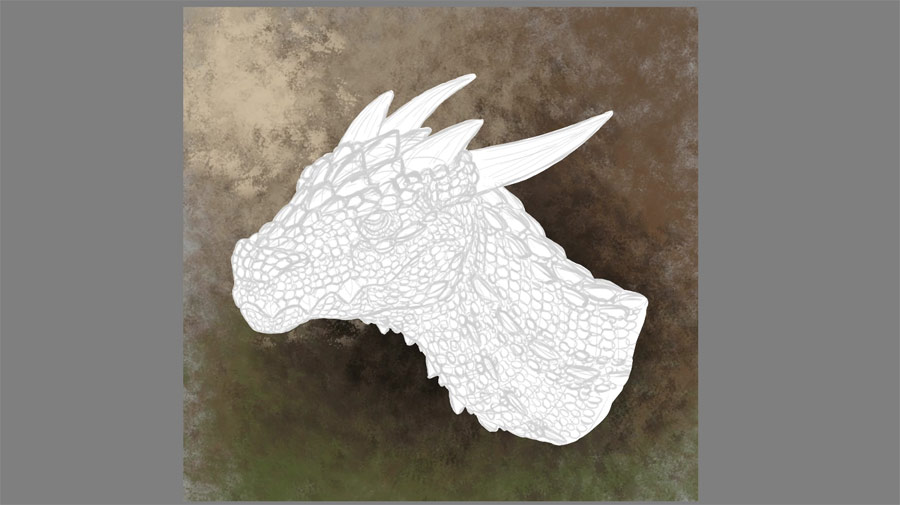
Step 4
I painted the colors of the head under the mask and the line art. I used the same textured brush as before and applied a lot of different colors to make the final result more natural.

Step 5
I blurred the background to see the head better.
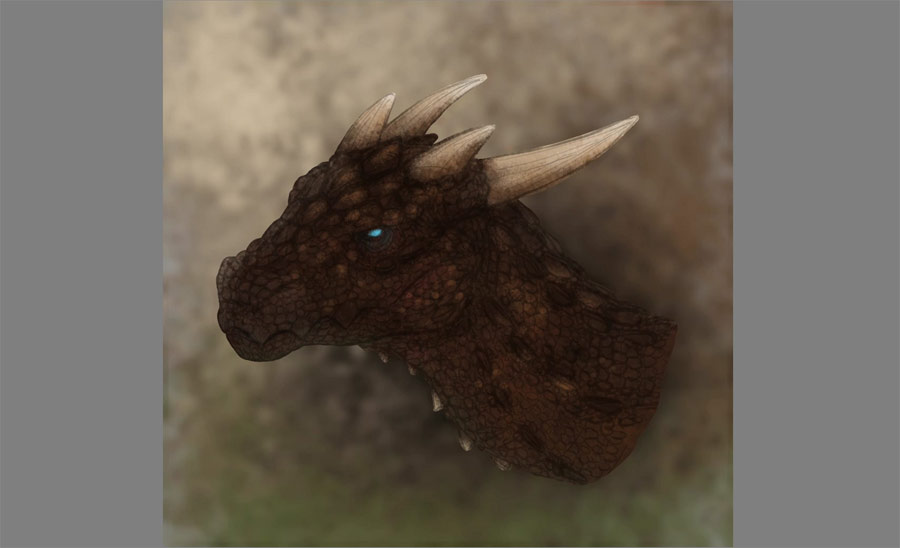
Step 6
I started to paint over the line art now, to cover the lines. I used a more precise brush, using the eyedropper tool all the time to paint with the colors from the area that I wanted to cover. I included some diffuse shading here, but not too strong, because I wanted to accentuate it with shine mainly.
Step 7
I created a new layer and set it to Screen mode. I painted some shine—the more light in the area, the brighter the shine. I tried to keep the brush small to make all the scales equally detailed, regardless of their size.
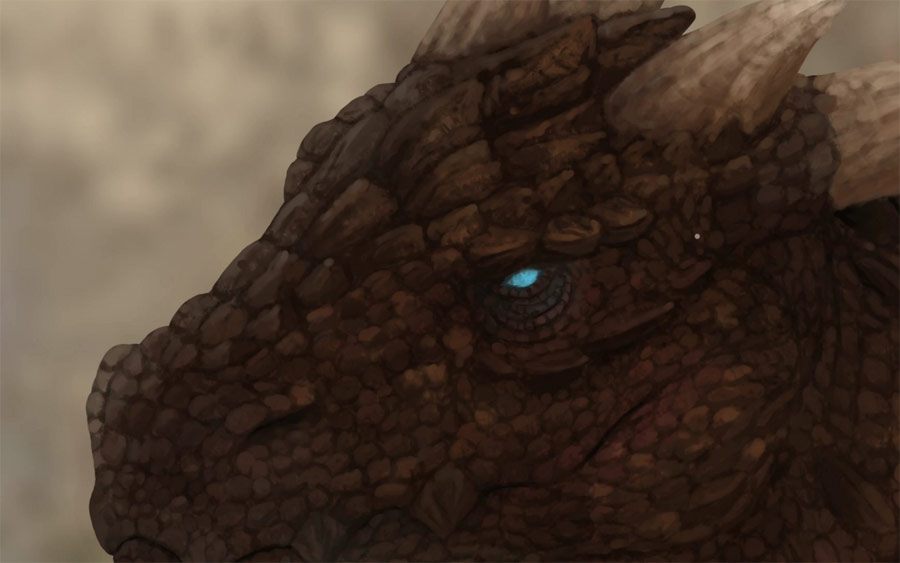
Step 8
Here’s where I discovered a neat method for painting scales. First I painted a thin outline on top of each. The scales started to look 3D, but flattened.
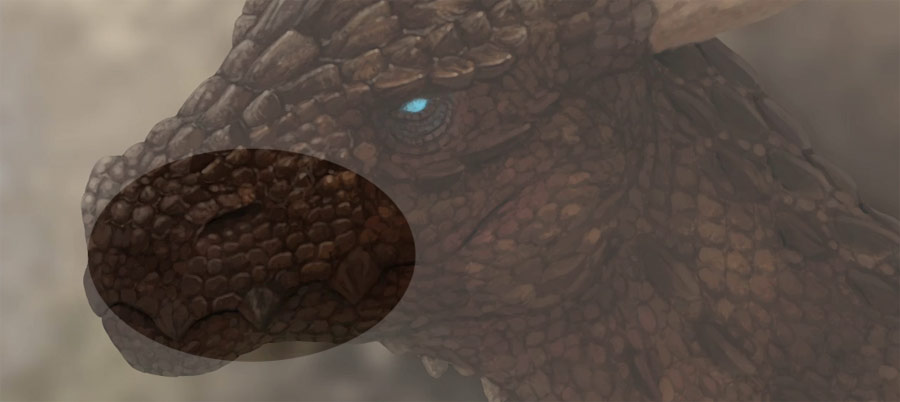
I added a dot of shine near the top of each scale, wider than the outline. The scales started to appear a little more convex.
Finally, I filled the spaces between the scales (if there were any) with some shine as well. Some lines here and there, some dots here and there, and the scales started to appear much more realistic!
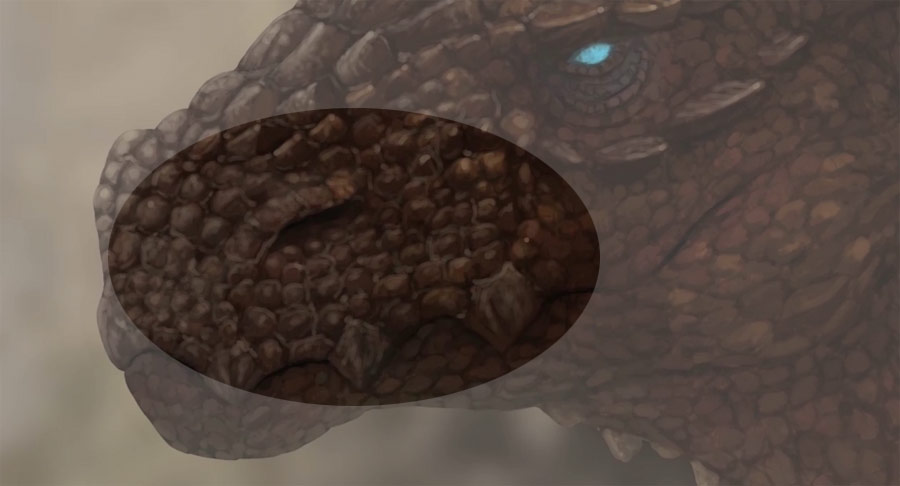
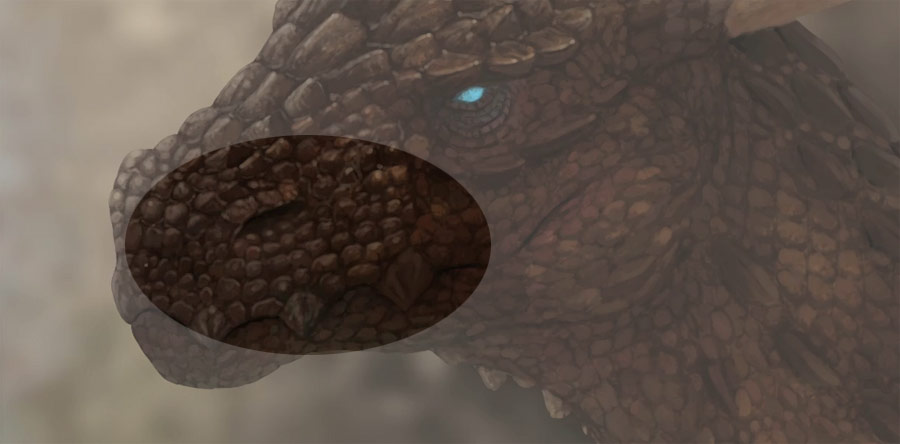
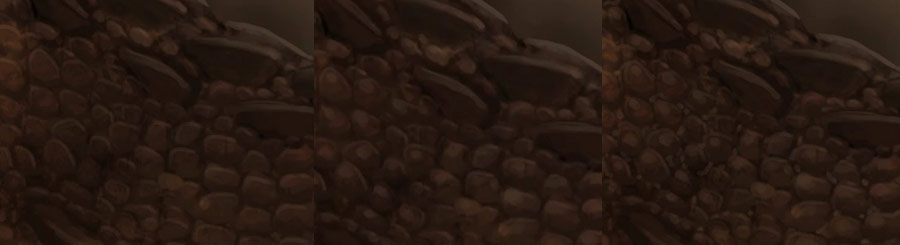
Here’s this method again in a different place. I’m sorry it’s so dark! If I ever create the actual tutorial about painting scales, I’ll make sure that the contrast stays high during the while process.
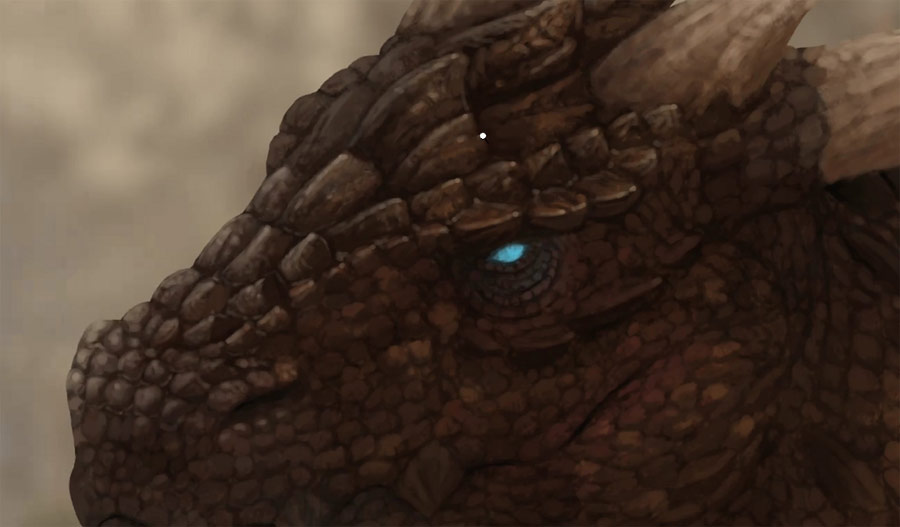
Step 9
Finally, I added more shine on top of the head, to accentuate its 3D form. Here’s where things get tricky for me, I really need to study this part more!
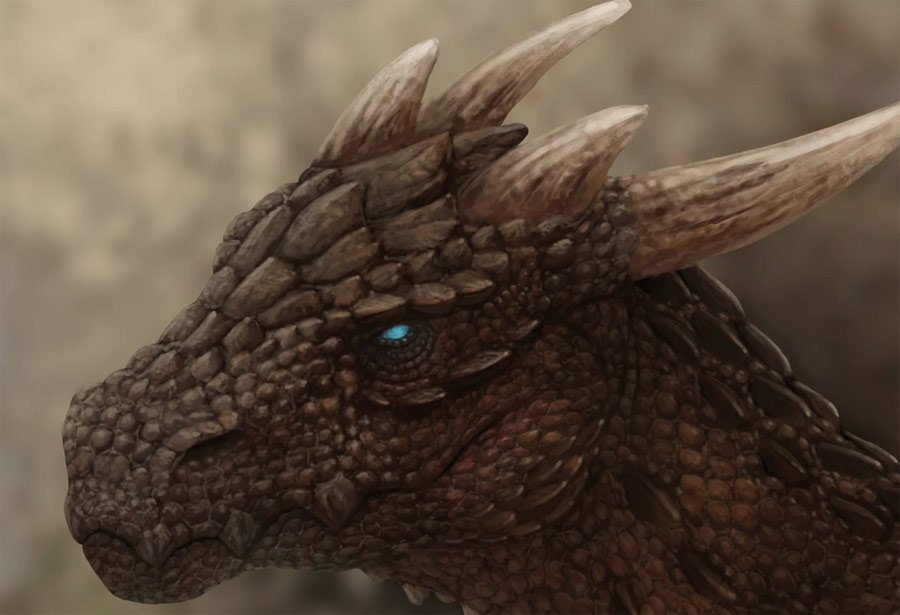
And here’s the finished painting after some color corrections in Photoshop:
And… a little surprise at the end! Since I’ve recorded the whole process, I decided to share it in a sped up version:
0 Comments