After I painted Scar with a very quick method, I was wondering if it could be used for longer hair as well. Short answer: no. There’s no workaround when it comes to painting thick fur. If it’s supposed to look realistic and detailed, you must put in the hours, there’s no escape. But if it doesn’t discourage you, here’s a short description of this method.
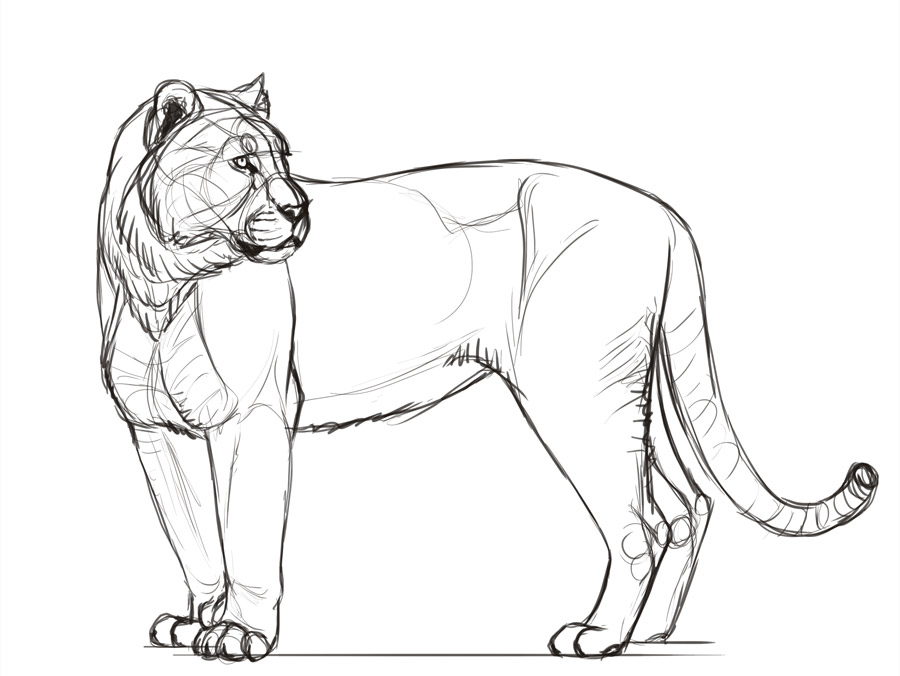
Step 1
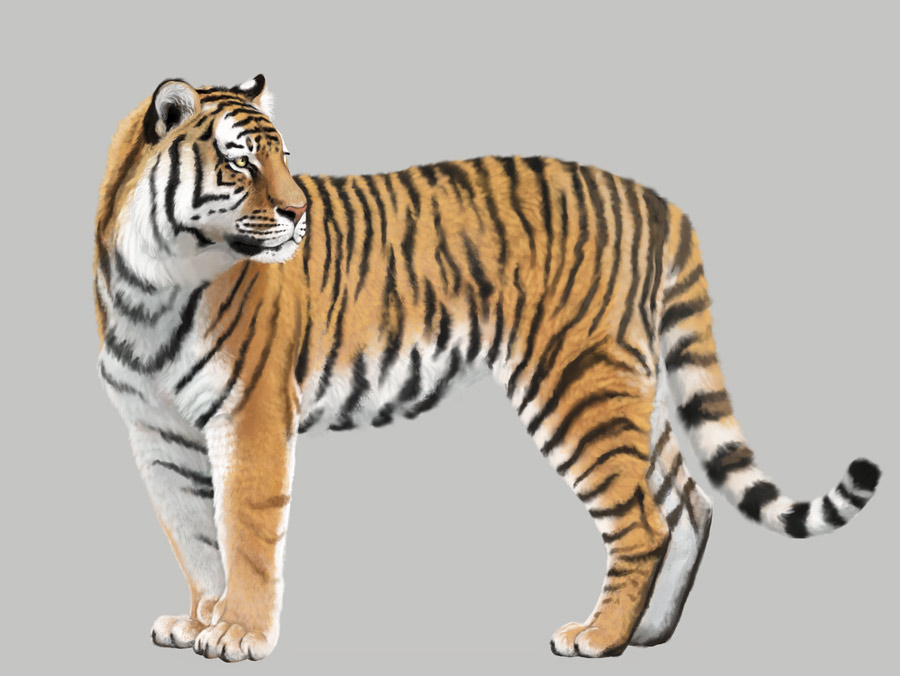
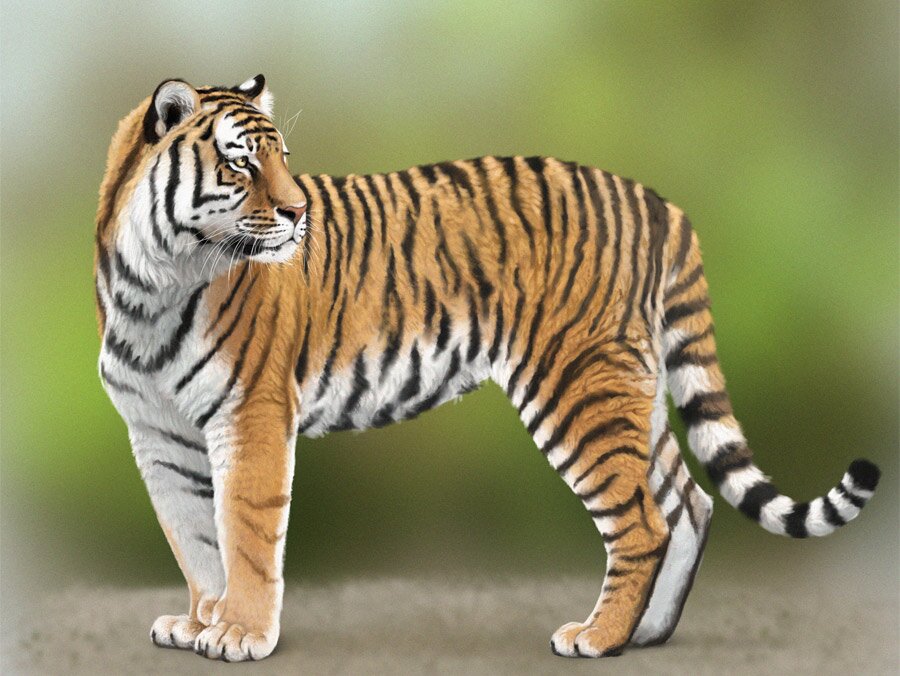
I sketched the tiger from a reference, paying attention to the proportions and the big forms of the body first.

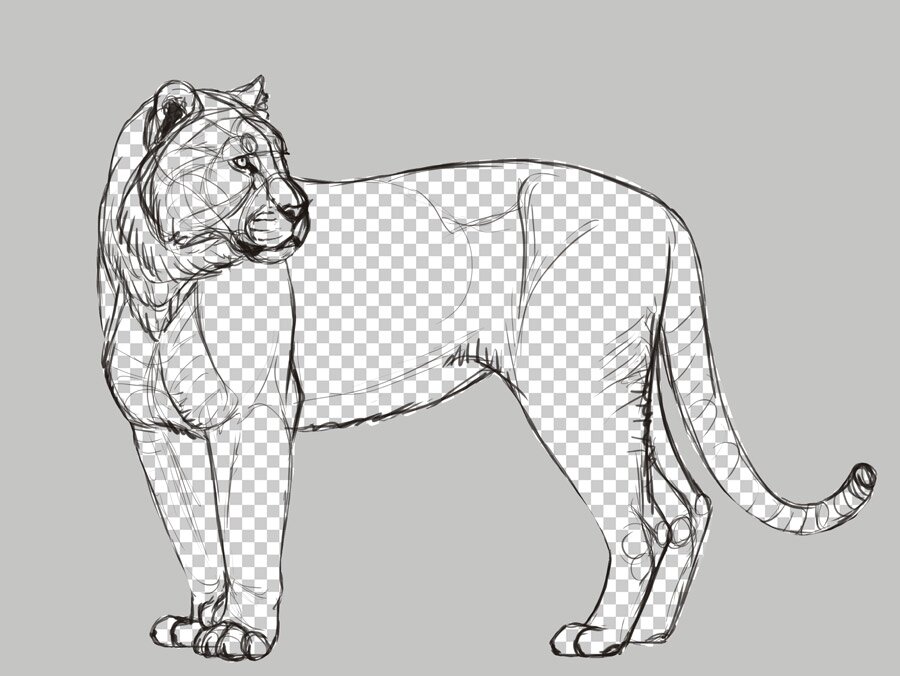
Step 2
I cleaned up the lines, drawing them on a new layer. I added all the necessary details.
Step 3
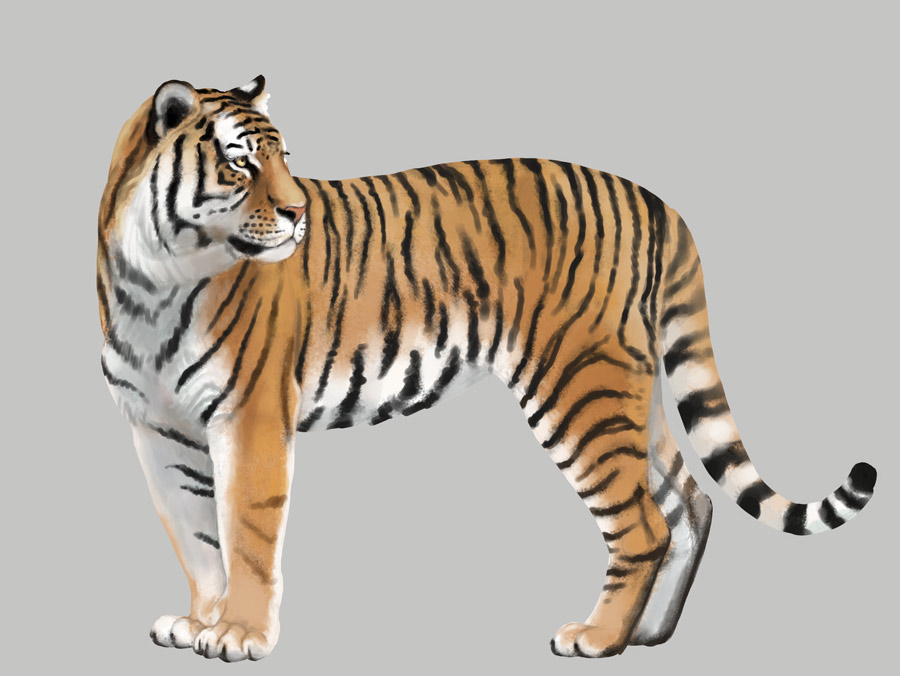
I created a new layer over the sketch and painted the clipping mask with a hard brush.
Step 4
I lowered the Opacity of the sketch and created a new layer under it. Then I used a textured brush to put the colors and big shadows.
Step 5
I created a new layer over the sketch and used a more precise brush (although still quite big) to cover the lines. I used the eyedropper tool constantly to use the colors that have been already established in the area.
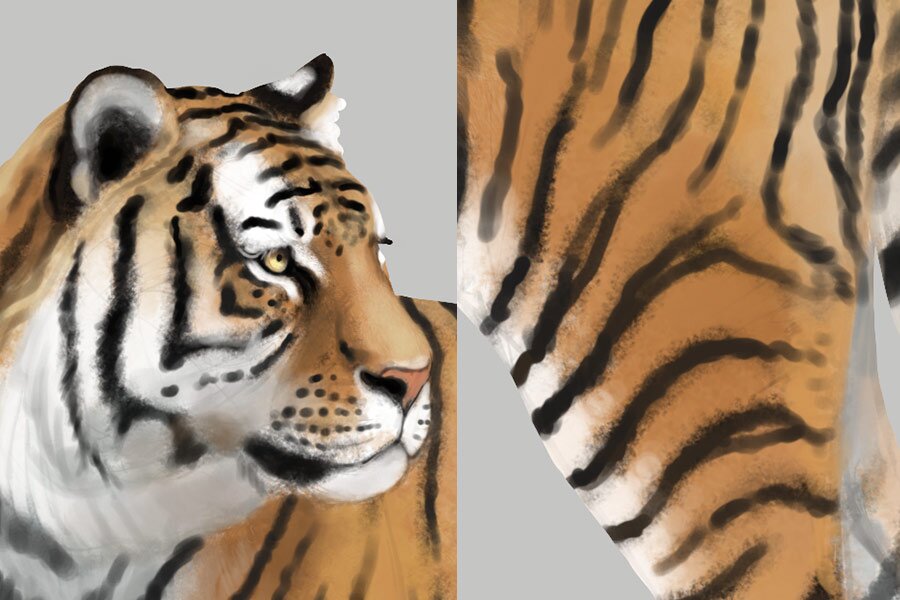
Step 6
I cut the clipping mask out of each layer, then merged them. I used a smudge brush to give the stripes a fluffy edge.
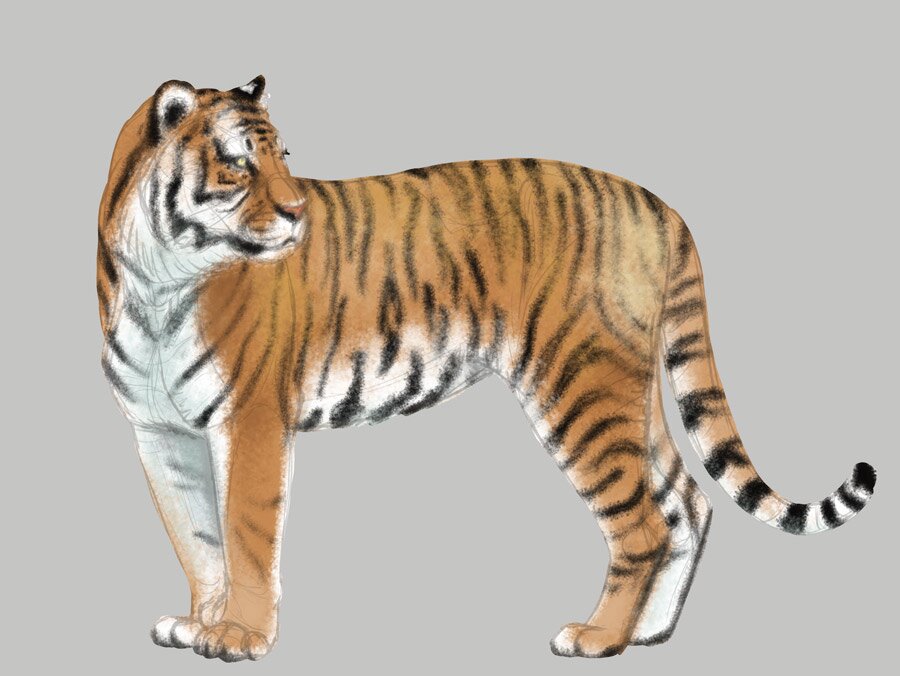
Step 7
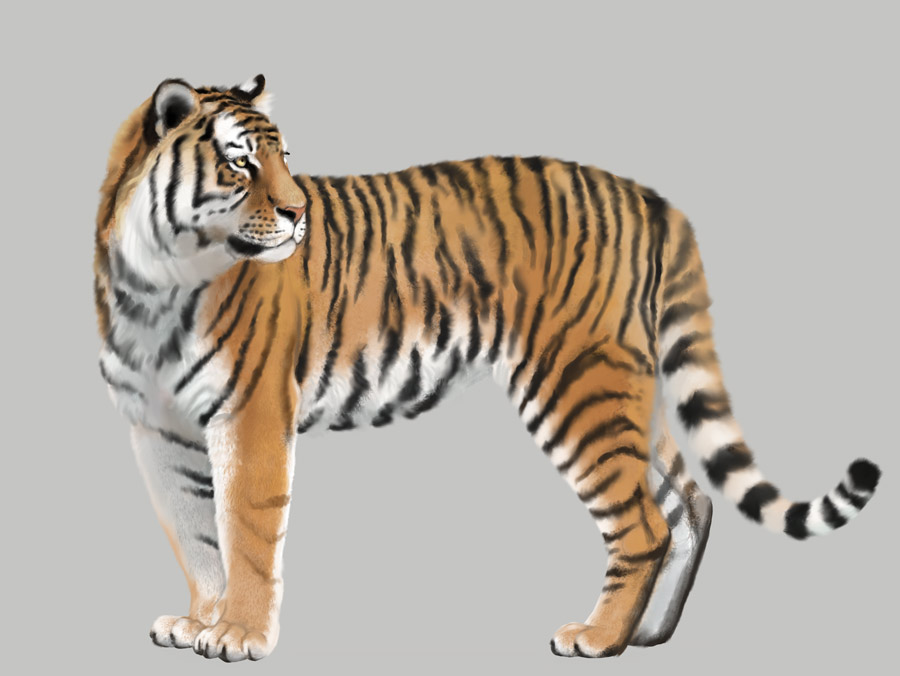
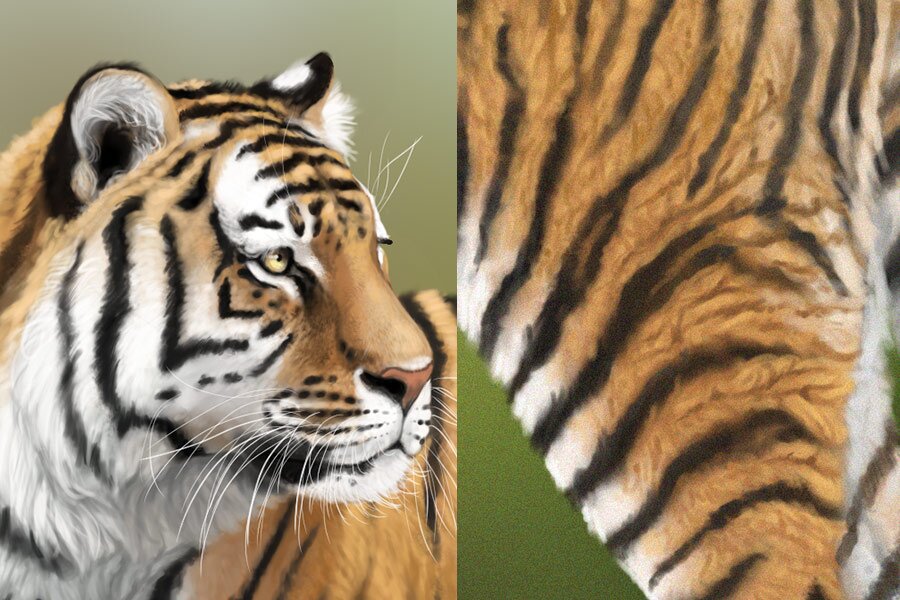
I used a precise brush again to paint the strands of hair. I picked the color from the area, then I used a slightly brighter version of it. This part took ages, but it was satisfying to see how it gets more realistic with each stroke. It’s important to note that I didn’t really paint any single hairs, just thick strands. I also added some details to the head at this point.
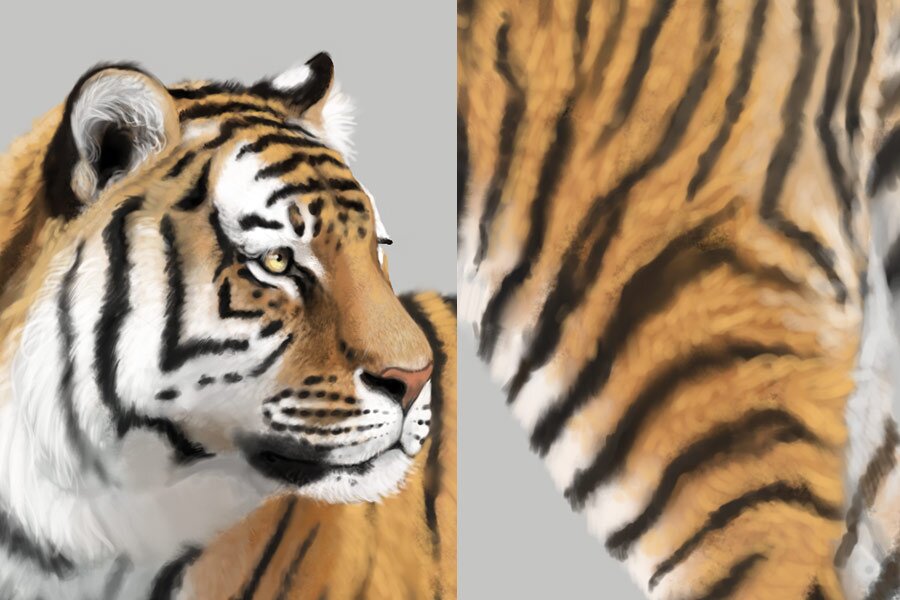
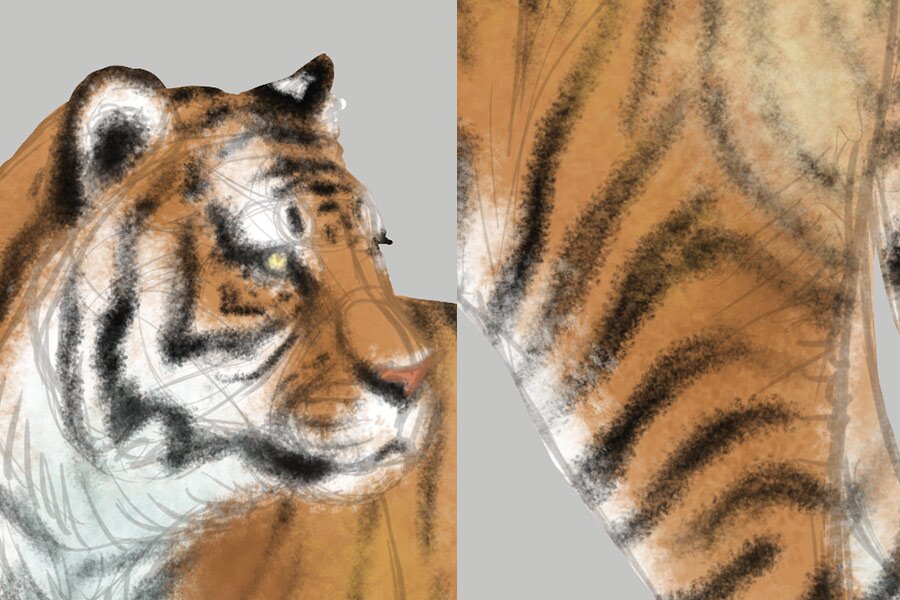
Step 8
Now I did exactly the opposite: I used a darker version of the color in the area and painted the shadow between the strands. This is especially important in the areas where the fur is the thickest.
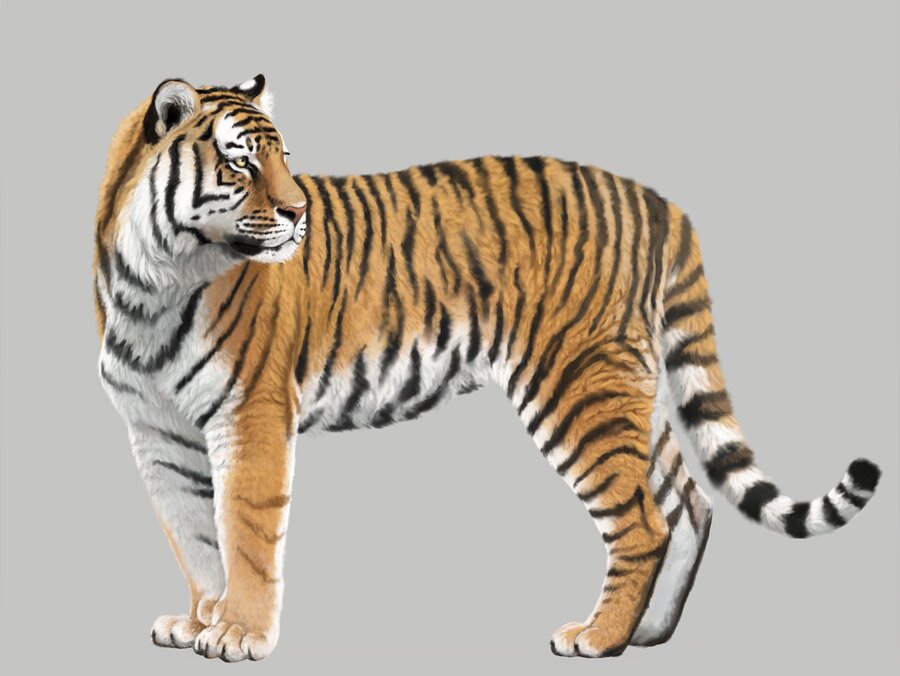
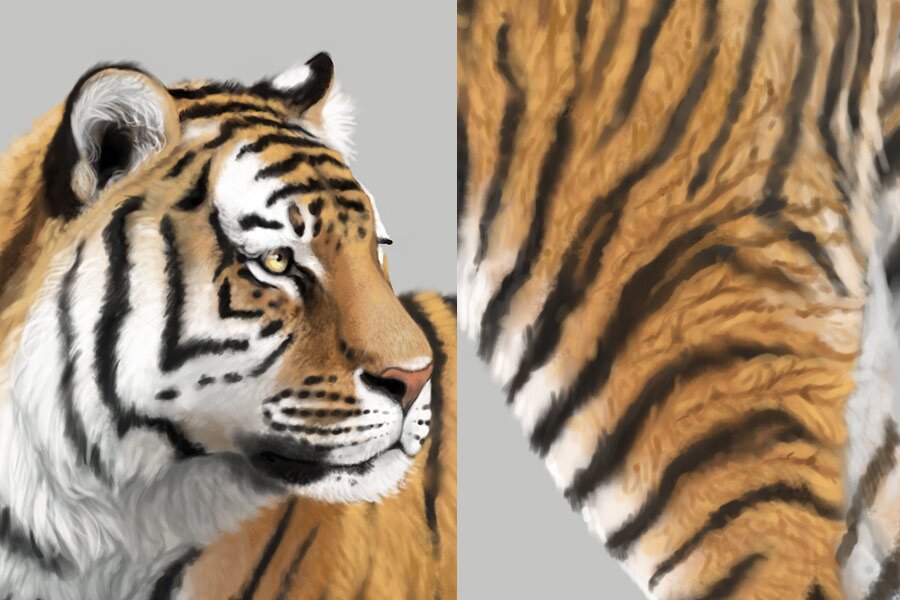
Step 9
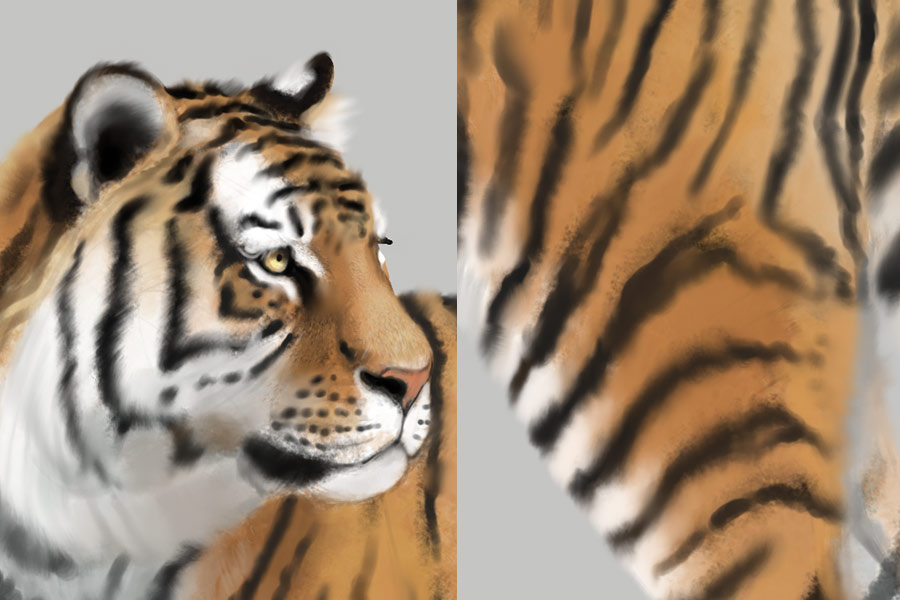
Now I added some blurry background and some tiny details like whiskers. I also used Photoshop to add subtle noise.

0 Comments