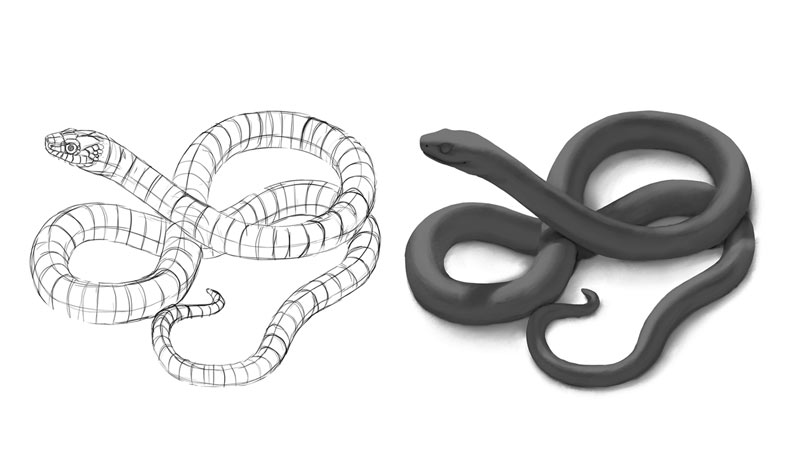
If you want to become a digital artist, but you don’t know where to start, this series is for you! I’ll explain to you all the basics in an organized way, without assuming any prior knowledge about the topic. In this third part I’m going to show you how to make your objects look 3D by using various shades of gray.
In the real world, light and shadow are all we need to see the objects around us. In art, light and shadow are translated into shading—a combination of various levels of brightness that our brain recognizes as patterns characteristic for 3D objects.
So if you want to shade your artwork realistically, you need to learn how to create these special patterns of shading that our brains expect to see. In this article I’ll show you how light and shadow affect 3D objects, and how to shade digital art using this knowledge.
All the custom brushes I used in this tutorial can be downloaded here.
The Theory of Light and Shadow
We all know, intuitively, how to shade forms like a box. It’s quite easy to imagine that the side in front of the light source gets the most light, and the side in the back gets none.
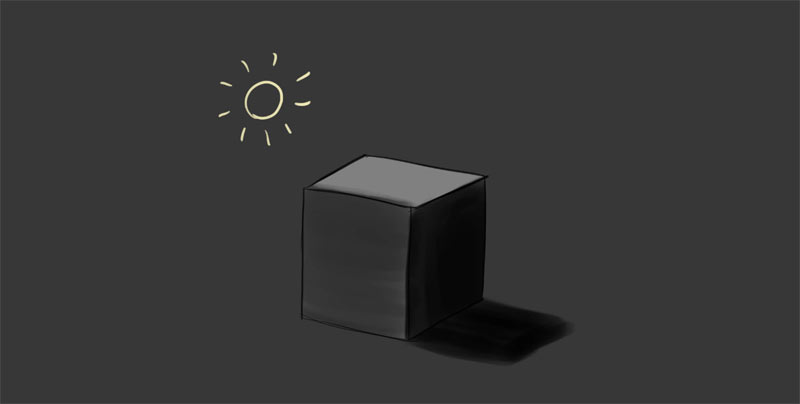
But in nature, objects rarely have a clear front or back. Just look at your own head—the face is in the front, but there’s no border between the face and the side of the head. That’s why it’s better to learn about light and shadow from a sphere, not a box.
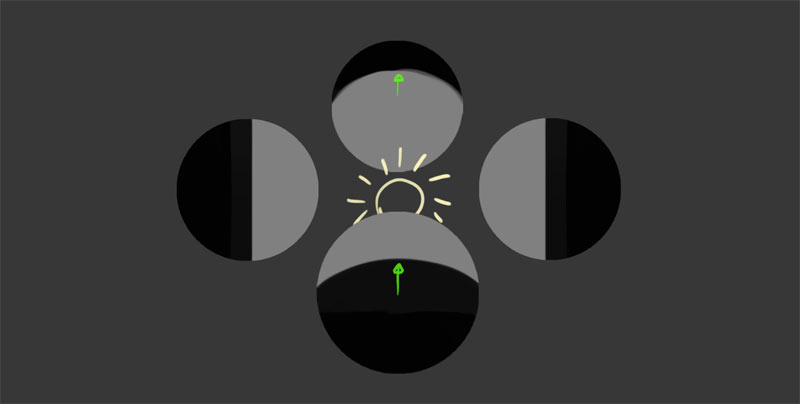
Terminator and Core Shadow
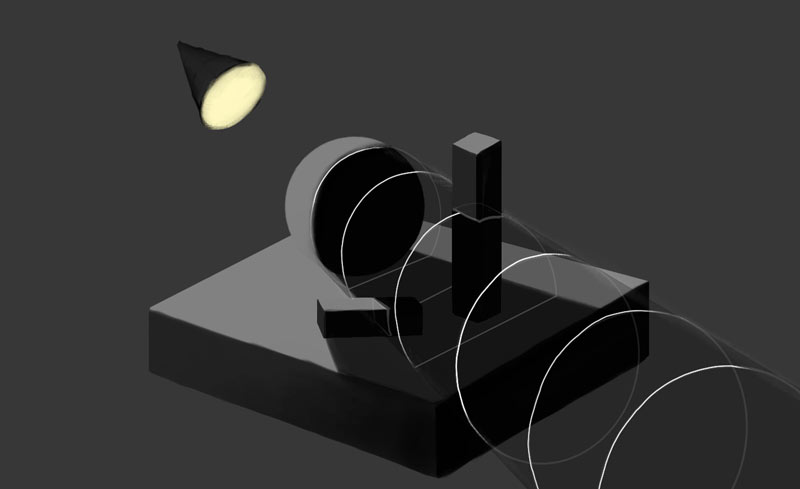
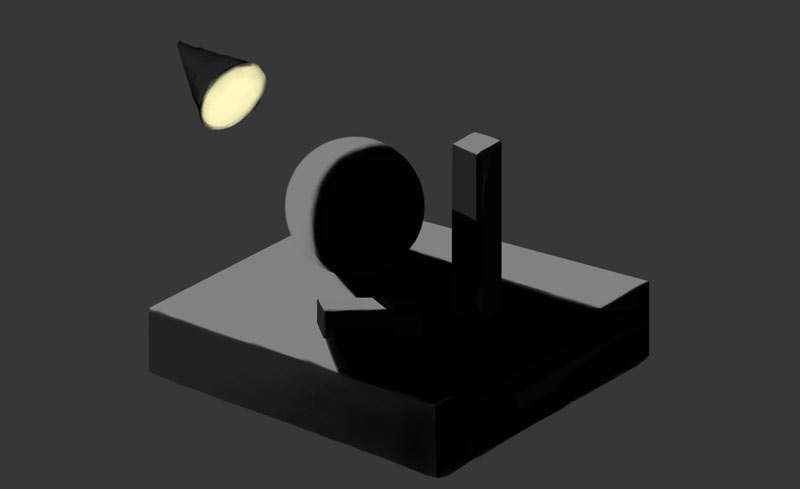
When light hits a sphere, it can only reach a half of it. The border between the illuminated half and the shadowed part is called the terminator, and the dark area behind it is called core shadow.
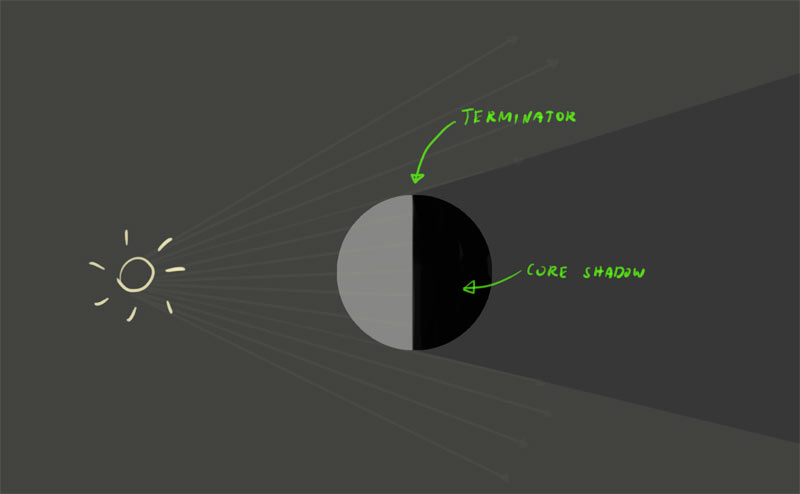
The shape of terminator on curved surfaces shows us the direction of the light source—if the light source is behind the object, terminator bends towards the light, if it’s in front of the object, it bends towards the shadow.
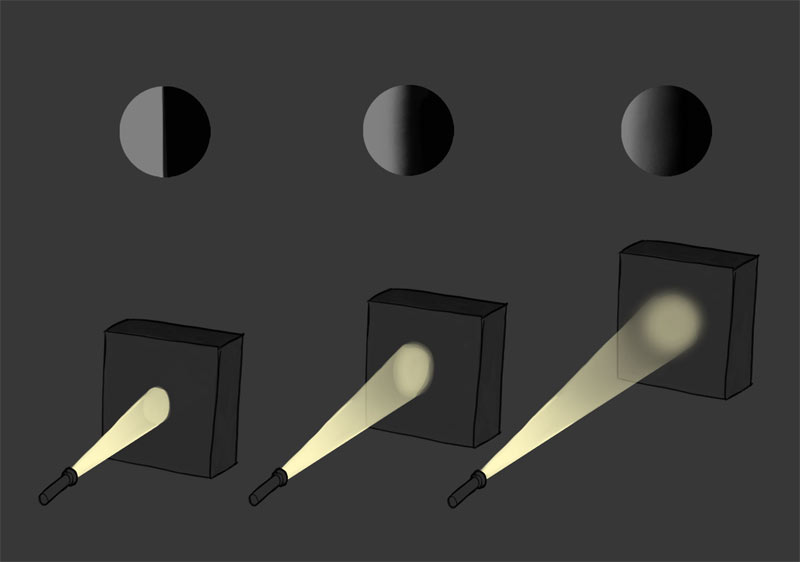
Light Falloff
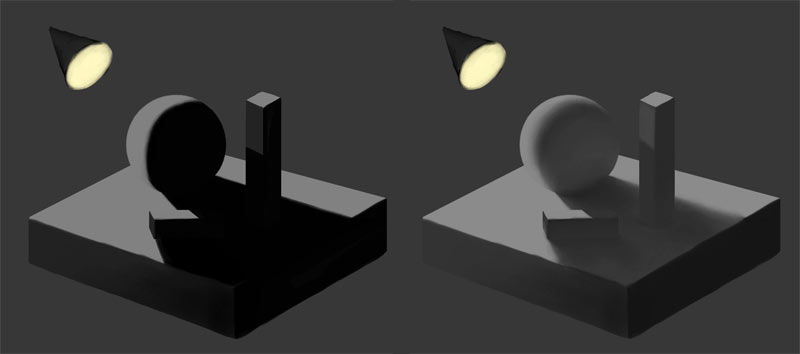
If you point your flashlight at a close surface, you can see a circle of light with sharp edges. If you point it at a distant wall, the edges get softer, and the light itself is dimmer. This effect is called falloff—the closer the light source to the illuminated surface, the sharper the terminator. The farther it is, the softer the terminator. Soft terminator introduces areas of weak shadow to the illuminated area.
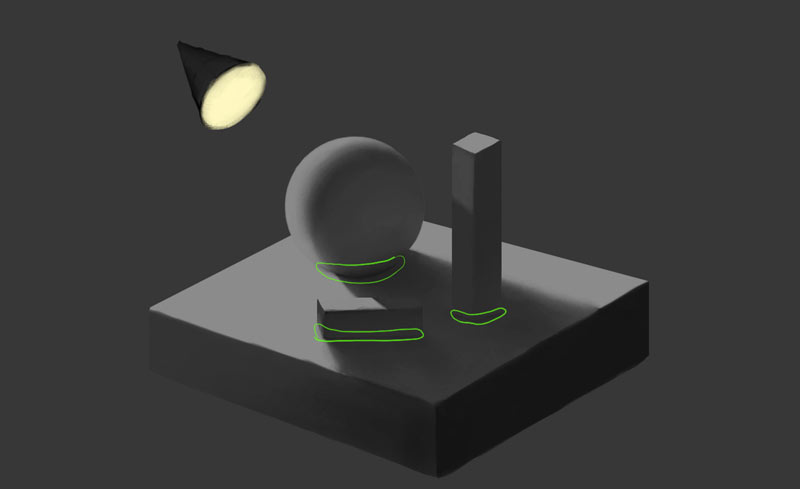
Cast Shadow
If our sphere was the only object in the world of void, we could finish here. But our world is full of different objects, so we need to look at the interactions between them as well. First of all, if we put the sphere between the light source and some other object, light can’t reach that object evenly anymore.
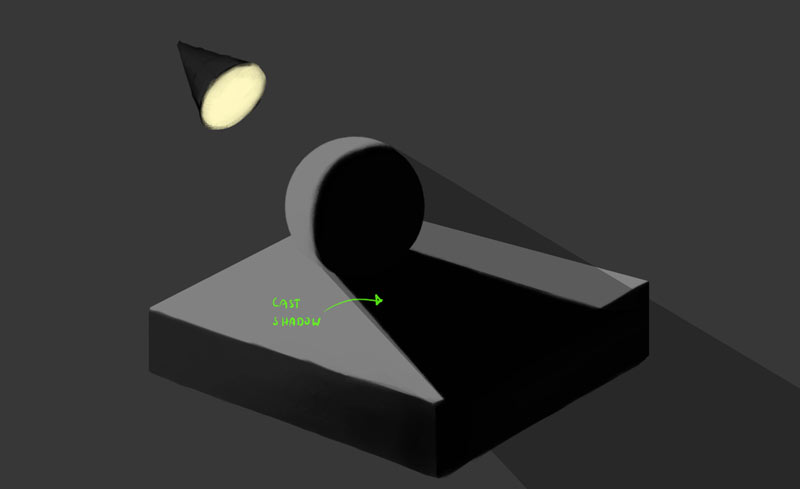
This is how a cast shadow is created—we say that the sphere casts a shadow upon the other surface. What it really means is that there’s an area of blocked light right behind the sphere, and the other objects happens to fall into it.
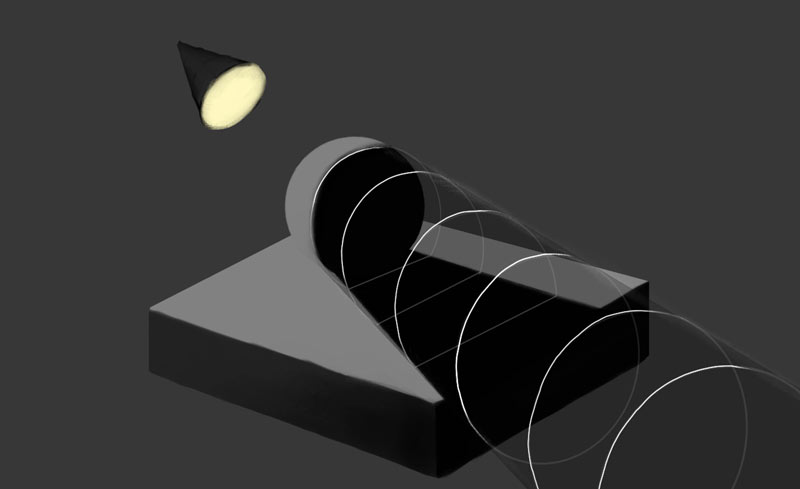
Even though the cast shadow is flat, the area of blocked light is not. Some other object can be inside it, or outside it, or partially inside it—and the borders of this shadowed area will draw a new, separate terminator on that other object. Thinking of a cast shadow as of a 3D area really helps imagine the shape of this terminator.
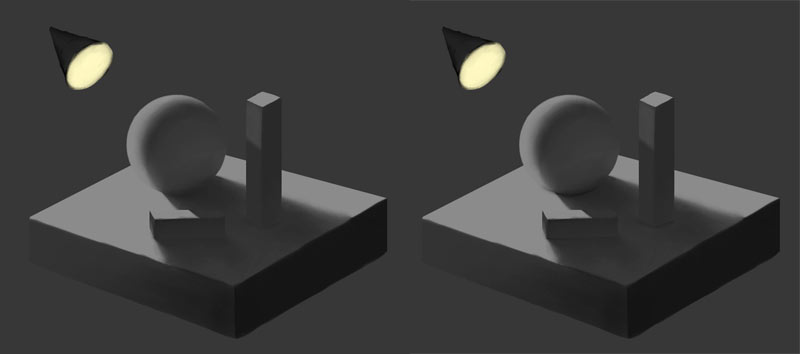
Reflected Light
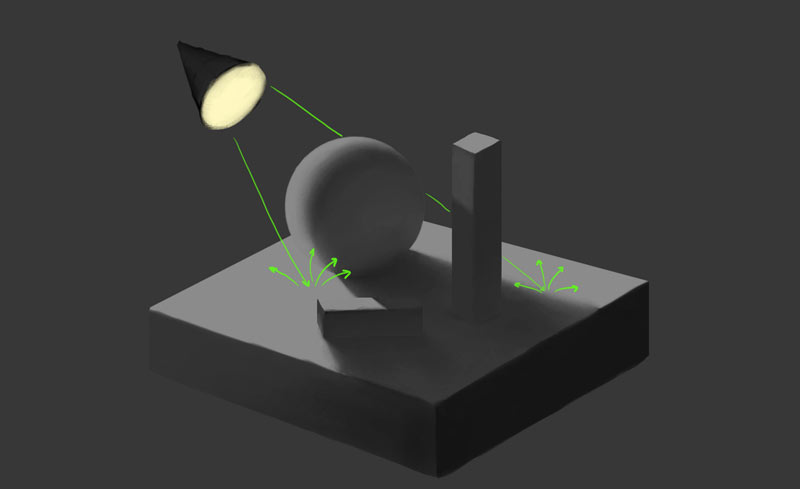
If you think of it, the shadows are rarely fully black. You can mostly see what’s inside them, which means there must be some light there. Where does it come from, if this area is blocked from the light source? You probably guessed it—it’s reflected light.
Objects reflect light—that’s the reason why we can see them. But not all light gets reflected directly into our eyes. Most of it gets reflected somewhere else. And just like the rain drops can hit your ankles even if you put an umbrella between your body and the sky, the light can bounce from some other object and fall into the shadow.
This bounced light is obviously weaker, because it gets absorbed by every surface it hit along the way, but it’s still light—so it brightens the shadow. The better access it has to the shadowed surface, the stronger the brightening effect.
Contact Shadow/Occlusion Shadow
But there are some areas where even the reflected light can’t reach—for example, when two objects touch each other, creating a tiny area of shadow. This shadow is called a contact shadow or an occlusion shadow. Because it’s so hard to reach, it’s darker than any other shadow in the scene.
How to Shade Digital Drawing
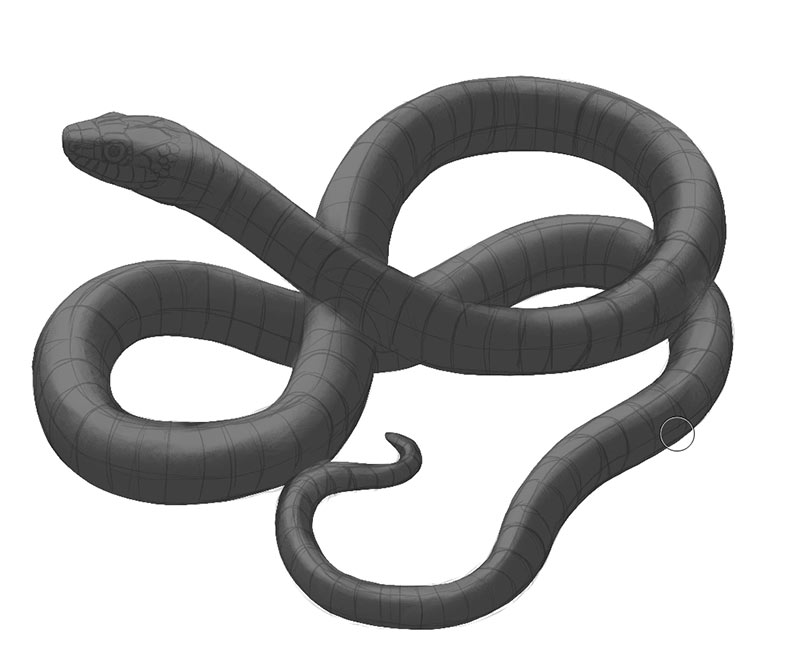
Step 1: Sketch and Clipping Mask
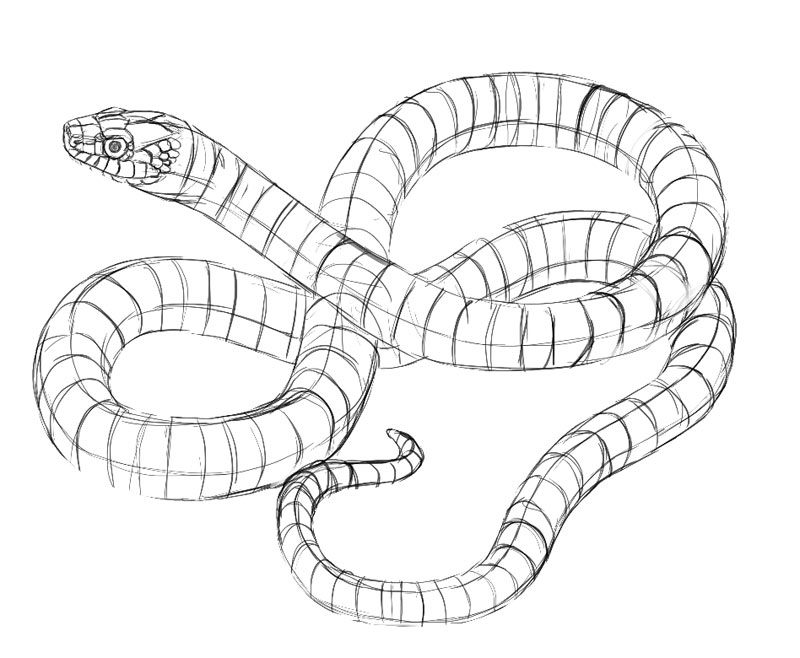
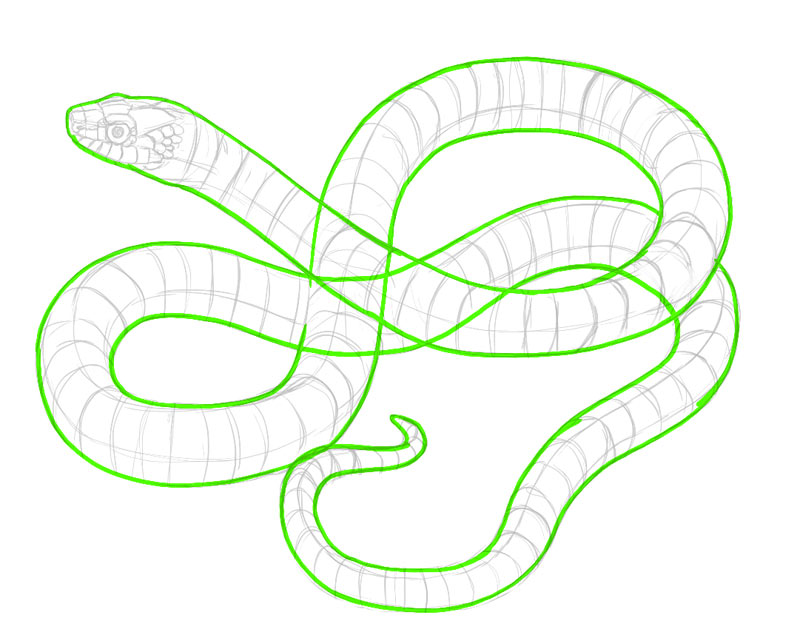
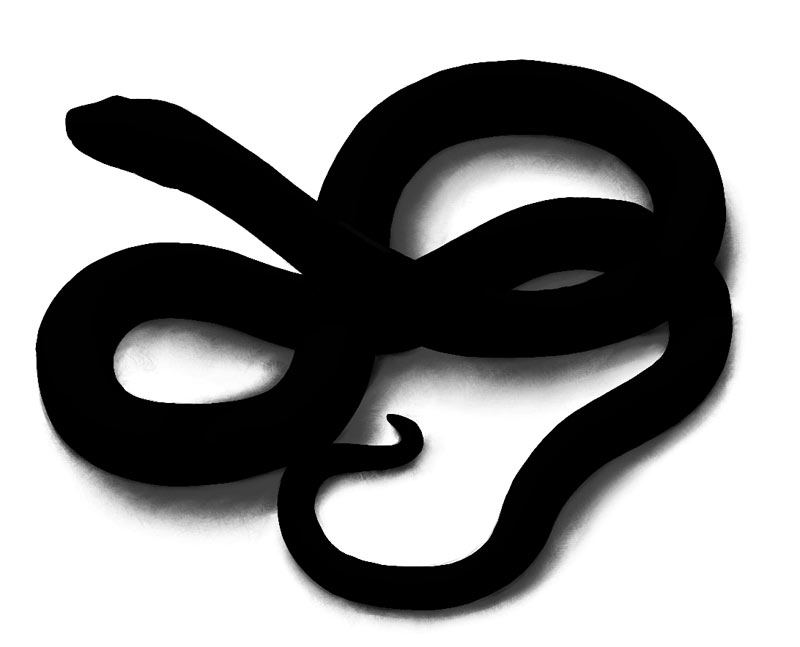
That was the theory, time for some practice! Open a sketch or download mine to to follow the process. The sketch should show the form of the object clearly—we don’t want to guess! First, lower its Opacity.
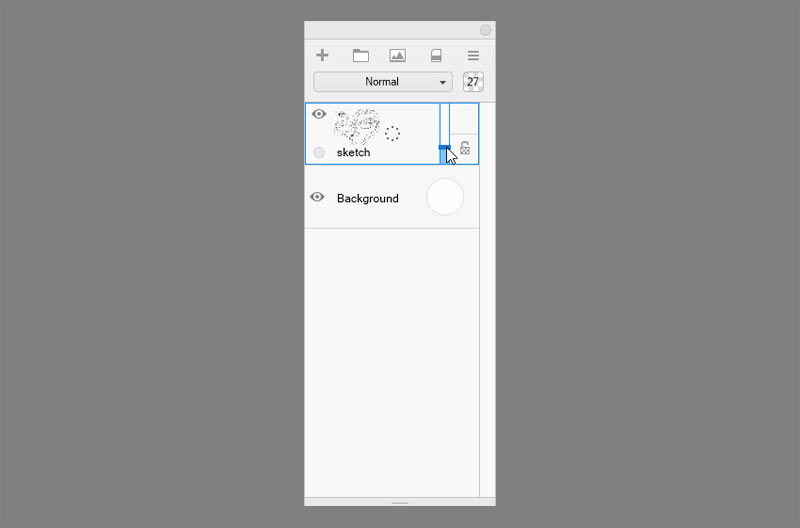

Create a new Layer under it. Use a hard brush, like the Inking Pen, to draw the outline of the object.
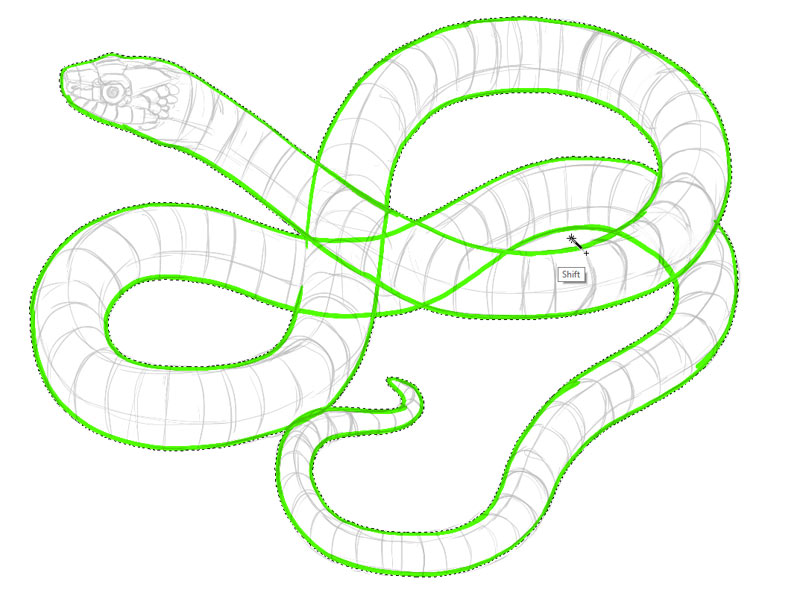
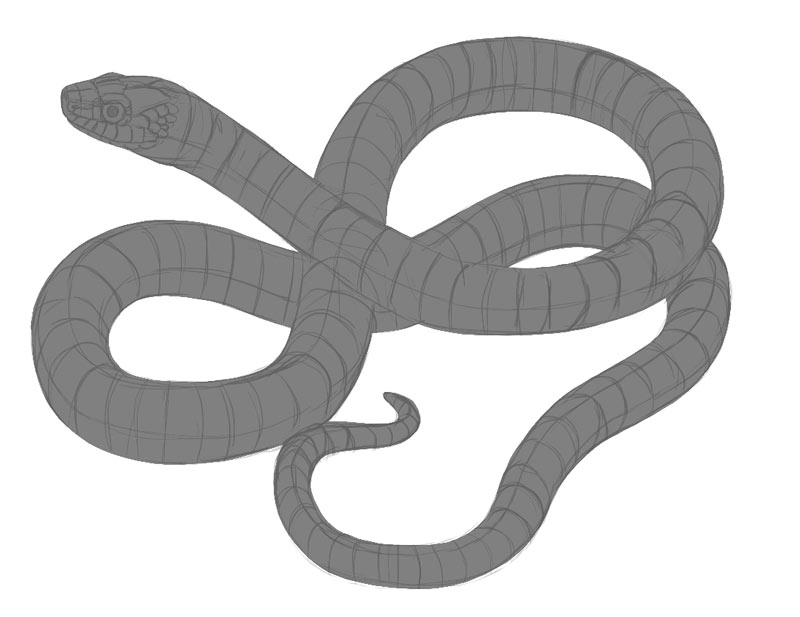
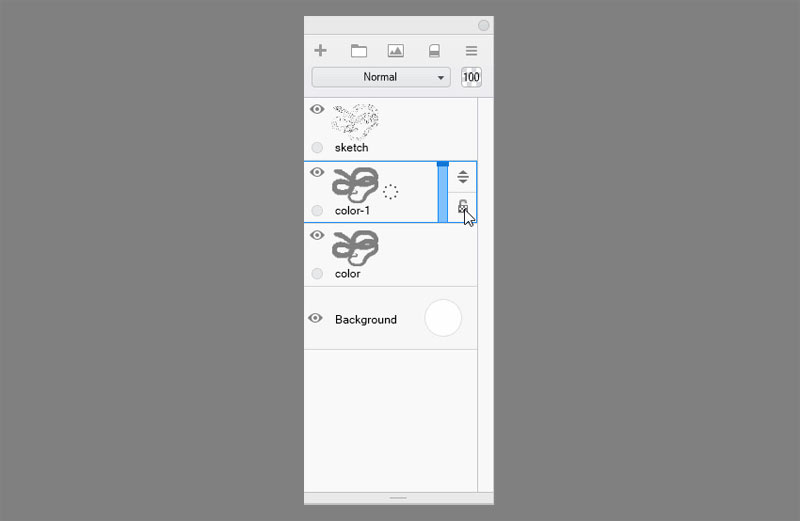
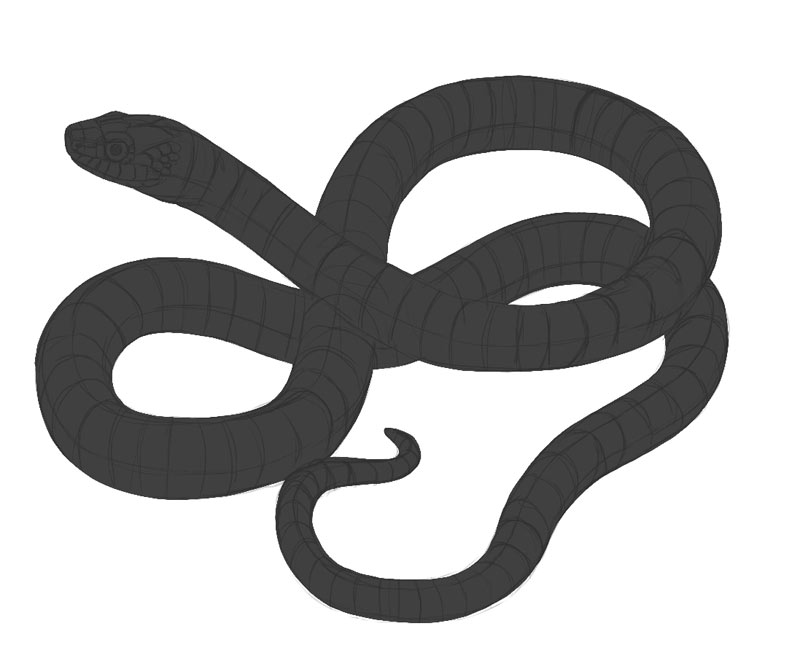
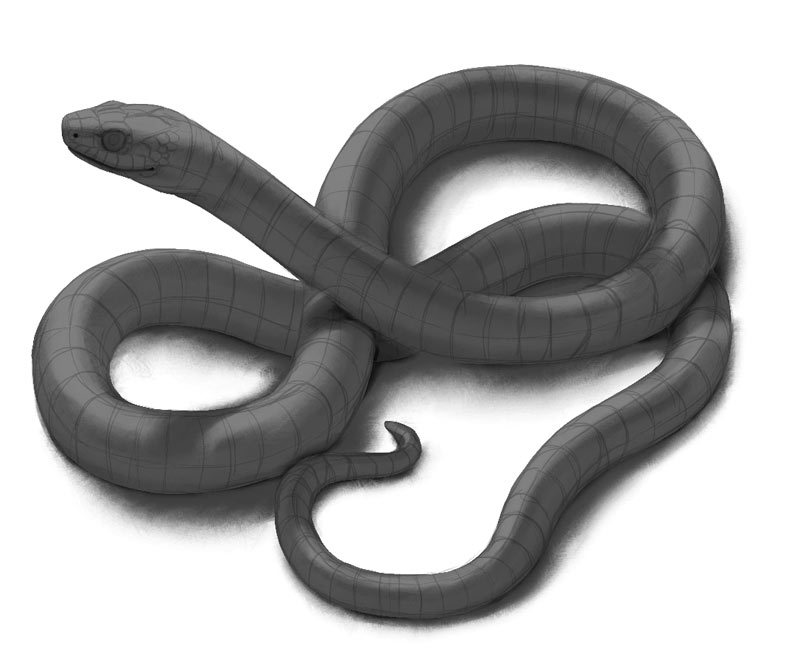
Press W to use the Magic Wand tool. Click in the area or areas outside of the outline. Then click Invert. Create a new Layer and fill it with 50% gray. This will be the basic color of the object. You can replace it with any other color later.


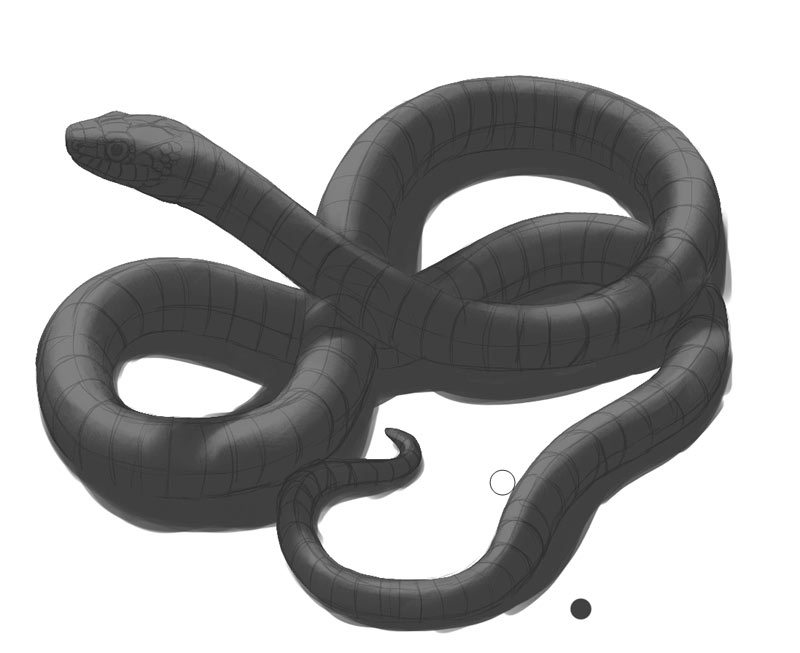
Step 2: Core Shadow
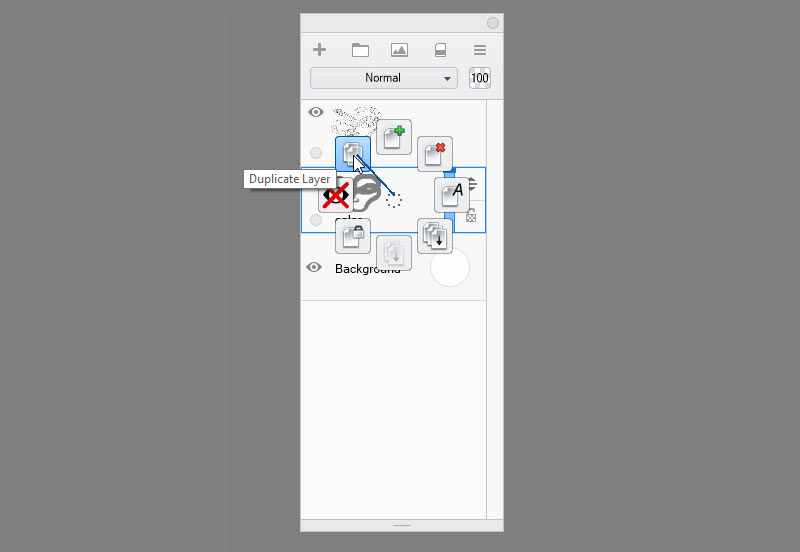
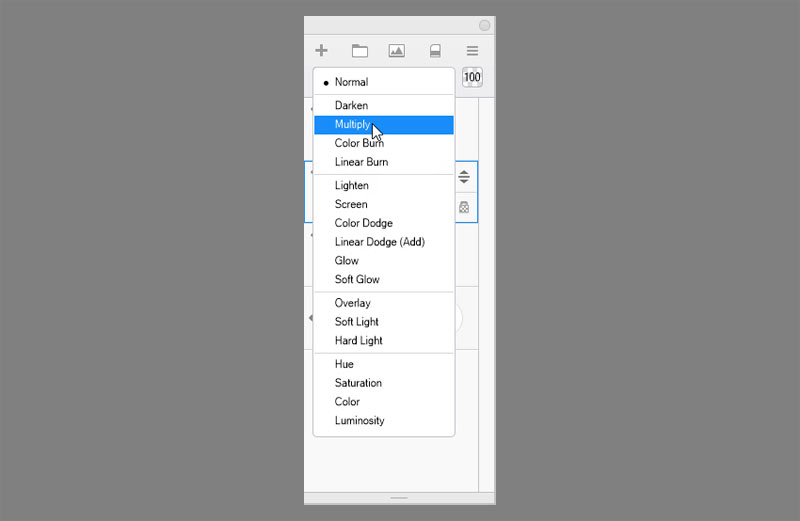
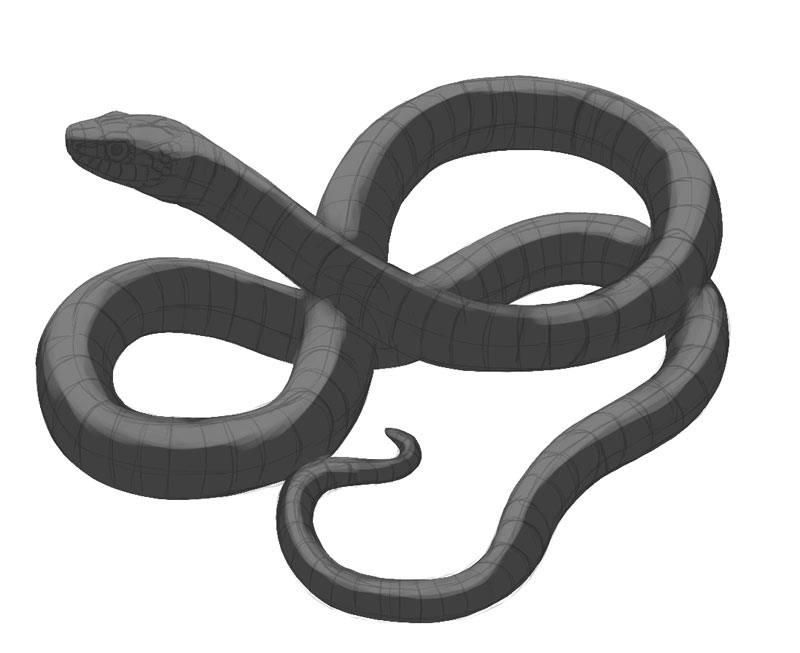
Duplicate the layer. Lock its transparency and change the Blend Mode to Multiply. If you hide and show the layer a couple of times, you’ll see how we darkened the whole object with a shadow. This will be our core shadow.
Step 3: Terminator
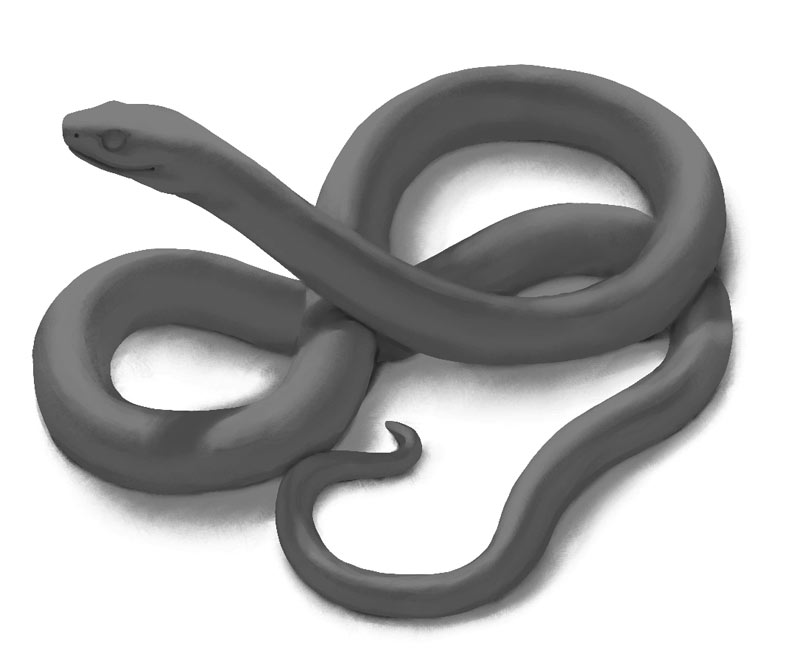
Now we need to decide the location of the light course and its type. We don’t need to do any calculations or measurements. Just start painting with white over the area that you need illuminated, and then follow the same direction of the light on the rest. Remember—the ultimate goal of this process is to make the artwork look good. If it looks and feels good to you, it doesn’t matter if it’s correct or not. Nobody is going to check this!
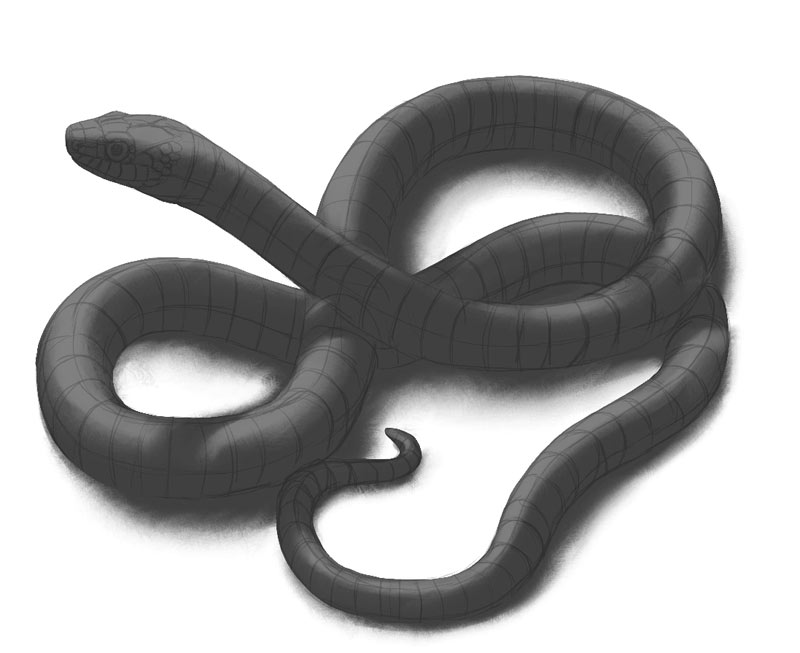
Step 4: Light Falloff
You can see my terminator looks pretty sloppy, but that’s the point—it’s just a sketch of the shadow, ready to be rendered further. What kind of falloff would look best here, what do you think? Sharp terminator makes a neat effect, but I think the soft one is more natural. So I took a blending brush and dragged some of the shadow into the illuminated area—but not the other way around! If you prefer a sharp terminator, you should now clean the line and blend it just a little.
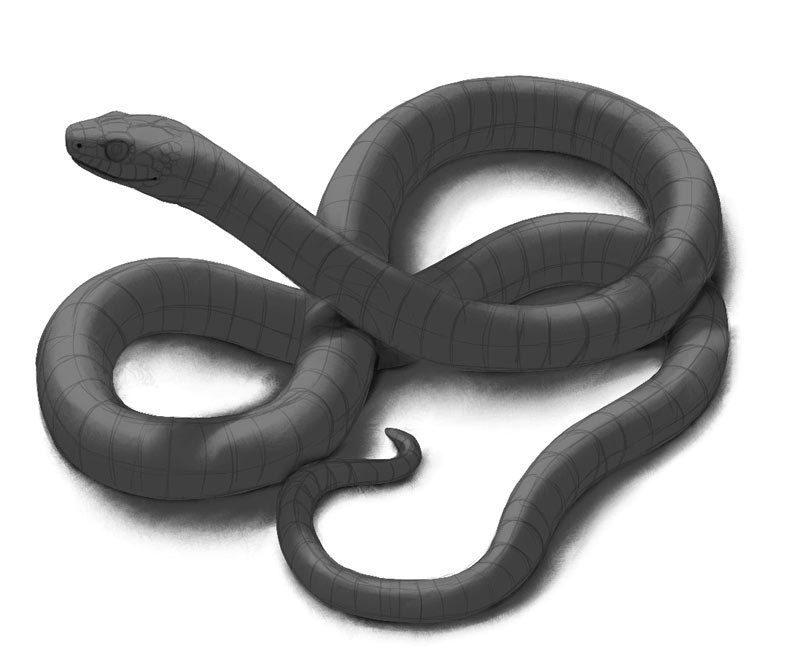
Step 5: Cast Shadow
Time for the cast shadow. First, try to notice if there are any overlapping areas in your object. If so, draw the cast shadow over them, wrapping it around the form of the object. Use 50% gray.

Let’s draw the cast shadow on the ground as well. Create a new Layer under the others and set its Blend Mode to Multiply. Paint the shadow next to the shadow on the object, roughly copying its shape and size. It’s direction should be defined by the direction of the imaginary light source—the same that you used while painting the illuminated areas.
The cast shadow should be as sharp or as soft as the terminator on its object. Because I used a very soft terminator, I blended the shadow very strongly as well. The farther the edge is from the object, the softer it should be, relatively to the general level of softness.
Step 6: Contact Shadow
Let’s add the contact shadow now. We can do it by using darker gray and painting it closer to the body. It applies to both the cast shadow and the core shadow. It’s best to keep it on a separate layer, so that you can control the brightness of the core shadow without affecting the contact shadow.
Step 7: Reflected Light
At this point the object should look pretty 3D even without the line art. But we can make it more realistic yet. Duplicate the core shadow layer and paint over it with black. Change its Blend Mode to Screen. Now take dark gray and paint over the shadowed area. Just stay away from the terminator and the contact shadow.
Step 8: Final Adjustments
Finally, you can adjust the brightness of the shadows by lowering the Opacity. Making the core shadow brighter will add a realistic effect of ambient light. You can also use Opacity to make the reflected light properly darker than the illuminated area.
That’s All… For Now!
This time, for simplicity’s sake, we used a smooth, matte, gray material only. But the world around us is full of colors and textures! In the last part of this series we’re going to learn everything about them, but in the meantime you should practice shading on its own. Become a master of grayscale, and then you’ll be ready to go to the next level!
You may also want to take a look at my older tutorials on this subject, published on Envato Tuts+:
- Improve Your Artwork by Learning to See Light and Shadow
- The Secret to Realistic Painting: How to Master Value
- Color Fundamentals: Shading
2 Comments