Here’s how I paint my colored cats! Keep in mind it’s not a real tutorial, I just wanted to share my current process with you.
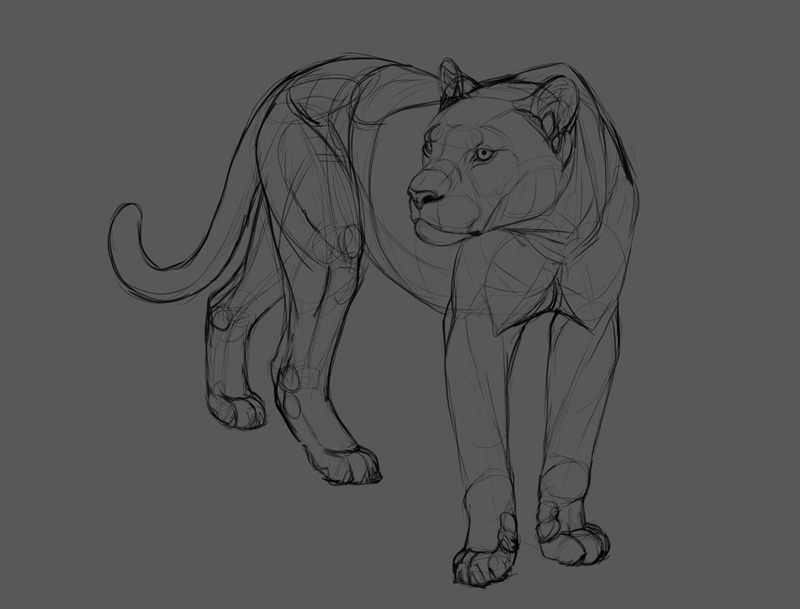
Step 1: Sketch
I used a reference to create a natural pose. I made sure to keep the body full of volume. If you want to learn how to do this, try this tutorial.
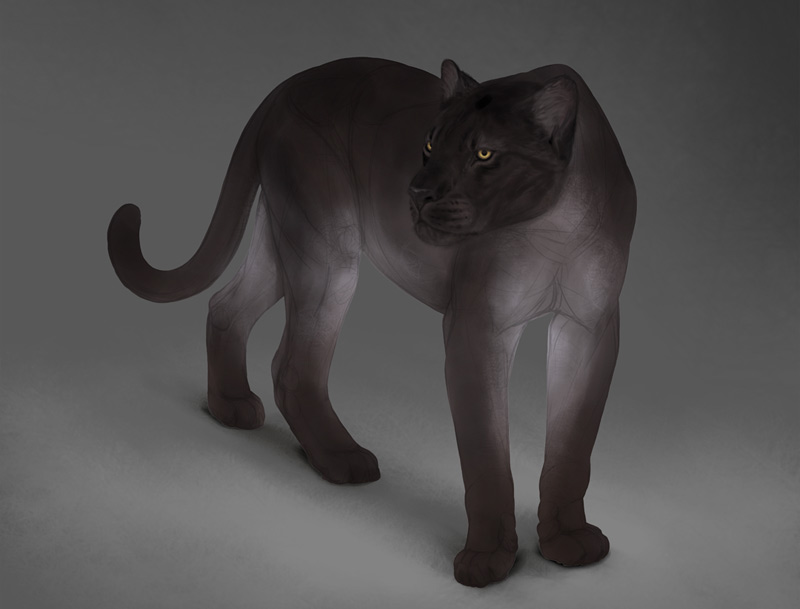
Step 2: Basic Colors
I used a sharp brush to draw an outline of the body. Then I selected the outside of it, inverted the selection, and filled the inside with a neutral color. I locked the pixels and painted the color pattern. At this point it was very simple—I focused more in the gradients than the details.
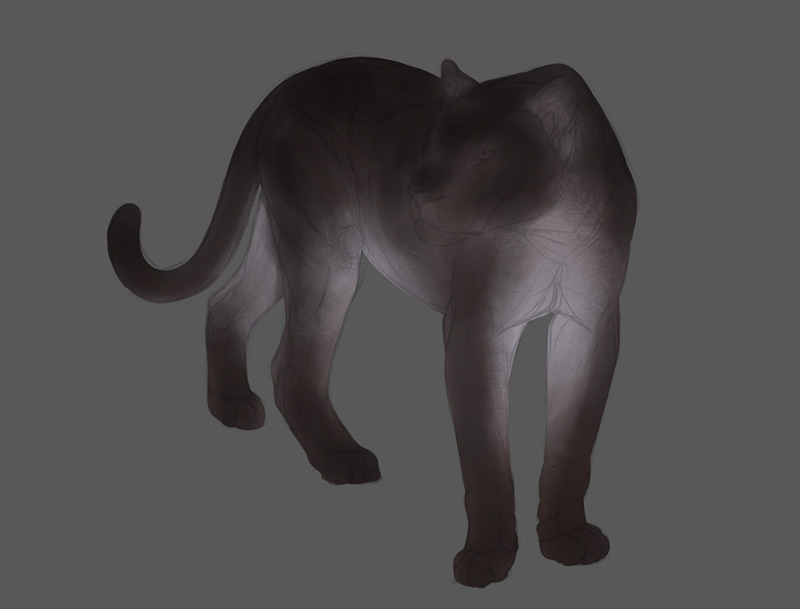
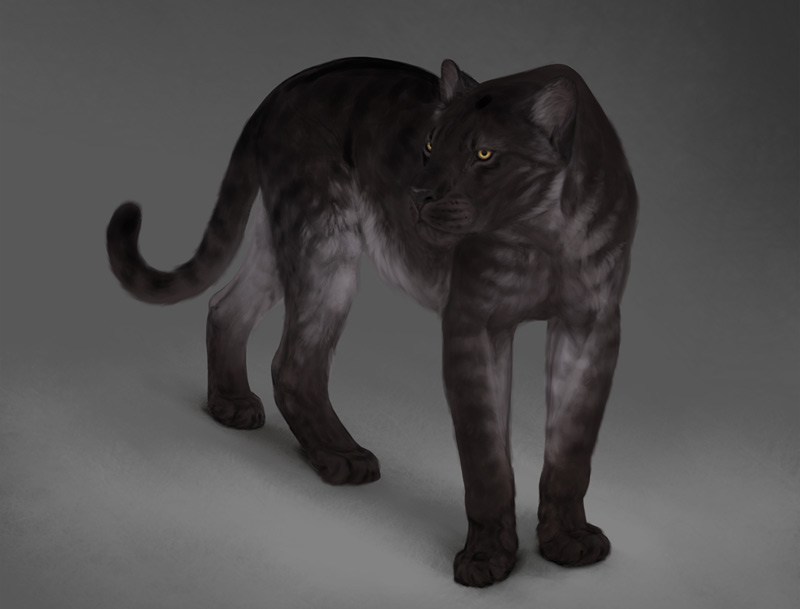
Step 3: Basic Shading
I created a Multiply layer and painted simple shadows on it. I used them to accentuate the 3D form of the body. Learn more about painting shadows here.
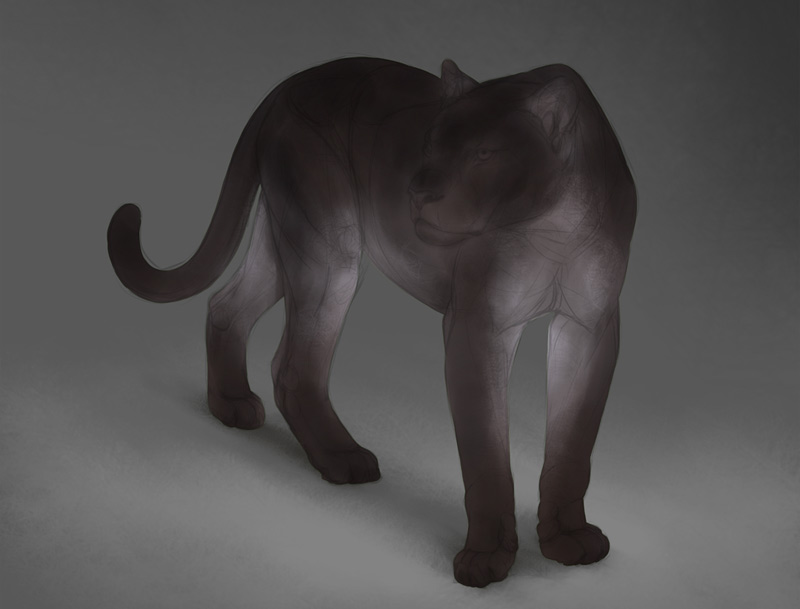
Step 4: Details
I merged all the layers (expect of the background) and started painting the details. I mostly pick the colors from the body and simply paint them gain with a smaller brush, simulating the direction of the fur. This process takes the longest.

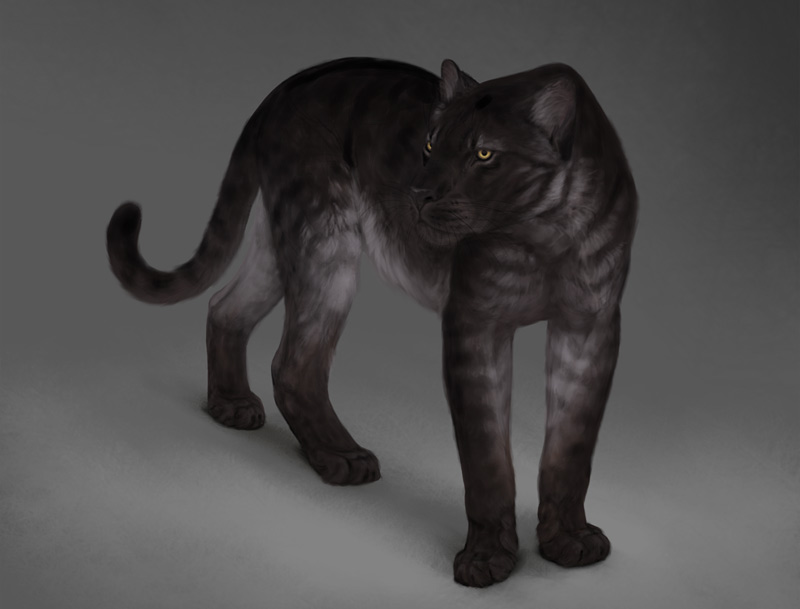
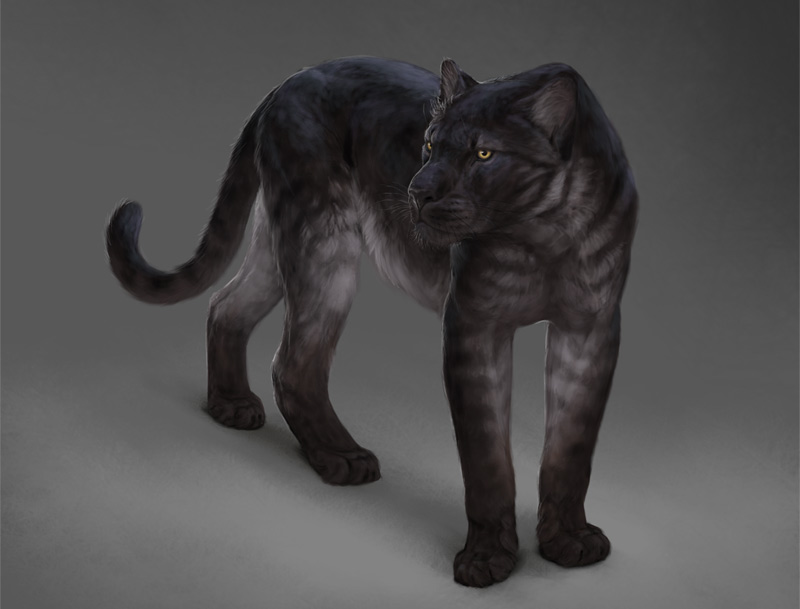
Step 5: Shine
So far I kept the animal matte. I always add shine last, to reveal the details not revealed by the shading. I paint shine in Screen mode. Learn more about it here.

Step 6: Rim Light
Rim light is very useful for creating a distance between overlapping parts of the body, or between the body and the background. However, it’s quite tricky to get right. This is what I struggle with most at the moment—how to make the best of it without making the effect unnatural.
2 Comments