If you don’t want your art to look flat, you need to shade it. But darkening certain parts is not enough—you need to know which areas need to be darker to create an illusion of depth. And for this, you need to understand how light and shadow works.
You can do it by observing how different lighting conditions affect different objects/materials, but it’s hard to control these factors in the real world. You can’t really compare the effects of a sunny day to an on overcast sky without waiting for the weather to change! So instead, you can use Blender for your studies.
Blender is a free 3D modeling program with a powerful rendering engine. It can simulate various aspects of the real world, and you, as the user, have full control over them. You can change the properties of the material, you can move the light source, you can move the objects around and change their shape—and observe how those changes affect the shading.
The only problem is, Blender is not a simple program. So in this tutorial I’ll show you how to use it for the sole purpose of studying the light and shadow, without having to learn any of the more complex things.
Before You Start
First, download and install Blender. The version I used here is 4.0.
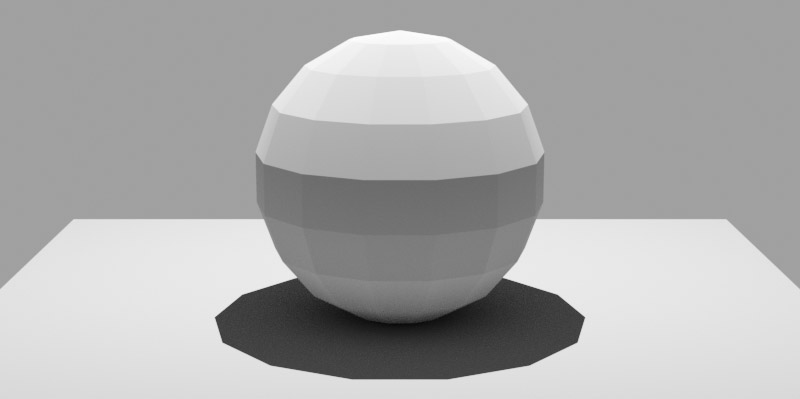
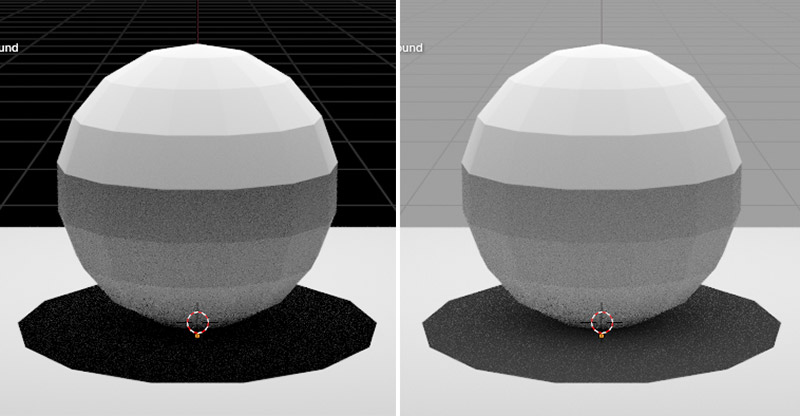
Then, download and unzip the file I’ll be using in this tutorial. It’s a gray sphere on a gray ground—focusing on the gray shades will allow us to see the primary effects of light, namely the shape and darkness of the shadow, without the effects of color.
The Light Half
Open Blender. If you do it for the first time, it may show you some settings—just click Save Settings to dismiss that. Then double click the my file to open it.
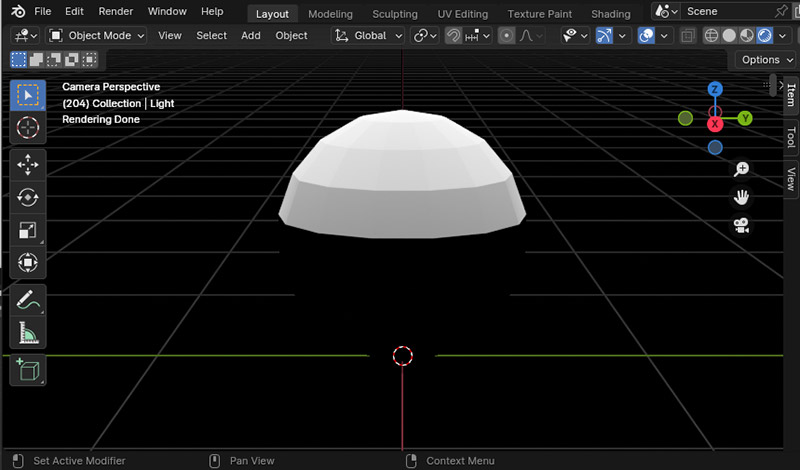
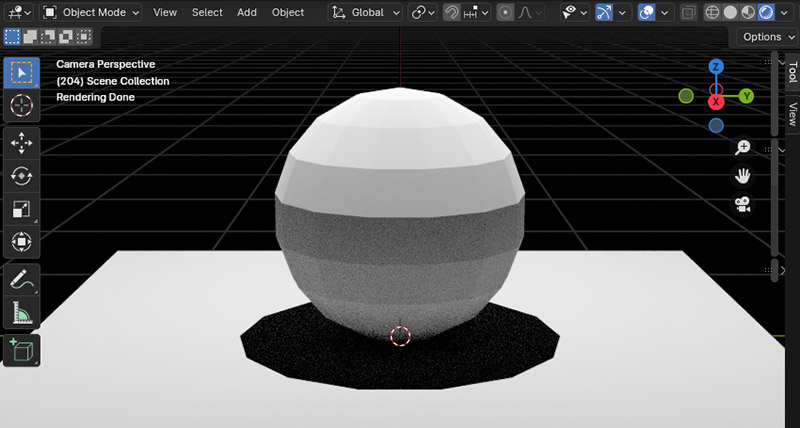
By default, the file will open in Solid mode, which shows the object in neutral lighting conditions. To switch to Rendered mode and see the effects of shading in real time, click the last circle in the upper bar:


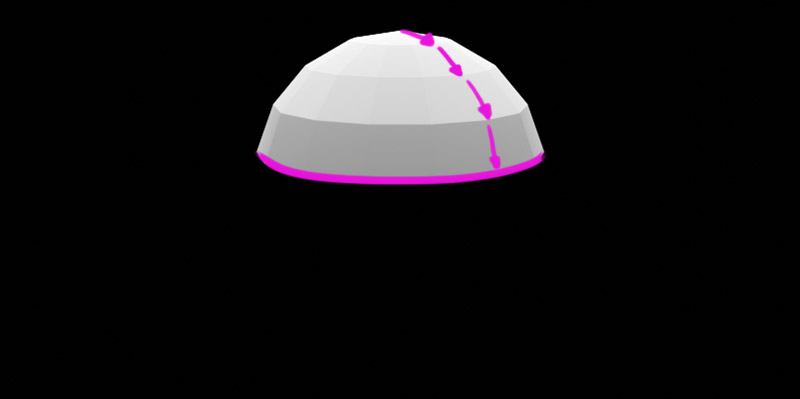
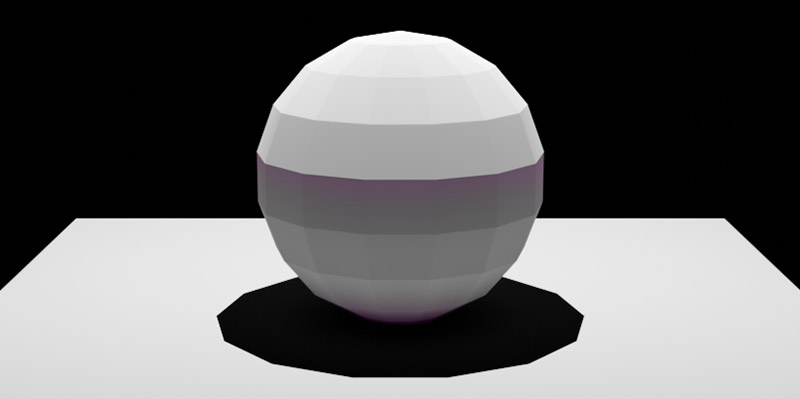
So, this is our basic sphere in a perfect void, with a point light source hanging overhead. Here you can clearly see the terminator (the border between light and shadow), as well as the light falloff (the closer the illuminated area is to the light source, the brighter it is).
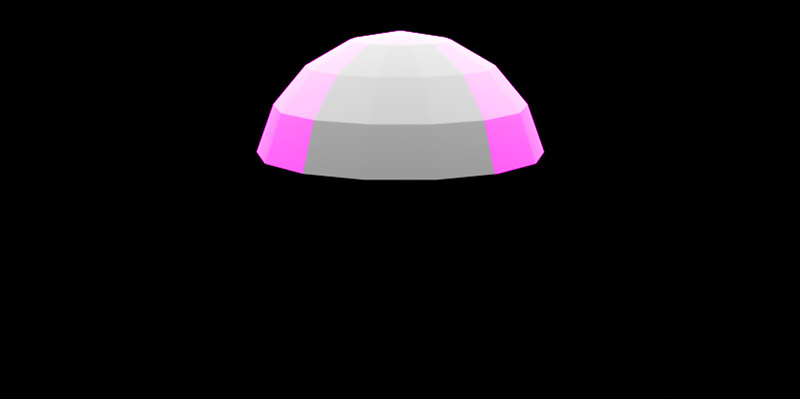
If you look closely, you’ll notice the sphere is also brighter around the edges, even though these edges are not closer to the light source. This is called the Fresnel effect, and it occurs when the illuminated area turns away from the viewer. The stronger it turns, the more reflective it becomes.
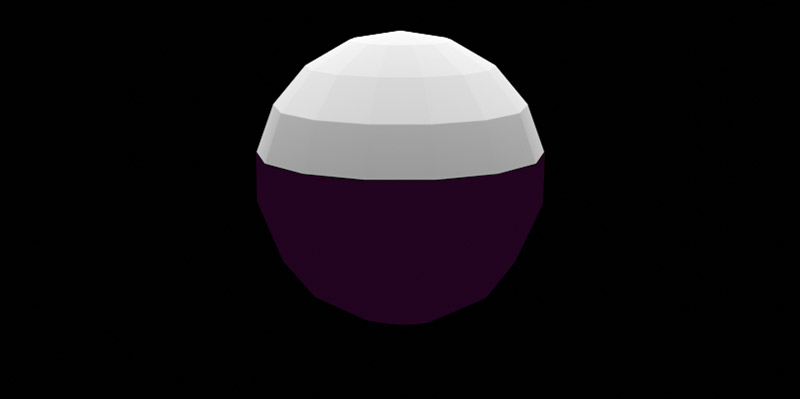
Notice that the form shadow area is completely black. This is because the light source is placed on the opposite side of the sphere, so its rays can’t really reach it. That’s what an actual shadow looks like!
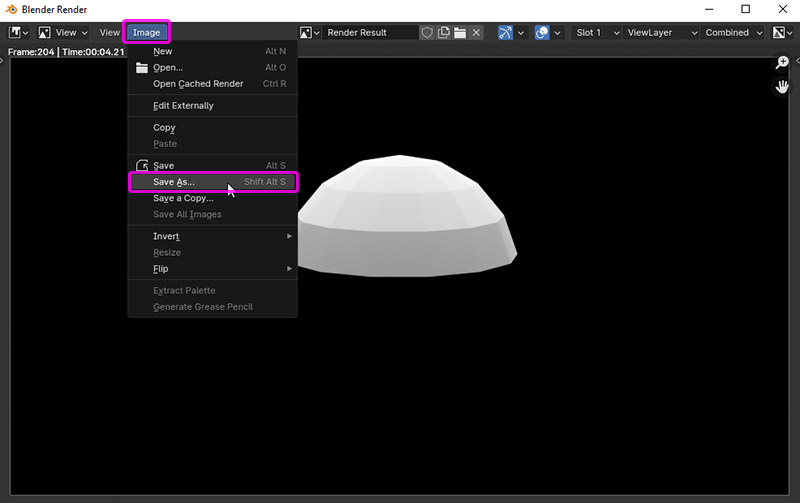
Before we move on, you can save this view to study it later. Press F12, wait for the image to render, then go to Image > Save As. Do this after every change you want to save for later.
The Shadow Half
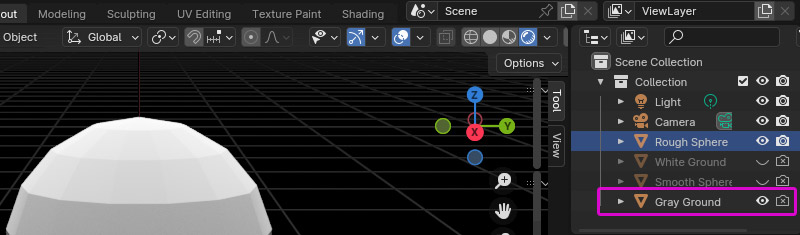
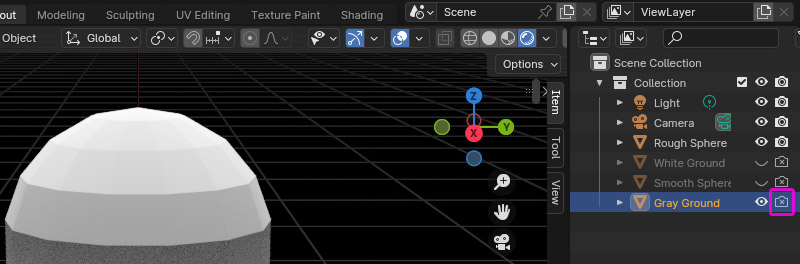
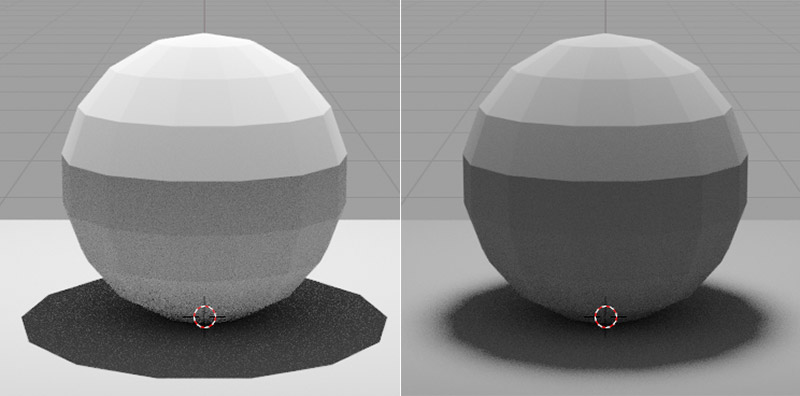
Now, let’s add another object to the scene—the ground. It’s already in the file, you just need to make it visible. In the upper right corner, you can find a list of all the objects in the scene—find the Gray Ground element and click its eye icon.
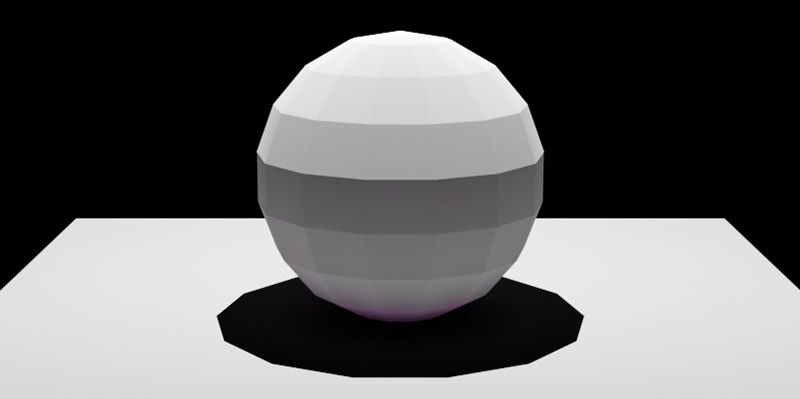
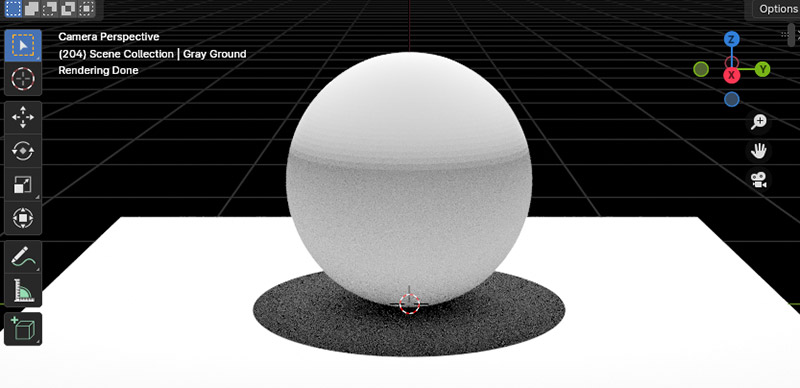
The ground plane is illuminated from the top the same way the sphere is, but because it’s a bit farther than the top of the sphere, it’s a bit darker than it. A part of the ground is also blocked from the light by the sphere, forming the cast shadow in the shape of the terminator.
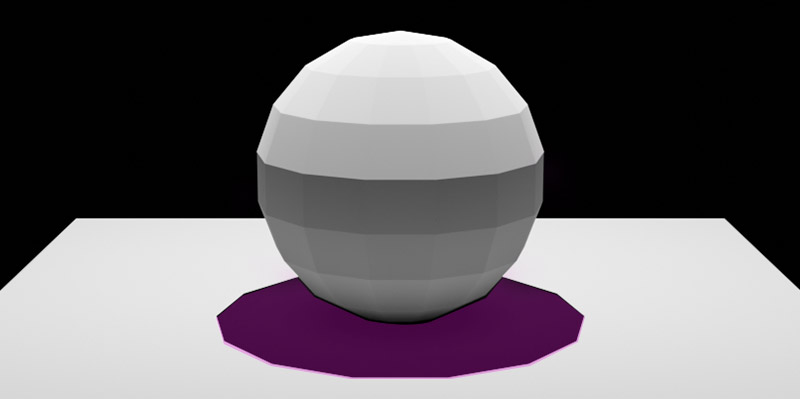
Notice how adding the ground under the sphere affected the form shadow. It’s now illuminated by the light reflected from the ground plane, in the same manner as the “light” side—the closer it is to the light source (that is, the ground), the brighter it looks. This light is called the reflected light, or the bounce light.

The form shadow area seems to be a little darker right under the terminator. This band is called the core shadow, and it occurs when the reflected light doesn’t overlap with the illuminated side. The farther the reflected light source, the darker and wider the band will be.
Lastly, notice the darkening in the area where the sphere touches the ground. It’s called the occlusion shadow—a “tight” area that neither the primary light, nor the reflected light can reach. This is often the darkest shadow in the scene.
Time to Experiment!
Now, play with these elements to see how changing their location changes the effect of light! To move any of the objects, you can click its name on the list. Then press G (it means Grab), and then the name of the axis you want to move along:
- X to move the object forward/backward
- Y to move the object left/right
- Z to move the object up/down
After pressing the button, just move your cursor to move the object. You can cancel the change by pressing Esc, or click anywhere to accept the change (e.g. to render the view). Control-Z will allow you to go back to the previous view, so don’t be afraid to experiment!
Here are the things you’ll want to test:
- Move the Light element up and down to see the effects of the light falloff and to resize the cast shadow.
- Move the Light element left/right and /forward/backward to see how the terminator changes shape.
- Move the Gray Ground element up/down to see how the core shadow area changes width and brightness, and how the occlusion shadow disappears after the objects no longer touch.
- Move the Gray Ground element left/right and /forward/backward to see how the reflected light slides off the sphere, revealing the darkness of the core shadow.
- Hide one of the elements temporarily to see how it affects the others.
You may want to save a lot of renders in the process, to make it easier to compare the effects later. While doing so, always make sure that every visible object is also set to be visible for rendering—the camera icon next to the eye icon has to be active. Similarly, every hidden element should also be disabled for rendering.
After you’ve tested all of these changes, you can experiment with other changes, too. Hide the Gray Ground element and make the White Ground element visible instead. Notice how it changes the look of the form shadow area. You can also hide the Rough Sphere, and make the Smooth Sphere visible instead. It will be harder to study (if you decide to paint it), but it will show you a more realistic view.
There are two more things you can test, but we need to dive deeper into Blender’s settings to see them. First, find the world icon on the right—this will reveal the World settings, the settings of the environment. Reveal the Surface list and set Strength to 1.
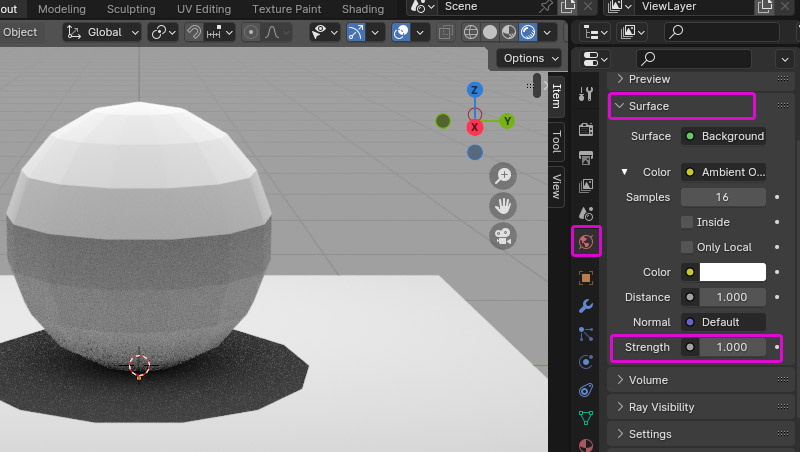
This is the strength of the ambient light. This light is actually a form of reflected light—just the one without an obvious source. It’s usually light reflected from the sky, but it can also be the light reflected from the walls/ceiling. Notice how it brightens the form shadow, especially the core shadow part, and how it fills the cast shadow as well. Because of this, the occlusion shadow between the two objects becomes the darkest shadow in the scene.
The second thing is also hidden in the settings. Select the Light element, and then click the light bulb icon to open the Light settings. Here you can experiment with the values of Power and Radius.
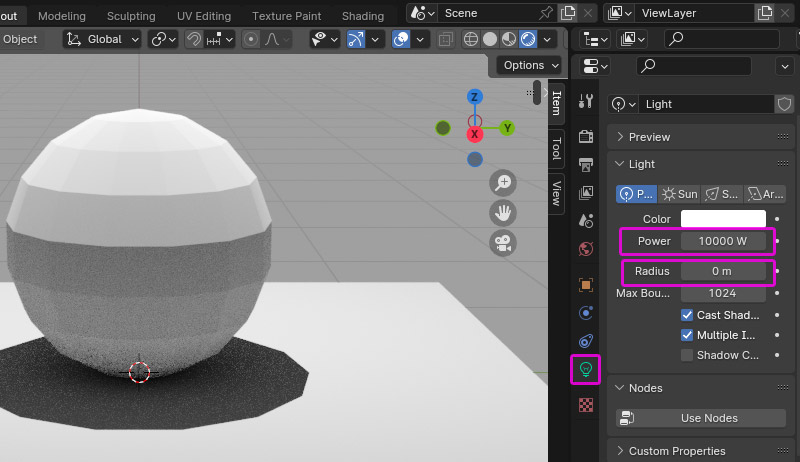
Power regulates the intensity of the light, and Radius controls its size. Notice that changing the size of the light source doesn’t make it brighter, but it affects the softness of the cast shadow (and the softness of the terminator, which is visible on the Smooth Sphere).
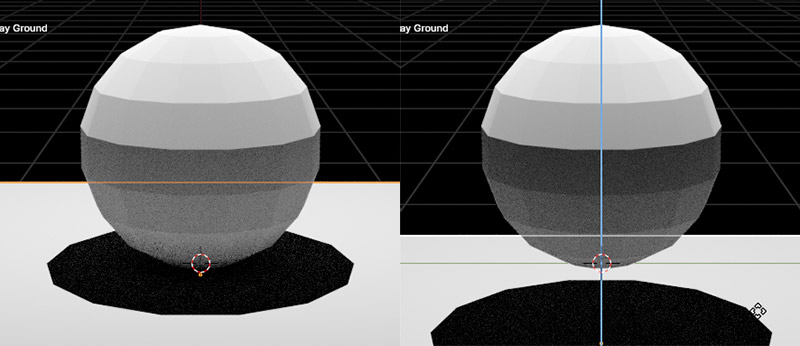
These were the most important things, but you can discover something more by experimenting further. For example, you can observe the sphere in other views:
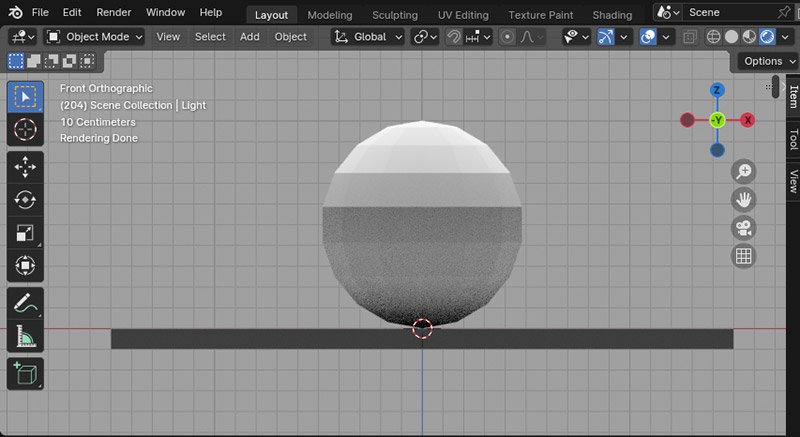
- Press 1 on the numpad to see the front view
- Press 3 on the numpad to see the side view
- Press 7 on the numpad to see the top view
- Hold and drag the scroll button to freely move around the sphere
- Press 0 on the numpad to reset the view
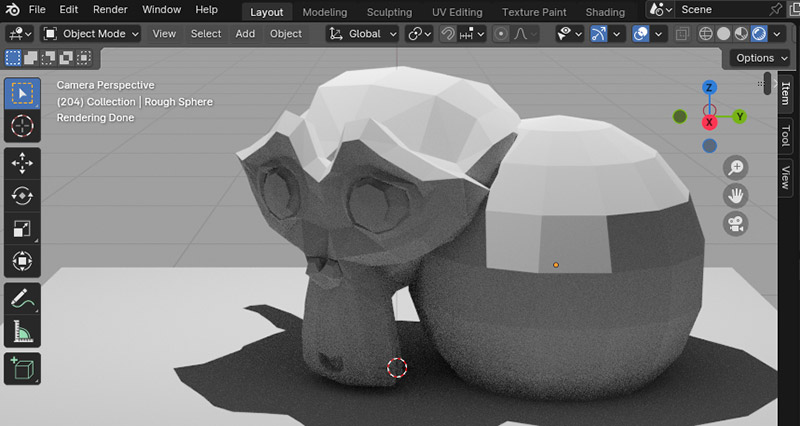
Ok, but it was just a simple sphere. If you’re curious what the same effects look like on something more complex, you can easily test it in the same file. Hide the Rough/Smooth Sphere element and go to Add > Mesh > Monkey.
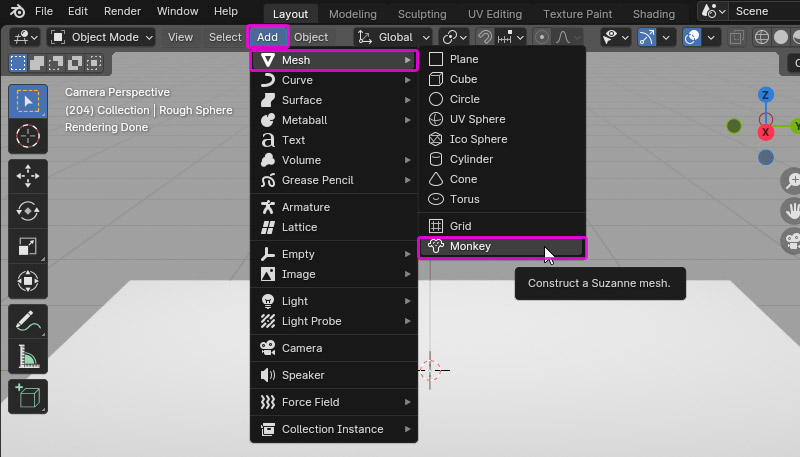
This will give you a model of the Blender’s mascot, Suzanne. To see it better, you may need to manipulate it a little:
- Grab with G to move it up
- Scale with S to make it smaller
- Rotate with R to make its features face the camera
Use the X, Y, Z keys to lock these manipulations to a single axis.
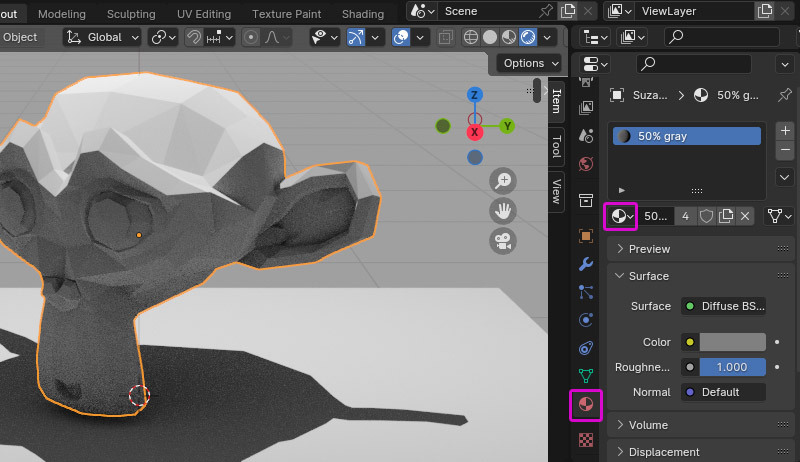
Suzanne is white by default, so if you want to make it more like the other objects in the scene, select the monkey, find the sphere icon to open the Material settings, and set the material to 50% gray.
If you want to learn even more, show the Rough Sphere back and move it around, to see how the interaction between the two objects affects the light and shadow on the surface of each.
Conclusion
As you can see, Blender isn’t that scary if you focus on these crucial features only. But who knows—now that you’re familiar with them, maybe you’ll decide to learn something about 3D modeling, too!
You might’ve noticed we didn’t cover color and materials with various properties. It’s because shading is a complex topic, and I wanted to focus on these basic properties first. I’ll probably create a separate tutorial about color and materials at a later time, but in the meantime, feel free to experiment with the Materials tab—everything you need is right there!
Did you find this post useful, helpful, inspiring? You can say “thank you!” by sending me a little donation:

0 Comments