We’ve had the Alpha Mask feature in Sketchbook Pro for a while, which is a counterpart of Photoshop’s Layer Masks. With the new update, we got another popular feature: the Clipping Mask.
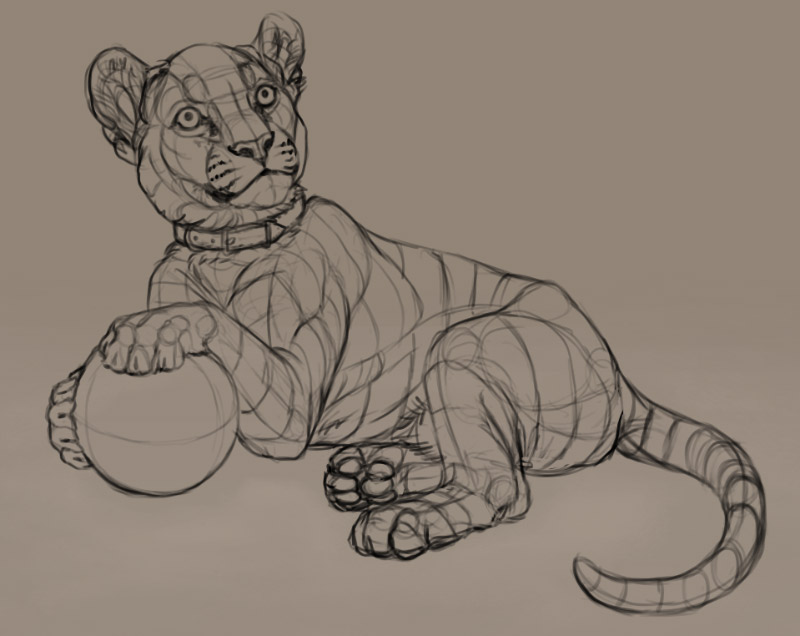
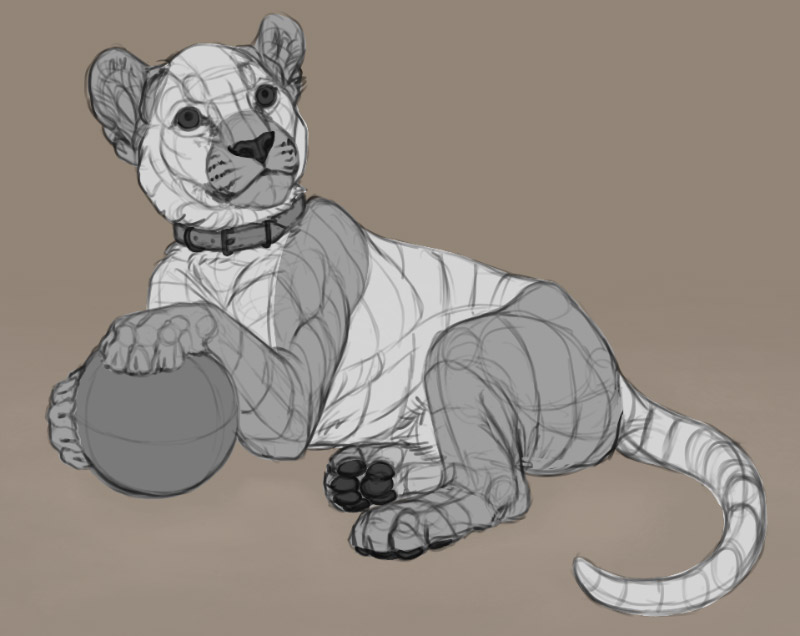
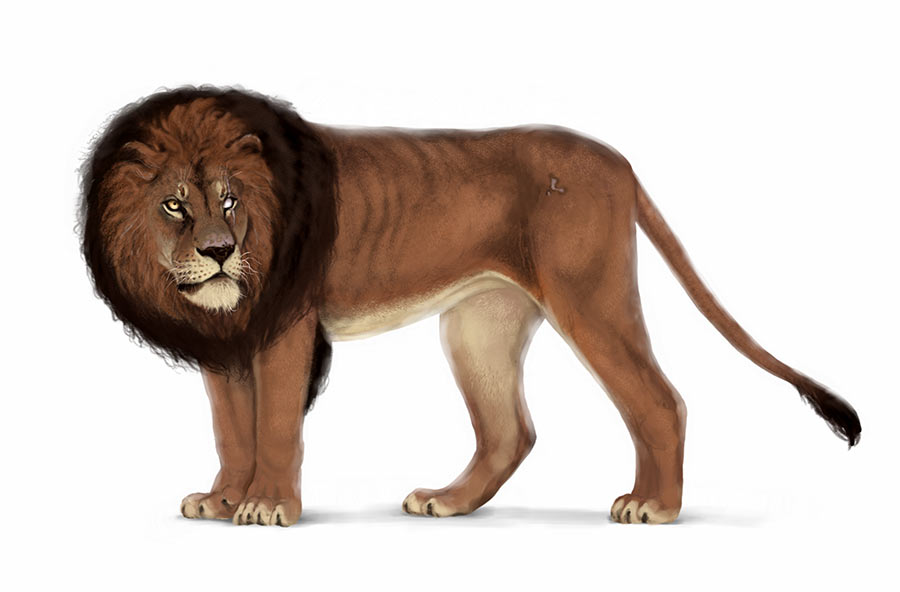
The Clipping Mask is similar to the Alpha Mask—it defines an area that other layers cannot cross. So for example, you can draw the silhouette of the body only once, and then all the other layers—with colors, shadows, etc—will always follow the shape of that silhouette. The image below was created using four clipping masks, and if you want to learn how I did it, keep reading!

How to Create a Clipping Mask in Sketchbook Pro
To create a mask, you need to define its boundaries first. You can do it using two methods:
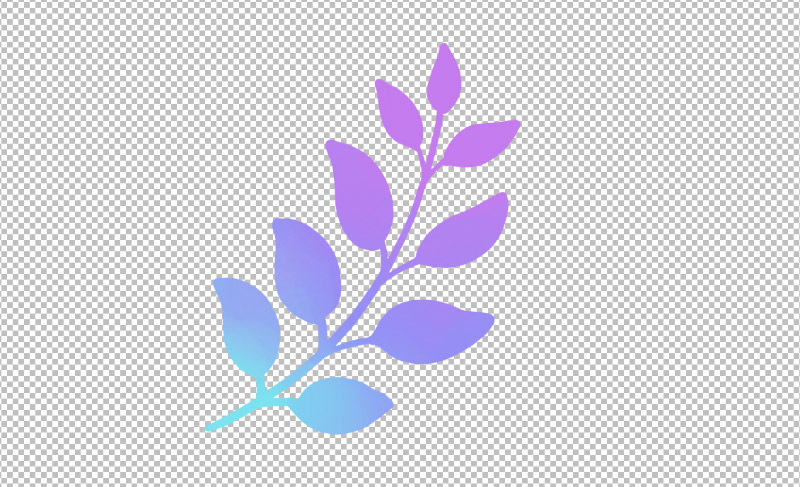
Method 1 (Faster, Sharper, More Organic)
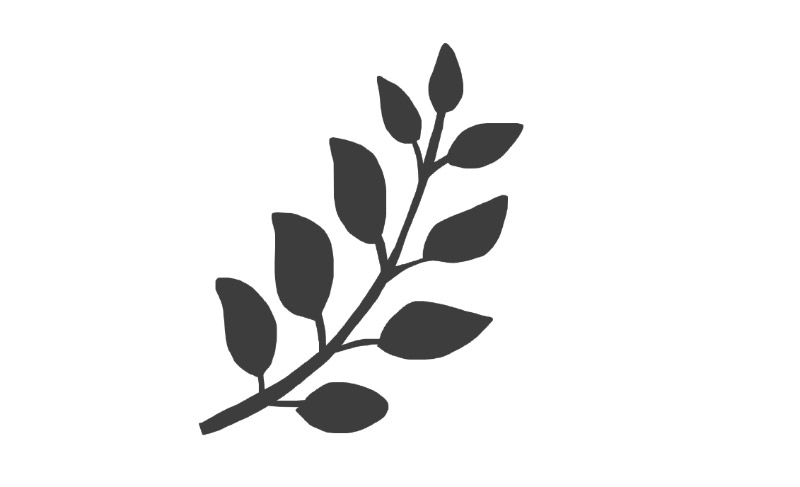
Select the chosen area using the Lasso tool (L). To do this in multiple takes, hold the Shift key, or select Add in the upper bar.

Then fill the selection using the Flood Fill (G).


Finally, deselect with Control-D.

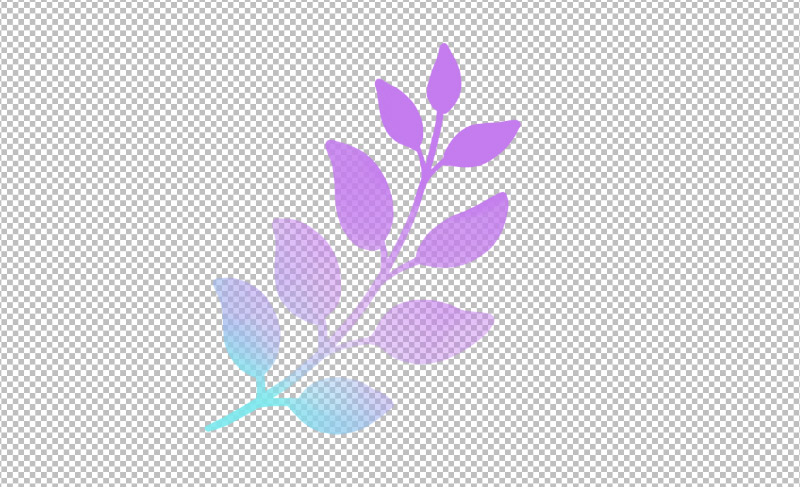
Method 2 (Slower, Softer, More Precise)
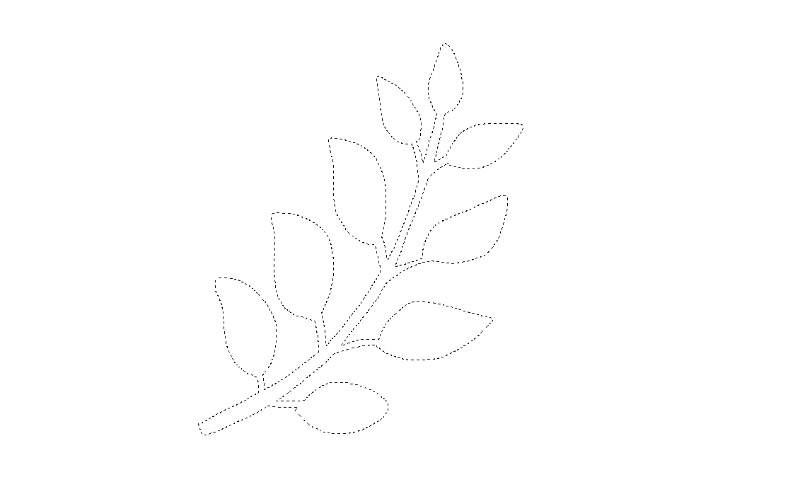
Draw an outline using a hard-edged brush (something that looks like ink brush). It will make the edges of the mask solid, but not as sharp as with the Lasso.

Use the Magic Wand (W) outside of the outline. If there any any closed spaces that the Wand hasn’t caught, add them to the selection by using the Shift key.


Invert the selection with Control-Shift-I.


Create a New Layer and fill it using the Flood Fill (G).

Deselect with Control-D and delete the outline layer.

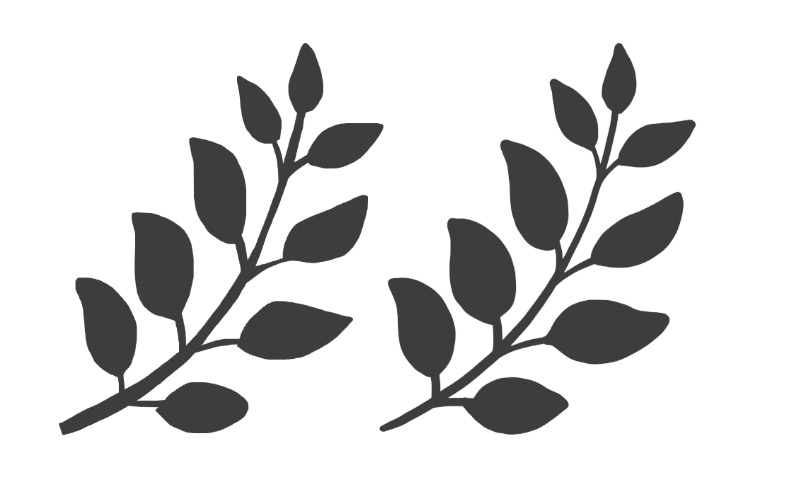
Here’s a comparison of both methods side by side:
How to Turn a Layer into a Clipping Mask in Sketchbook Pro
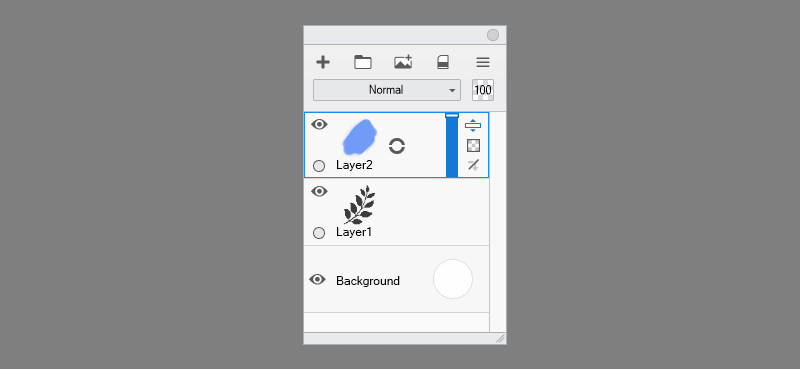
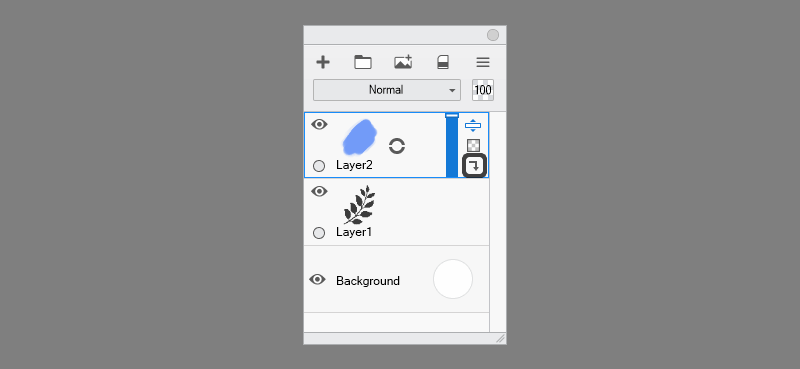
Creating a Clipping Mask in Sketchbook Pro is very straightforward—just click the arrow on the bottom right corner to clip a layer to the layer below.


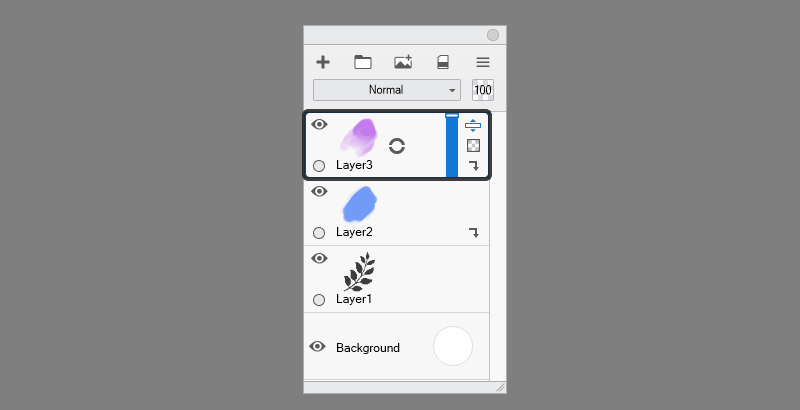
A single clipped layer is all you need to create a Clipping Mask, but if you need more, it’s possible to stack them. If you have a clipped layer, and you click that arrow on the layer above it, this second layer will be automatically clipped to the same mask as the first one.


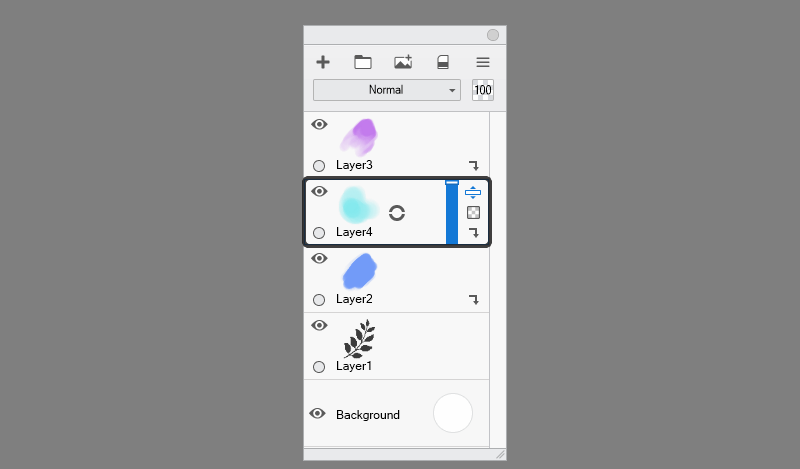
If you create a layer between a mask and its clipped layer (or between two clipped layers), this new layer will be clipped to that mask automatically.

How to Use Clipping Masks in Sketchbook Pro
Ok, this was the theory—let me show how to use Clipping Masks in practice!
First, you need to plan the areas that you want to keep separate. For example, in my line art the legs overlap the torso, so while coloring/shading the torso, I would inevitably cross the legs. And then, when coloring/shading the legs, I’d have to be careful not to cross the torso, too. By using a Clipping Mask, I can keep them separate!
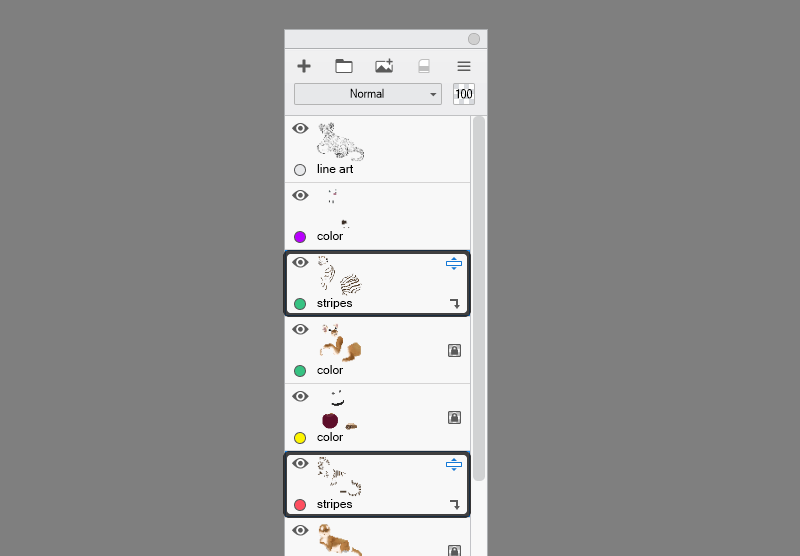
Create as many masks as you need, but try to limit their number to avoid chaos. You may start with one area per layer, but if you have multiple layers with areas that don’t overlap, feel free to merge them into one big mask. In my file, I ended up with only four masks
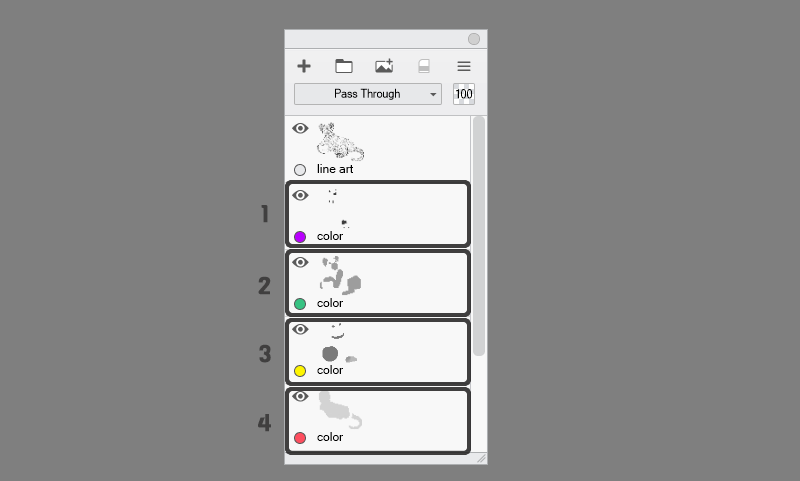
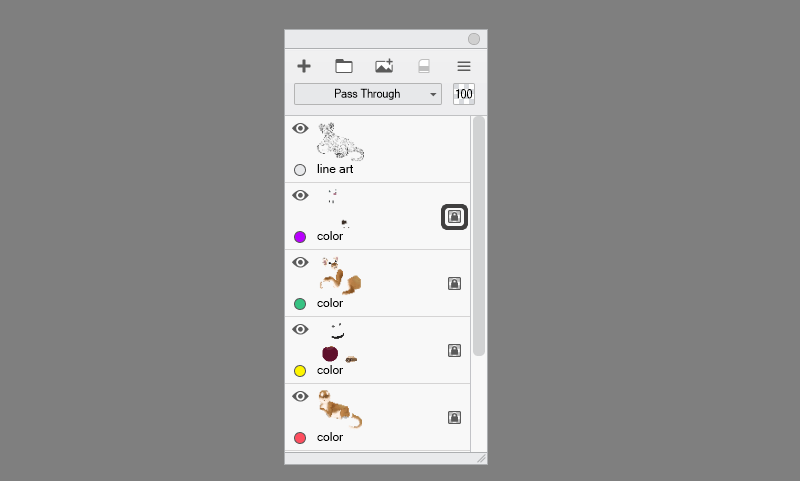
To limit the overall layer number in the file, the masks can be repurposed as flat colors layers. Just Lock Transparency of each mask and paint directly on them. Transparency Lock is like a basic version of a Clipping Mask—it works the same way, except the mask and the clipped layer are both the same layer.
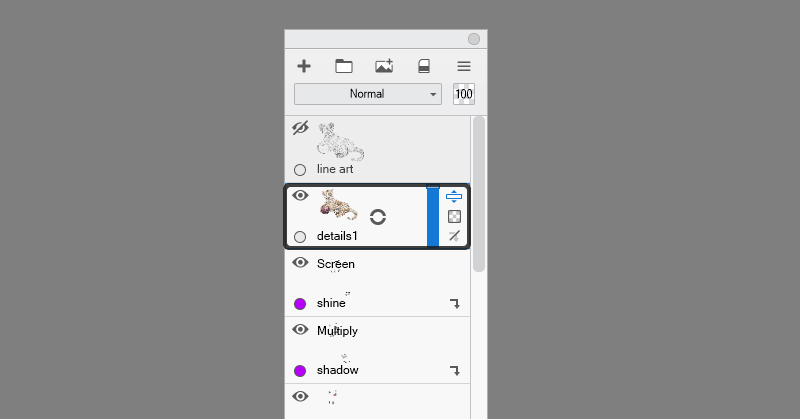
Sometimes you may want to keep colors separate, even within the same mask. To do this, simply create a New Layer over the mask and clip it.

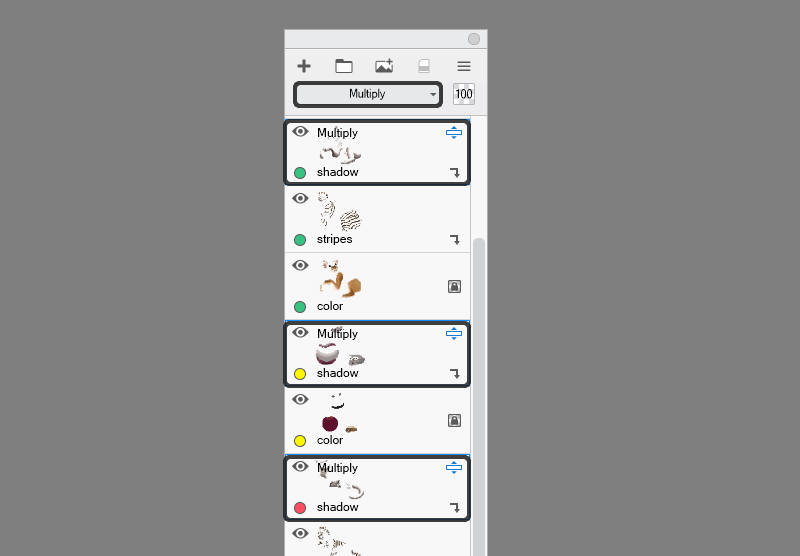
Next, you can create another New Layer, clip it, and change its Blend Mode to Multiply. Use this layer for shadows. This is where a Clipping Mask really shines—your shadows will always share the edge with the edge of the body parts without you even trying!

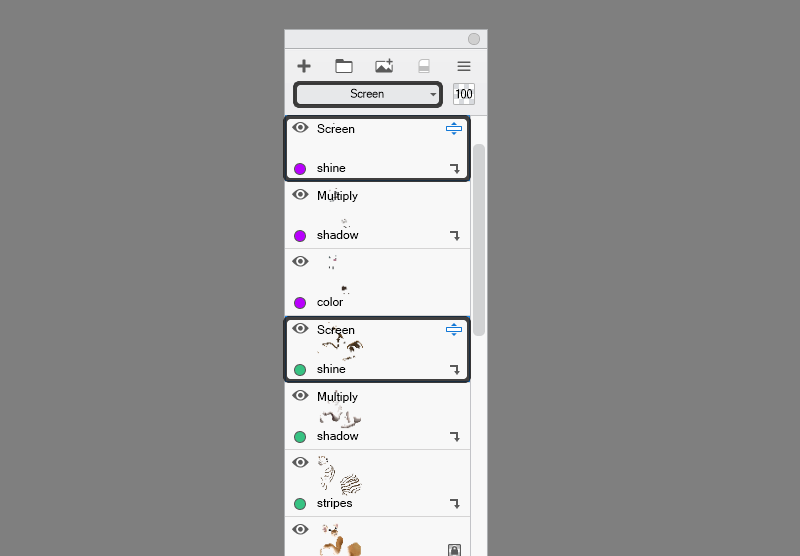
Speaking of shine, you can add another clipped layer, this time in Screen mode. Use it to add some gloss and highlights to the smooth areas.

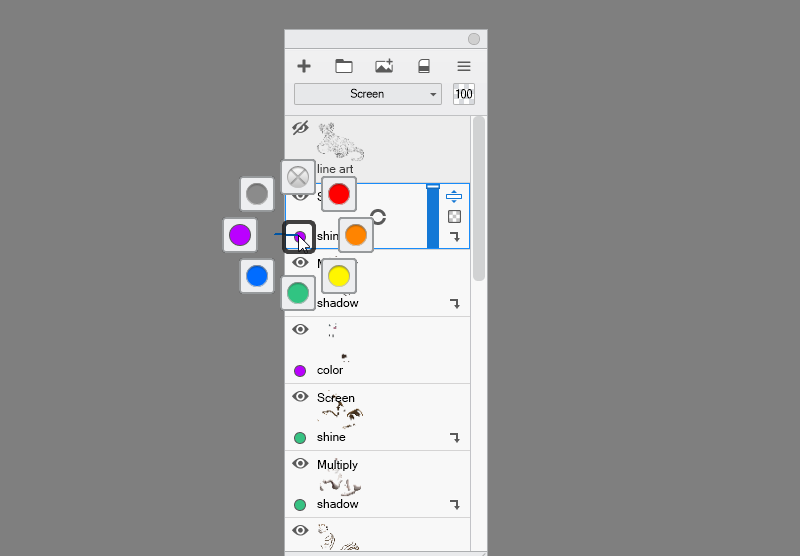
There are many other layers you could add—you can have multiple layers for different kinds of shadow, for example, or multiple layers for separate colors. If you do, though, I recommend keeping each stack inside a group—this will save you from too much scrolling. Adjusting the Color Label of the layers will help keep them organized, too.
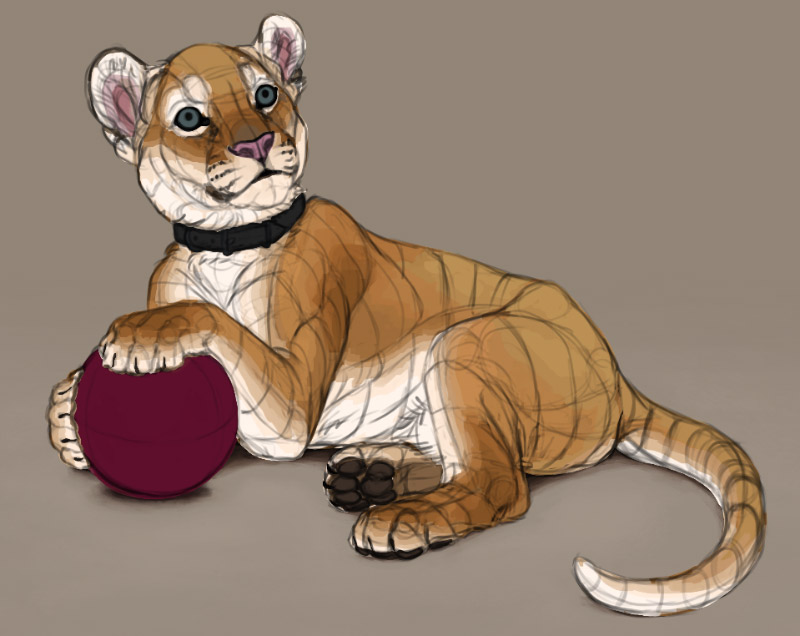
Clipping Masks are great, but they have their limits. If you want to render the artwork, it’s best to do it on a separate layer on top. This way you can adjust the softness of the edges and make sure the separate areas blend into each other properly.


If you want to take a closer look at the layers I’ve used for this illustration, you can download it using the link below. Educational use only!
Clipping Mask vs Alpha Mask—What’s the Difference?
There are two main differences between a Clipping Mask and an Alpha Mask. First, an Alpha Mask is invisible—you can only see it through its effects on the layers clipped to it. It’s like using the Lasso tool to limit the brush strokes to a certain area—except the mask allows you to save that selection area and reuse it/modify it at any time.
A Clipping Mask is visible even if you don’t clip anything to it. This means that if the clipped layer doesn’t cover the area fully, the color of the mask will show up underneath.
The other difference is the location of the clipped layers. In an Alpha Mask stack, you clip the layers below the mask. In a Clipping Mask stack, you clip the layers above the mask.
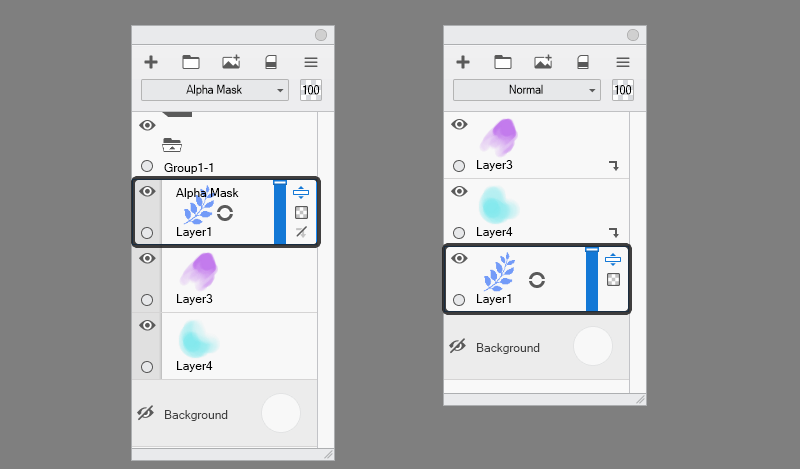
Lastly, hiding the Alpha Mask will hide its effect on the masked layers, revealing their previously clipped parts. Hiding the Clipping mask will hide the whole clipped stack.
In most cases, deciding between both is just a matter of convenience. Clipping Masks are faster to create—you just put a layer above the mask and clip it. An Alpha Mask, on the other hand, requires creating a group in the Normal mode first, which makes it more cumbersome to start—but once you do, all the layers below are clipped automatically.
In practice, a Clipping Mask is good to use on the fly, to quickly separate one object into mutliple layers whenever you want. An Alpha Mask can be more convenient if you have a plan—especially if this plan involves a lot of layers clipped to the same mask. You can also combine the two—one Alpha mask can clip multiple Clipping Masks!
Conclusion
As you can see, Clipping Mask is an extremely useful tool that will allow you to keep your edges sharp with little to no effort. So if you still use the old version of Sketchbook, this is definitely a good time for an upgrade!
0 Comments