I’ve painted this dragon without any real plan, but it looks like I found a cool method for painting scales without any special ambient occlusion layer. I’ve prepared some notes I’d like to share with you, although it’s not a real tutorial yet (I have a few issues to solve first before I can safely teach you this method).
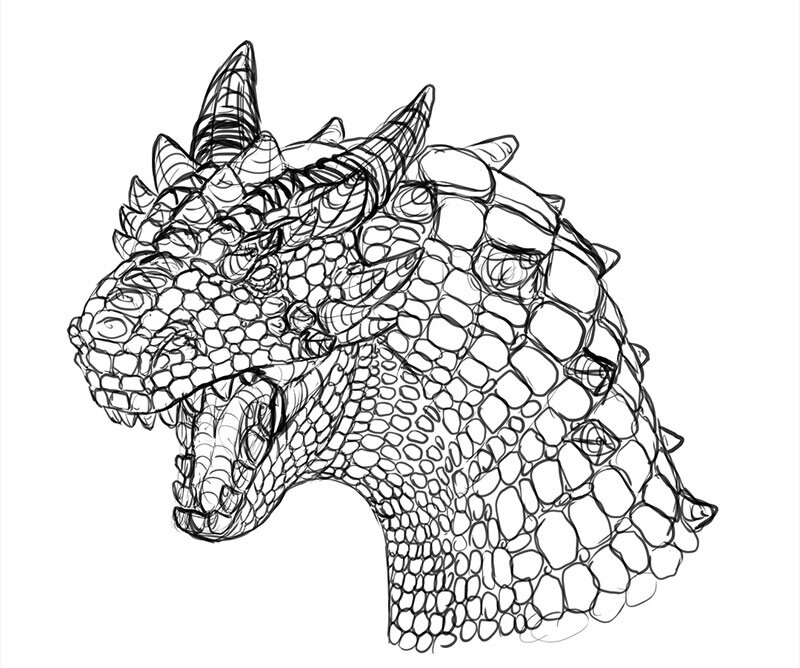
Step 1
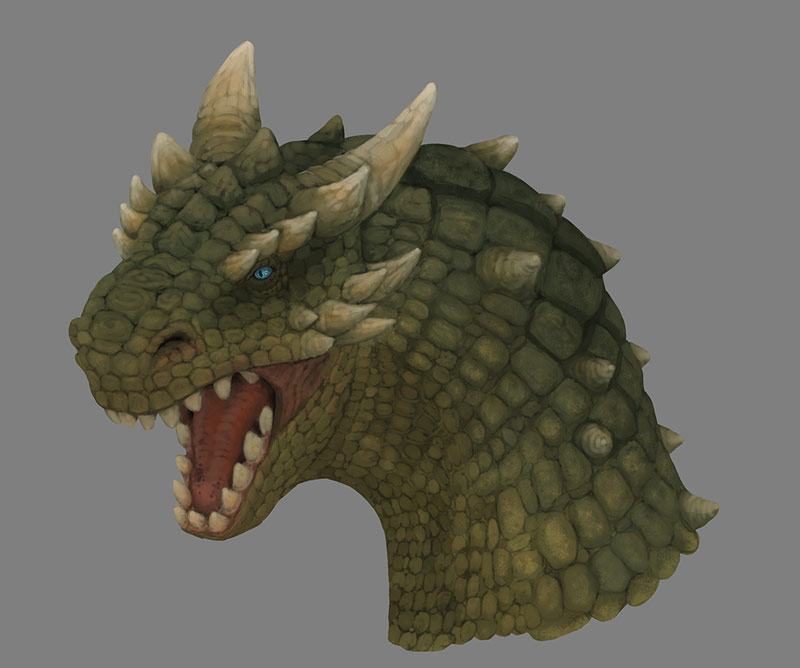
I drew the line art first. It’s not clean, but I made sure that all the scales are outlined without any ambiguity.
Step 2
I created a “clipping mask”—a layer on top containing the negative space of the head. Then I used a big, chaotic brush and colored the dragon without any shadows. It was important to mix a lot of colors here in an organic way.
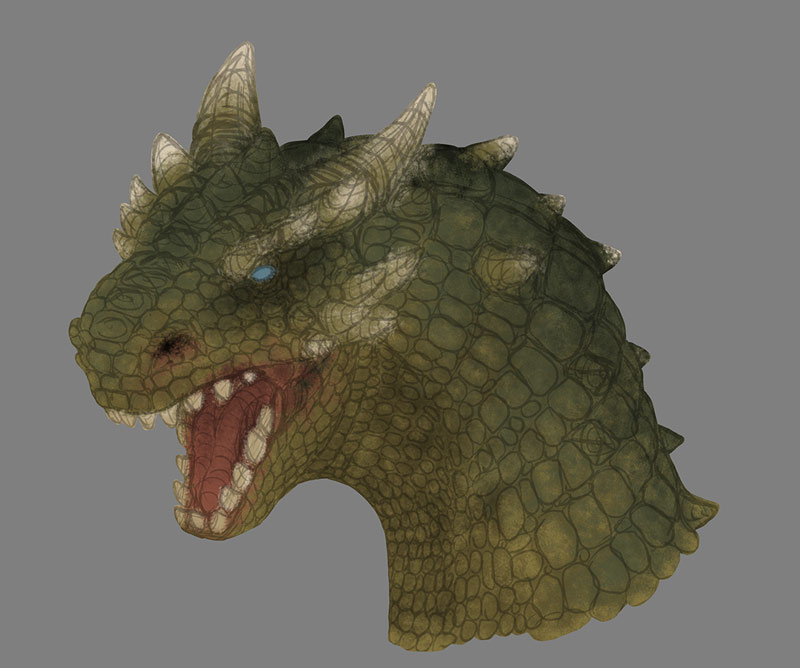
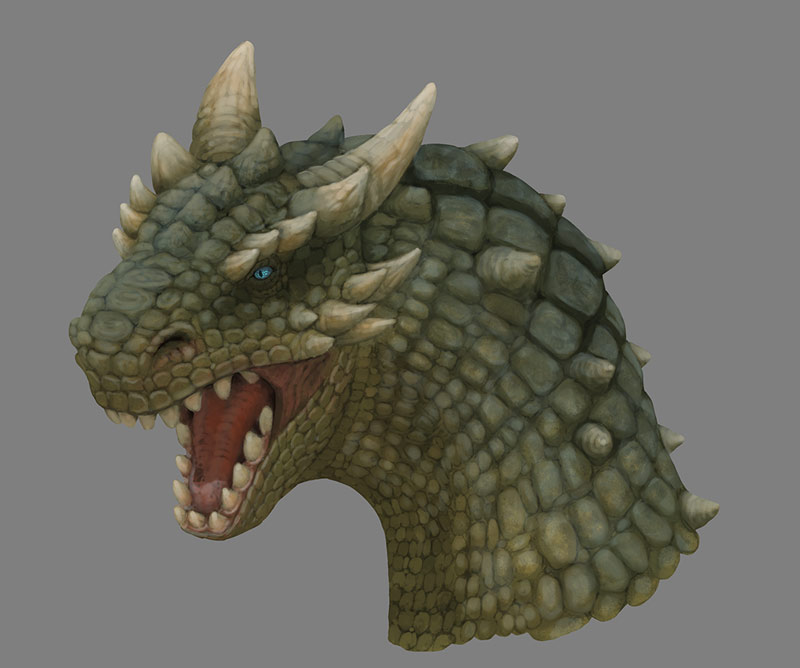
Step 3
I used the same imprecise brush to add some darkness between the scales. It’s not really a shadow, rather the difference of pigmentation between the skin and the scales.
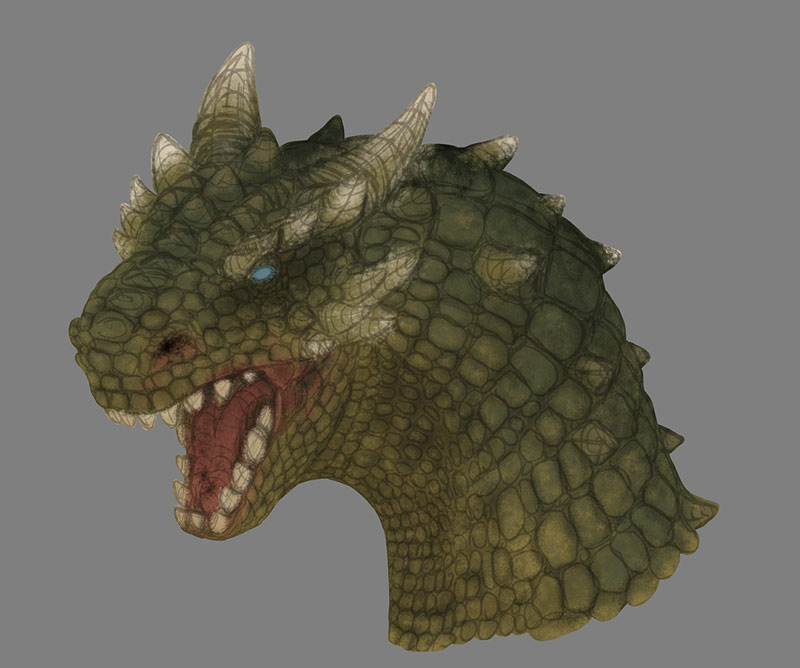
Step 4
I created a layer over the line art and started painting there with a more precise brush. The goal here was to cover the lines by replacing them with details. I used the eyedropper tool all the time, picking the colors from the area I was painting. Important note: in the past, my biggest mistake was to use a small brush for small scales, and a big brush for big scales. This led to a very messy, inconsistent look. The correct way is: you should paint the big scales in the same way as you paint the small ones.

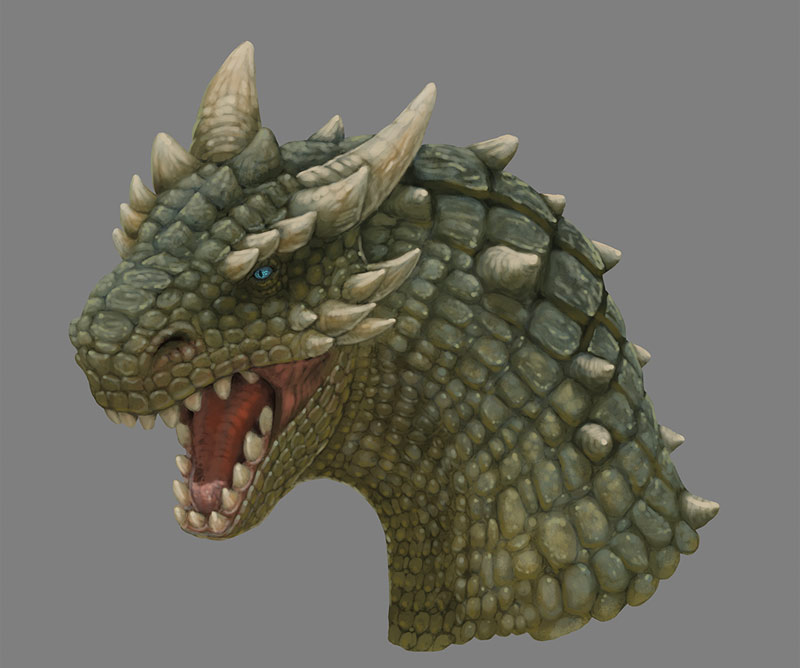
Step 5
I created a new layer in Multiply mode and filled it with medium dark blue. Then I painted the light using white. This is good time to define the shape of the scales, although still without details.
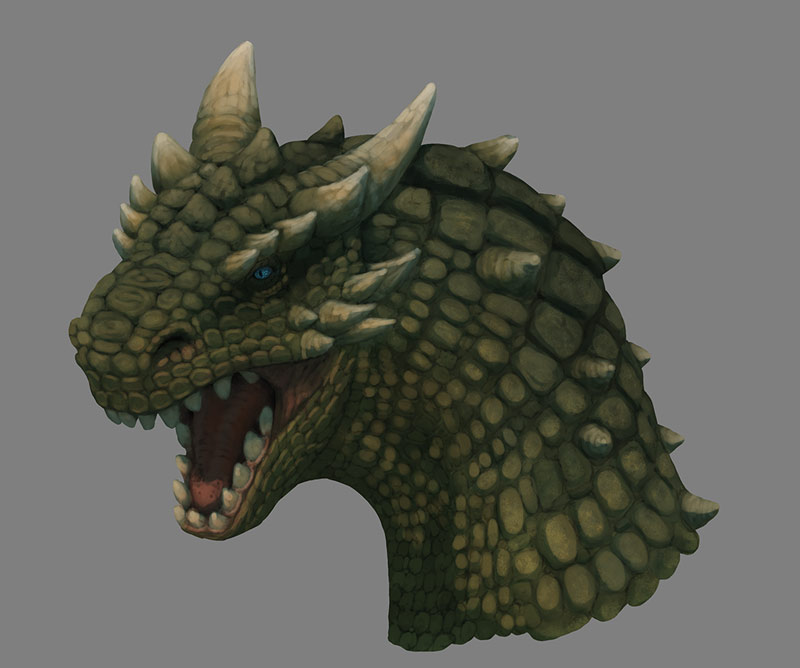
Step 6
I lowered the Opacity if the shadow layer to make the shadows subtler and more natural. Harsh, dramatic lighting no longer looks appealing to me!
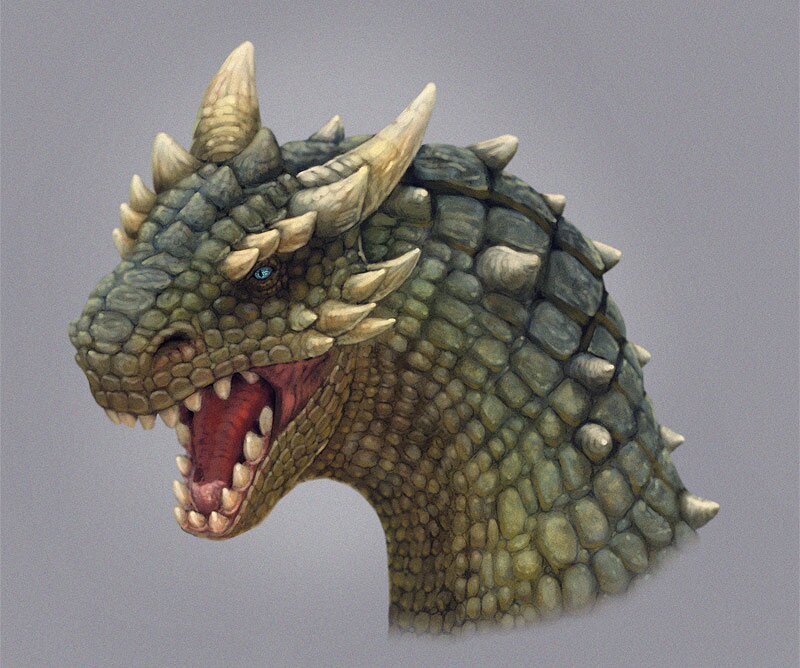
Step 7
Time for the specular lighting. I created a new layer in the Screen mode and added some grayish blue light. This is where things started getting complicated—I’m still not sure how this kind of light should be tackled, although it seems to be the key to a realistic painting.
Step 8
I continued adding specular light, defining the scales more and more, although it wasn’t really necessary after one point. I think I should study some lizard once again to see what I’m doing wrong!
Step 9
I lowered the shine on the scales, added some blur, then I went to Photoshop to add the noise, some sharpening, and color correction.
0 Comments