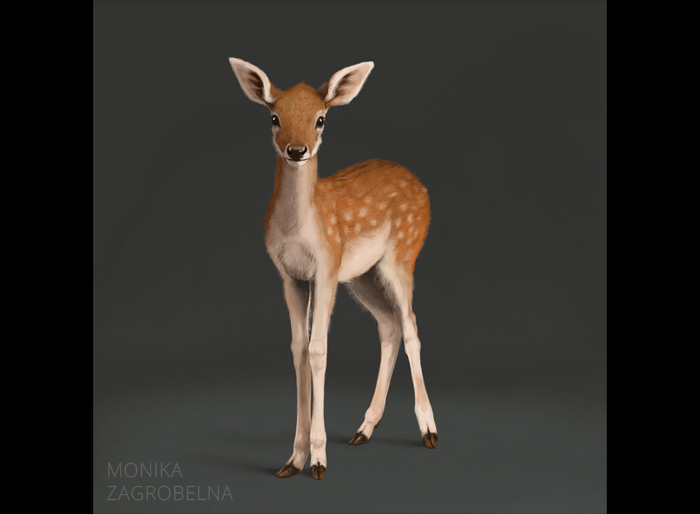
I found a nice photo of a fawn, and I wanted to check if I can replicate its delicate shading. So here it is—I painted it pretty fast, and I think I learned something about keeping things simple. Scroll down if you want to see the process!
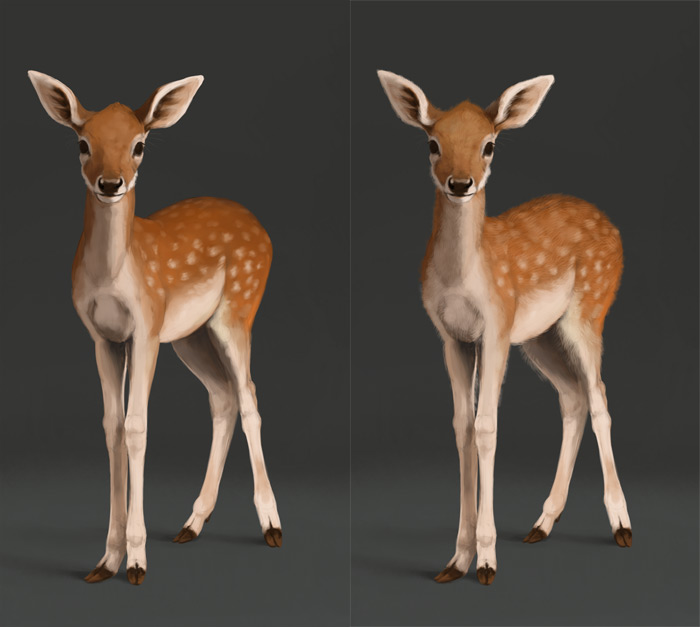
1. Basic Colors
I sketched the fawn and lowered the opacity of the sketch. I created an outer clipping mask (so the background with an area cut for the body) and painted the basic colors underneath.
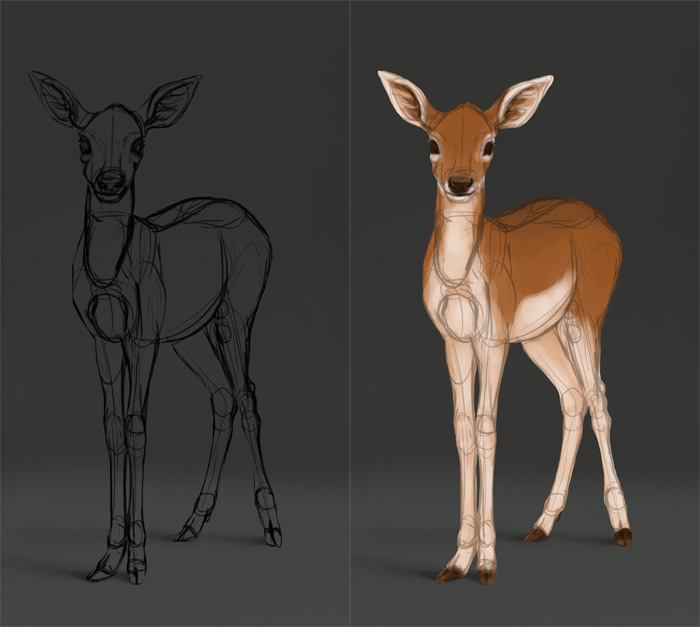
2. Shadows
I created a Multiply layer and painted the shadows. I use various colors for shadows for a more natural effect.
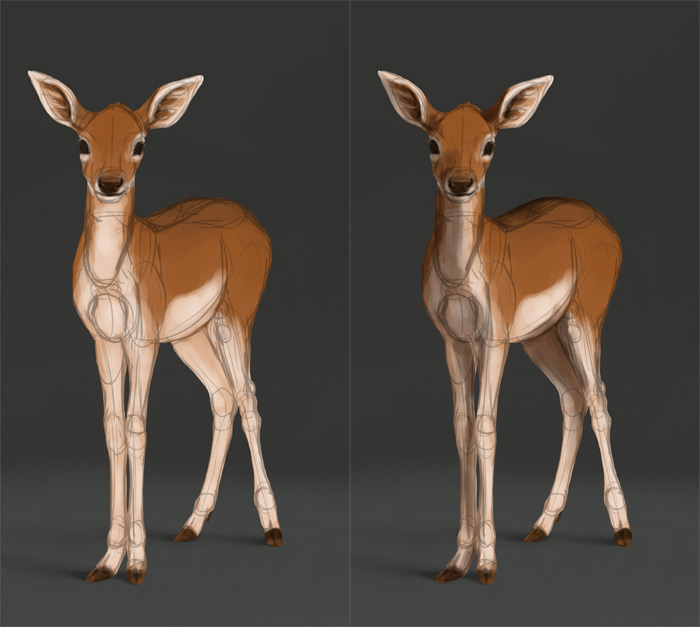
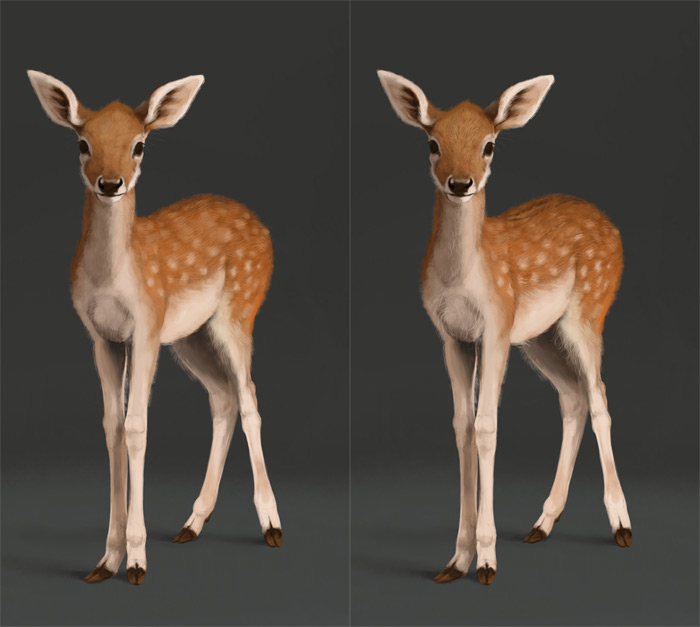
3. Details
I created a new layer over the clipping mask and started covering the lines. I used the eyedropper tool all the time to pick the colors from the area, and I also added some variation. After I covered the lines, I added more details, as well as the spots. If I wanted, I could stop right here—it looks pretty finished!
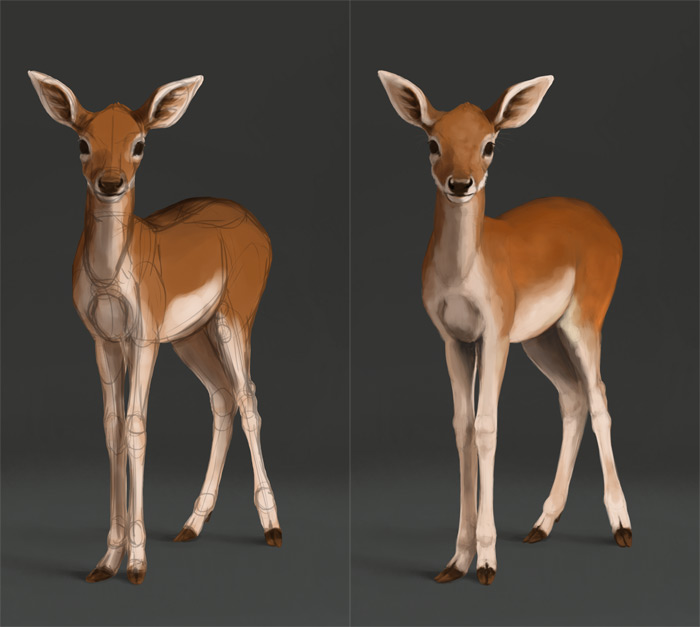

4. Fur
I took a simple fur brush (the one you can download here) and added some fluff with a proper direction and size.
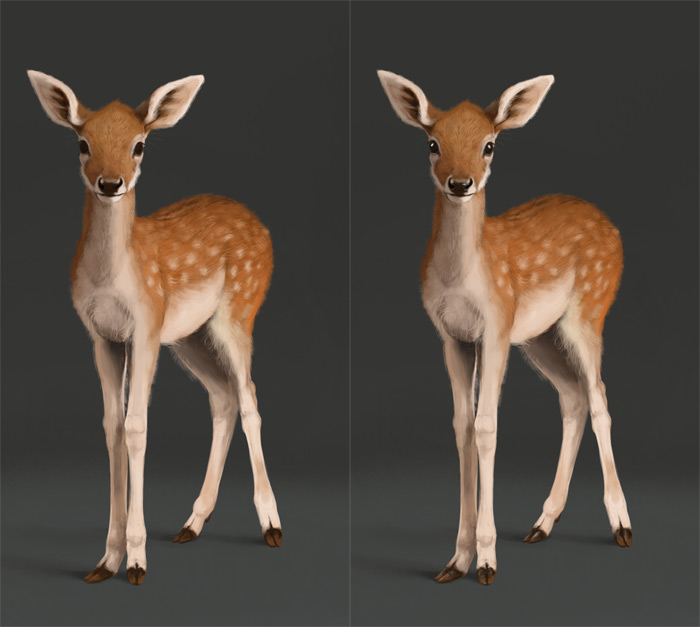
5. Fur Shadows
It’s easy to paint fur with a fur brush, but you can’t draw a realistic fur just this way. You also need to add shadows, manually. I draw V-shaped shadows, so they look like they are between strands.
6. Shine
Finally, I added dots of shine on the eyes and nose. I kept the fur matte, so that it looked soft.
0 Comments