This post has been originally commissioned for SketchBook Blog in 2016. After the site’s migration, the original is no longer available, but you can still access the content here. Enjoy!
The purpose of my previous lengthy introduction was to make you aware of the challenge of drawing from imagination. We can draw symbols just fine, drawing what we know and making other people understand it. But creating a simulation of looks of a real thing… that’s something we’re not prepared for. That’s why it’s so hard, and that’s why you must be really patient in your learning. You’re going against nature—it must take time.
Skill Number One: Precision
Being able to recall a look is one thing. Drawing as a technical action of putting lines on paper is a separate skill altogether. You can know what you want to draw (truly know, not just feel it), but conveying the look on paper requires understanding of the tool and the techniques it utilizes. It’s something that children learn quite early, but they do it intuitively and chaotically. If you want to draw well, you need to achieve control and draw intentionally.
Confident lines are a base of every drawing. Many people avoid practicing basics as long as possible, because the what of drawing is so much more interesting than how. But such a negligence will follow you, making learning harder than necessary. If you were trying my animal drawing tutorials, and you weren’t able to follow the instructions, this may be a case of underdeveloped basics.
These exercises will be great for you if:
- Your drawings look wrong even when you try to copy a reference (or follow a step-by-step tutorial).
- You make obvious mistakes: You notice them immediately after you make them, and you have no idea why you did.
- You can’t draw simple objects intentionally without a ruler or other aids.
- You feel as if your drawings weren’t really created by you.
- You want more control over the lines.
- You want to learn to draw with your non-dominant hand.
- You have a hard time getting used to a graphics tablet.
How to do these exercises:
- Get yourself a sketchbook or use SketchBook the app. It’s good to keep the old works in an organized way to see how you’ve been changing (even if it feels as if you weren’t progressing at all). Date the exercises and note your observations. (If you’re drawing digitally, save your works in one folder).
- Practice regularly, every day, at least 10 minutes at a time. Short, regular sessions are more effective than long, but irregular ones. You learn during breaks, too!
- Use a single tool and no drawing aids (like ruler, eraser, the Undo command, etc.).
- First, follow the exercise as it’s described. When you see you’re getting good at it, modify the shapes or rotate them to increase difficulty.
- Draw the shapes small first, using your wrist (this is easier, because it uses the familiar motion known from handwriting). When you notice the progress, make the drawings bigger until you draw them with your shoulder. This will give you control over the whole range of motion.
- Adjust the speed to the kind of line you’re drawing. Some are easier when drawn fast, others require careful treatment. You can also try to get faster to increase difficulty.
- The instructions tell you what to do, but how is mostly left for you to work out. That’s the whole point of these exercises. You must learn how to achieve the desired effect using your eyes, brain, and hand.
- Don’t draw blindly, waiting for good effects to happen eventually. If you do something wrong, ask yourself: how can I tell it is wrong? Why did I do it this way? How can I make sure I don’t do it next time? Experiment, adjust, analyze it all.
- Repeat every exercise at least a few times; don’t go straight to the other. This is not some kind of magic where doing a set of exercises will make you better. It’s what you do with them that matters.
Line Control
This is the most basic of the basics, the most important skill in drawing. When you’re a child, you don’t really care about it so much—every drawing is a surprise for you, created by your brain and hand, but not by you. Now that you are not a child anymore, you have expectations towards your drawings, but you still may use the same technique as before: You push the pencil to the paper and hope for the best. But it doesn’t work!
No matter how silly it seems, you must come back to the basics. Can you draw a circle that looks mostly round, starts and ends at the same point? If not, why? Is this because you have no “talent” that would move your hand in a proper way? No—it’s only because you try to use such a talent as if it really existed. Focus on what you’re doing. Pay attention to the movement of your hand, see where it fails and how you can fix it. Frustrating as it is, so was learning how to write. Beginnings must be hard.
Exercise 1
Draw a circle, or at least something resembling a circle. Don’t use an eraser and draw it with a continuous line.

Draw a tiny circle in the center.

Draw a circle between these two, right in the middle of the distance, trying to achieve the same shape as them.

Draw another circle right between these two…

… and another one…

… and another, until there’s no more space for the circles.

Here’s a sped up video of a whole exercise. You don’t need to be as fast, take all the time you need.

Exercise 2
This is a second variant of the Exercise 1. This time draw a square, and draw every line separately.

Exercise 3
Draw a wavy, continuous line. Make it as crazy as you wish!
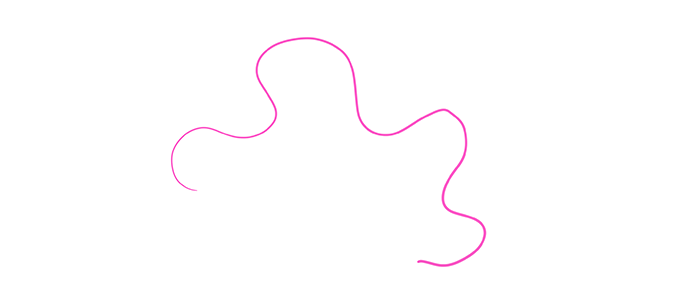
Take a turn at the end and go to the other end, following the rhythm and trying to keep the same distance.
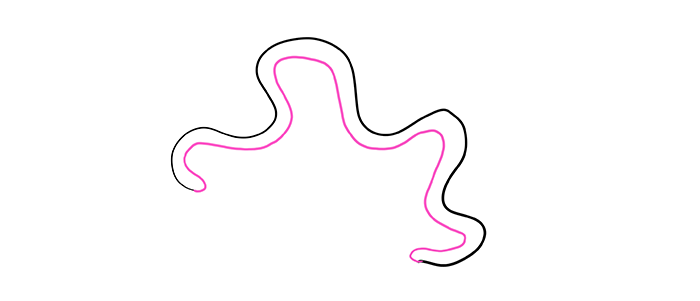
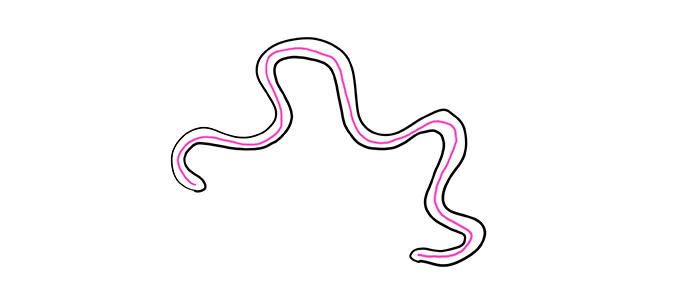
Just like in the previous exercises, draw a line in the middle, following the rhythm of the borders.

Exercise 4
Draw a circle.

Draw over it, creating another circle on top.

… and another one, pressing harder this time.


Pressure Control
There’s a mistake that many beginners do. They draw every line heavily, and every line becomes the final one. Most drawing tools have at least a limited number of pressure levels, and if used properly, they eliminate the need for an eraser. If you draw the first lines lightly, you can correct them or alter with darker lines, which is perfect for tools that can’t be erased.
Exercise 5
Draw a circle (or a square, or some other simple shape). Press as hard as you can.

Draw a copy of the shape, this time pressing slightly lighter.

And lighter:

Continue until your tool no longer touches the paper.


Exercise 6
Draw a circle (or any other simple shape). Use any level of pressure you want.

Draw another shape in some distance. Draw it with a different level of pressure.

Draw another shape between them, using an intermediate level of pressure.


Exercise 7
Draw a quick, slightly curved line going down.

Attach another quick line to it, this time going up. Try to draw these two almost immediately.

Draw an upside down version of those.


Continue for a while, drawing them quickly, without thinking and measuring.

When you see the edge of paper coming close, start making these curves narrower and narrower.


Hatching
Drawing is all about lines, but it doesn’t mean you can’t create shading with them. Hatching requires a special kind of line control. You need to be able to draw the lines in one direction, quickly, controlling their start and end points strictly at the same time. Which means it’s great exercise for increasing your precision.
Exercise 8
Draw a square (or some irregular shape to increase difficulty).

Cross the square with lines going in one direction. Draw quickly, always starting on the same side, and don’t take your tool up until you finish the line. Your goal is to touch the outline of the square, and not to cross it.

Do the same going from the other side, in a different direction.


Exercise 9
Draw a square.

Imagine a diagonal line in the square. Hatch this area, stopping before that invisible line, or starting from it.


Exercise 10
Draw a long, narrow rectangle.

Draw two squares on its sides.

Hatch one of the squares to make it as dark as possible.

Use hatching combined with pressure levels to create a gradient between one square and the other.


Proportions
Proportions are another bane of existence of the beginners. Our eyes are great at seeing when proportions are even a little bit off, but drawing them correctly is a different thing. Just like with recognition and recall, it’s more important for us to detect wrong proportions than to tell why they’re wrong or how to make them right. That’s why it’s so hard to learn!
Exercise 11
Draw a square.

Cross it in the middle. Our brains are quite good at seeing the halves.

Cross it again, this time horizontally.

Cross the halves as well…


… until there’s no space for more lines.


Exercise 12
Draw a rectangle.
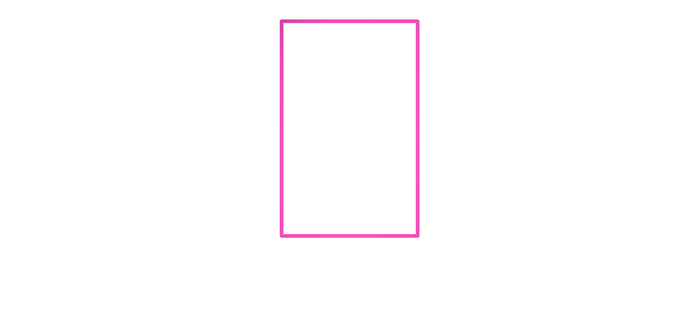
Decide how many parts you want to create.
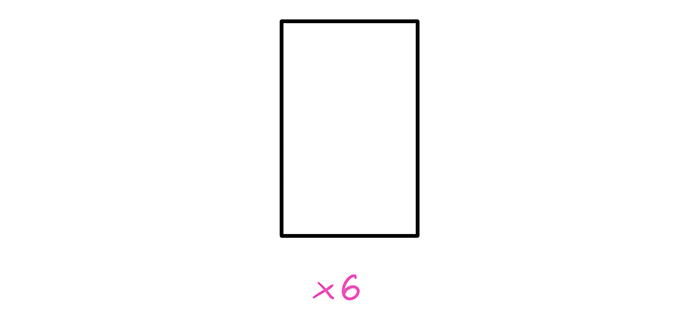
Imagine how to cross the rectangle to achieve it. mark its sides.
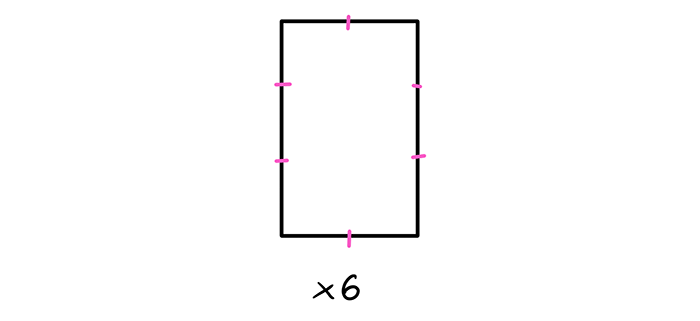
Cross the rectangle with low pressure lines. Can you see it’s wrong?
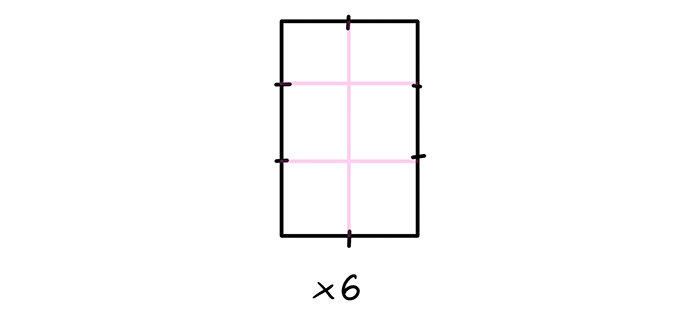
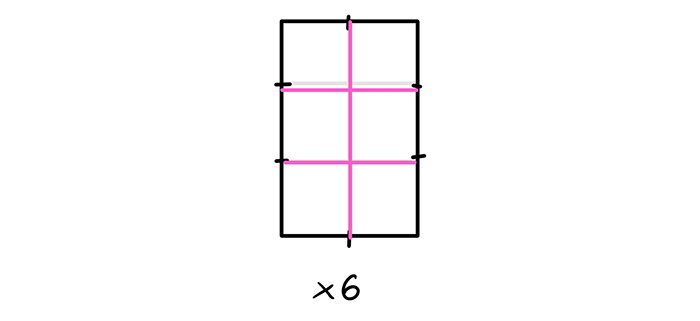
Look at these lines carefully, trying to see where they should be. Draw new one, correct ones using the wrong ones as a point of reference. This exercise shows you how you can achieve correct proportions with slightly incorrect guide lines.

Exercise 13
Draw a long horizontal line.

Draw two short lines on its ends.

Decide how many and what shapes you want to draw. Odd number as harder than even ones.

Divide the line into as many parts as necessary to place the number of identical shapes on it.

Create “cells” out of these lines, fixing them on the fly if necessary.

Draw the shapes in the cells.


Exercise 14
Draw a set of figures connected with lines.

Your job now is to find proportions in your drawing and copy them to copy the drawing proportionately. For example, you can copy the lines of the first figure visually…


… and then use its proportions as a point of reference. This exercise requires some creativity as well.


Precise Copying
Drawing from imagination is one thing, but if you have a reference straight before your eyes, and you can’t copy to a satisfying degree… this means you need to practice more. Don’t wait for talent to come and save you—take it in your own hands and see why you’re making these mistakes. It’s the only way to stop making them! These exercises are the most advanced one, and you must use what you’ve learned in the previous ones to succeed here.
Exercise 15
Draw a crazy wavy line.

Turn it into a “worm”.

Copy it!


Exercise 16
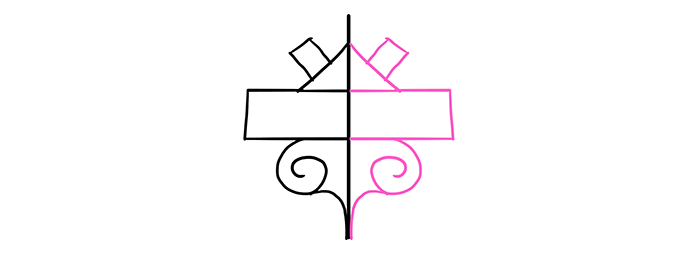
Draw a vertical line.

Draw a set of various shapes on one side of the line.

Create a mirrored version of the set on the other side. (Not using Symmetry tool in SketchBook. ?)

Exercise 17
Draw some random shape with rounded lines.

Try to imagine what the shape would look like if its roundness was straightened.

Draw a straightened version of the shape with quick, loose lines.


Exercise 18
Draw a set of regular shapes attached to each other.
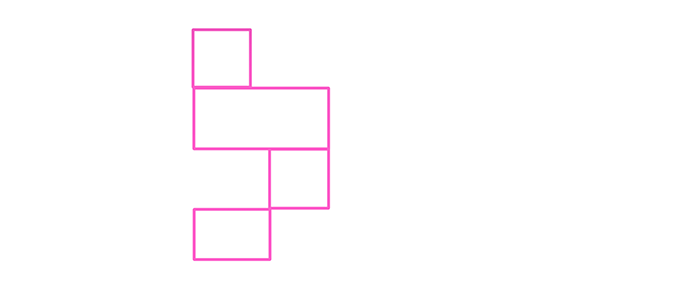
Find one line in the drawing and copy it lightly.
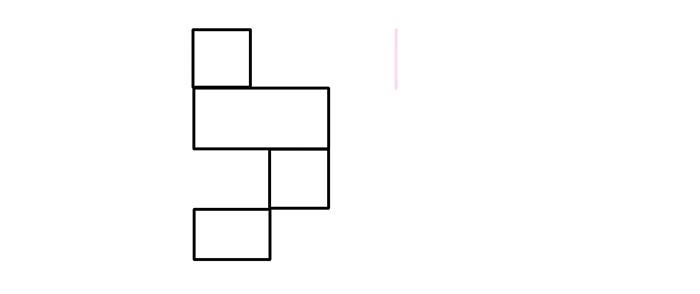
Find another line that doesn’t touch this one, and copy it too.
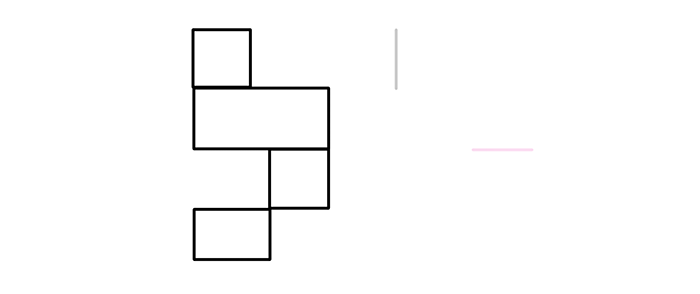
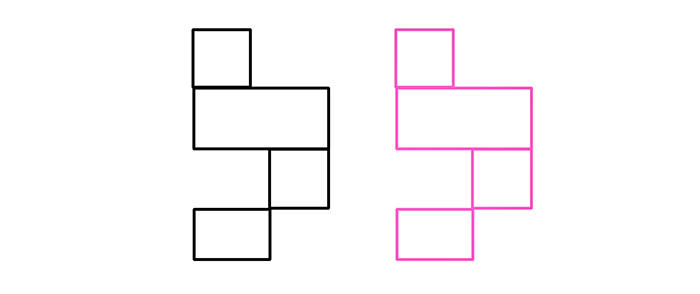
Continue doing so…
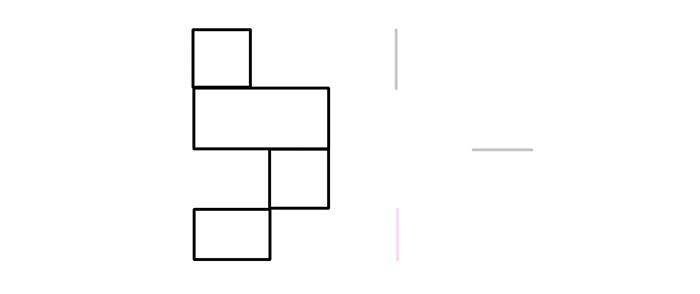
… until you have all the lines.
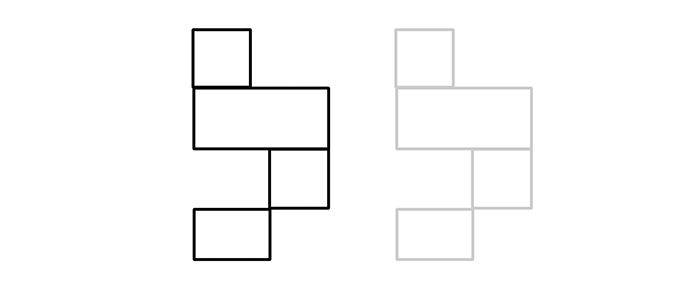
Outline the sketch with more pressure, fixing the proportions if you notice any mistake in the sketch.

Exercise 19
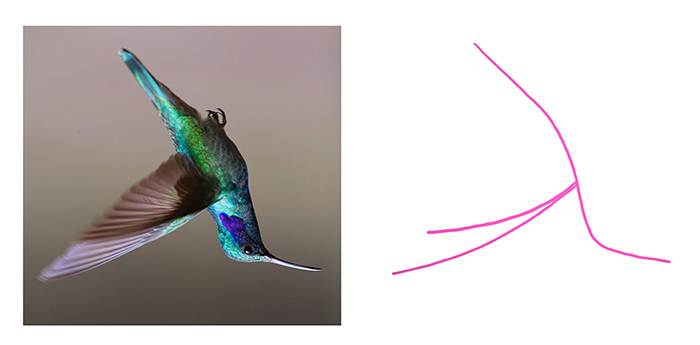
Find a reference showing an object in a simple side view. (We don’t need to make it more complicated with perspective.) Turn it upside down.

If you wanted to create the object with wire, how would you start? Where would the lines go? Try to see them in your reference.
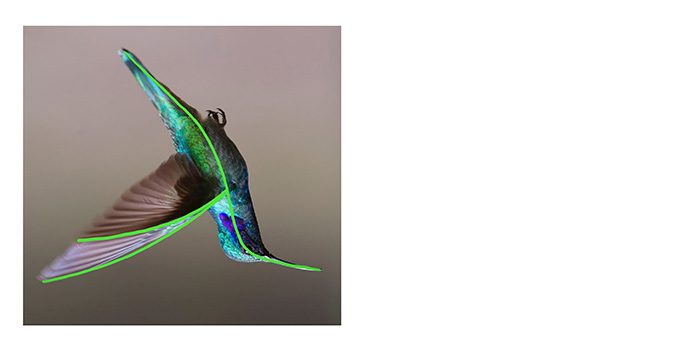
Sketch these lines.
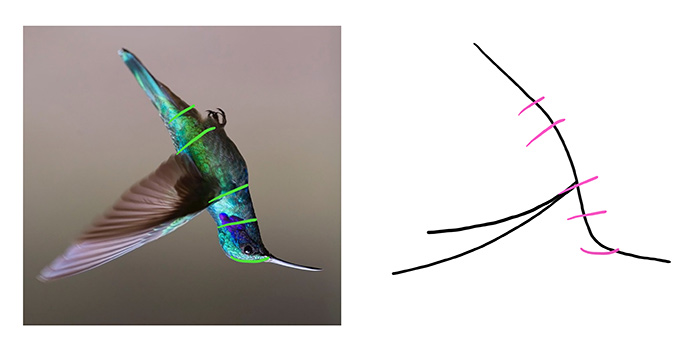
The object has various widths that give it irregular shape. Try to see these widths, then sketch them.
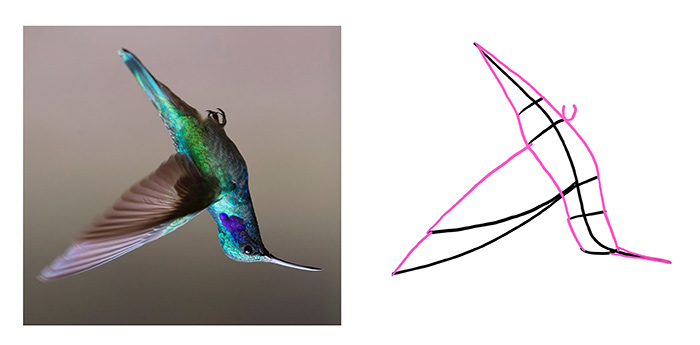
Finally, outline the shapes. Use quick, straight lines to be more accurate in your sketch.

Exercise 20
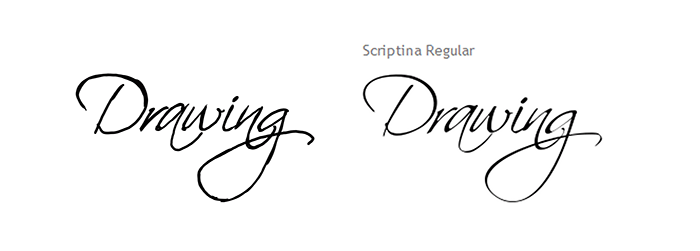
Find a handwritten font, write something with it, and print it/copy to your program.
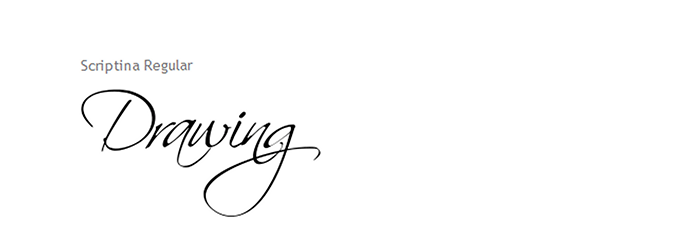
Turn it upside down.
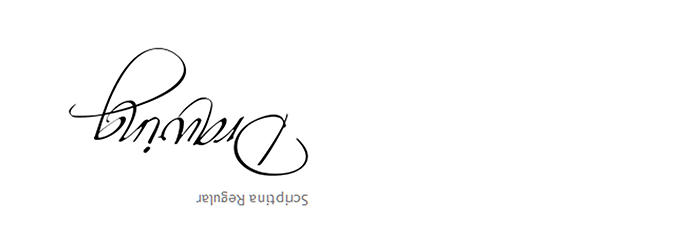
See it now as a set of lines and shapes, not a writing. Can you see its basic outline? Sketch it.
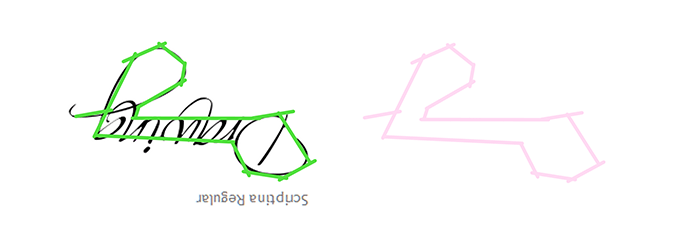
Copy the shapes as precisely as possible, first their direction…
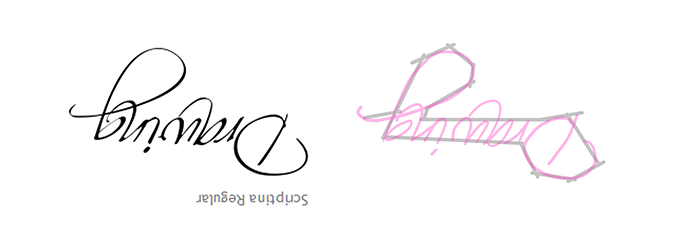
… then their width as well.
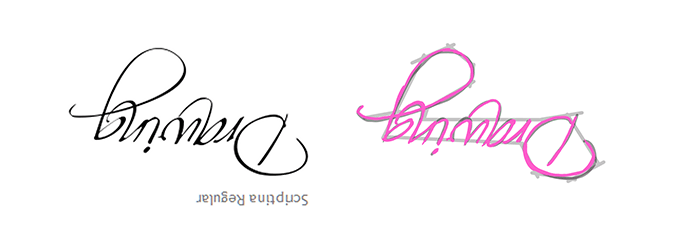
Rotate your drawing to see how you did.

Test
But how long should you practice? How to tell if you’re ready? Well, the best way is to test your skills on something you want to be able to do. Let’s say you want to draw animals from imagination. If we strip it of the skills we haven’t practiced yet (perspective, knowledge of the subject), we’re left with precise drawing from a 2D view reference. So, let’s test it!
Test 1
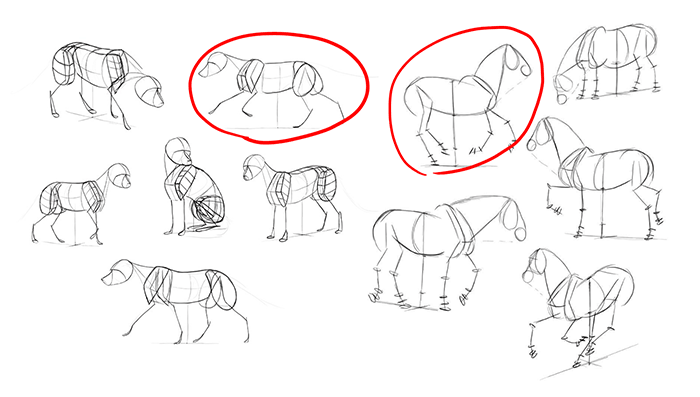
Pick one of my animal tutorials and try to draw either the skeleton/simple muscles, or pick a 2D view from the step-by-step part and follow the instructions (no need to draw the head/details). You should be able to draw it correctly, without any obvious mistakes. If not, ask yourself: What do I have problems with? Line control? Proportions? Precise copying? Whatever it is, come back to the exercises and practice some more.
Test 2
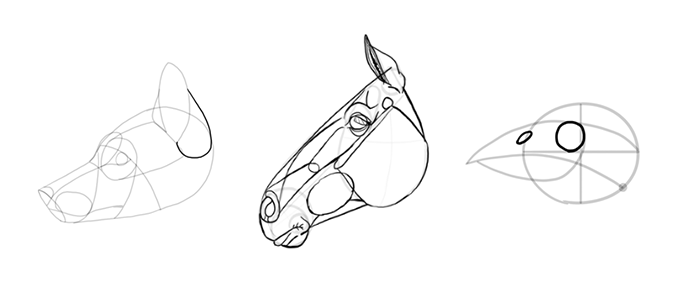
Did you pass the first test? Let’s dive into more details then. Again, pick an animal tutorial and draw the head step by step in the side view, right to the details. If something goes wrong, come back to the corresponding exercises, or keep drawing the head until you work it out.
That’s All… For Today!
You probably noticed that most of these exercises are not really fancy. Indeed, they’re all about giving yourself a simple goal and trying to reach it. It’s what intentional drawing is about—to be able to draw what you want, as long as you know exactly what you want.
Even though these exercises seem so simple, don’t try to do them all in one day. To draw complex things you need to turn these basic skills into reflexes, and this can be only done with a regular practice. Take your time and practice until all these exercises are no challenge anymore, and you can draw what you want as long as you have a reference and it’s shown in a 2D view.
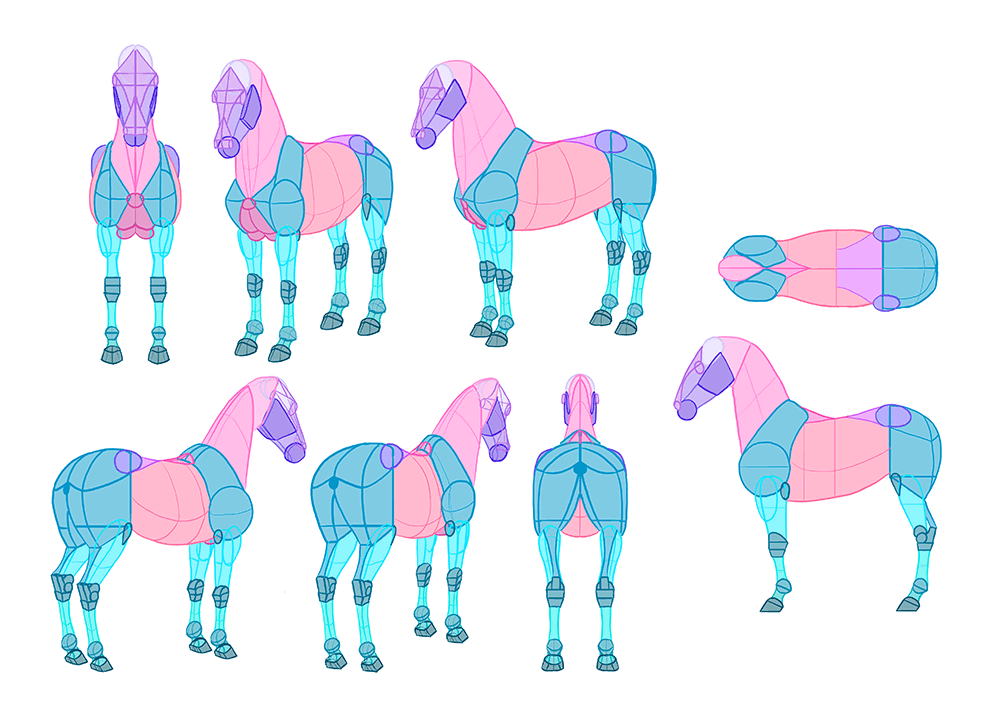
Next time we’re going to turn flat shapes into fully 3D forms, so we’ll be one step closer to creating things in imagination!

1 Comment