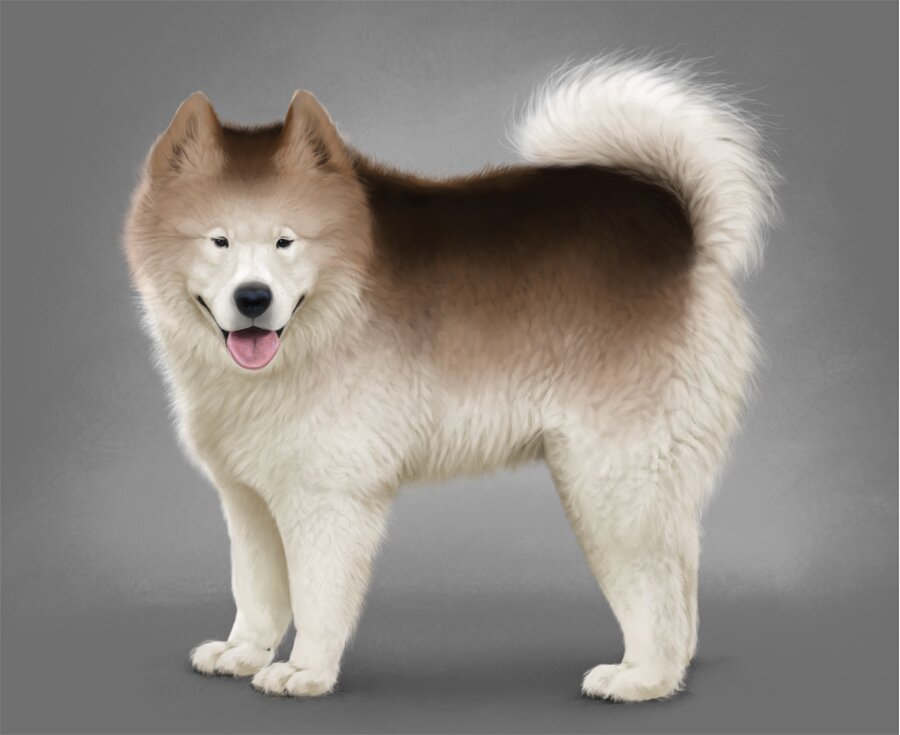
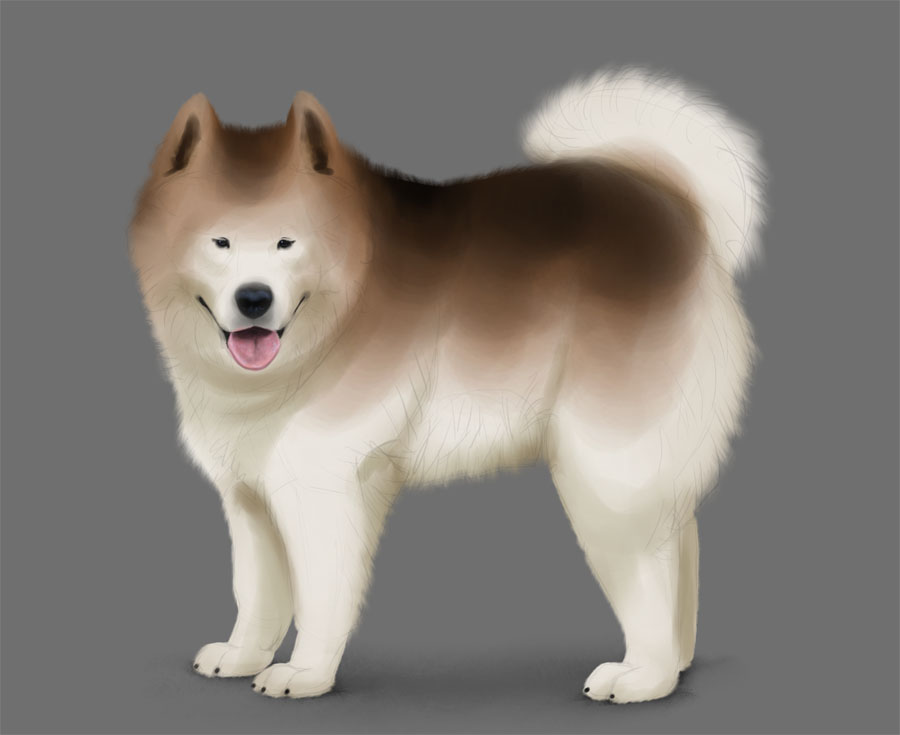
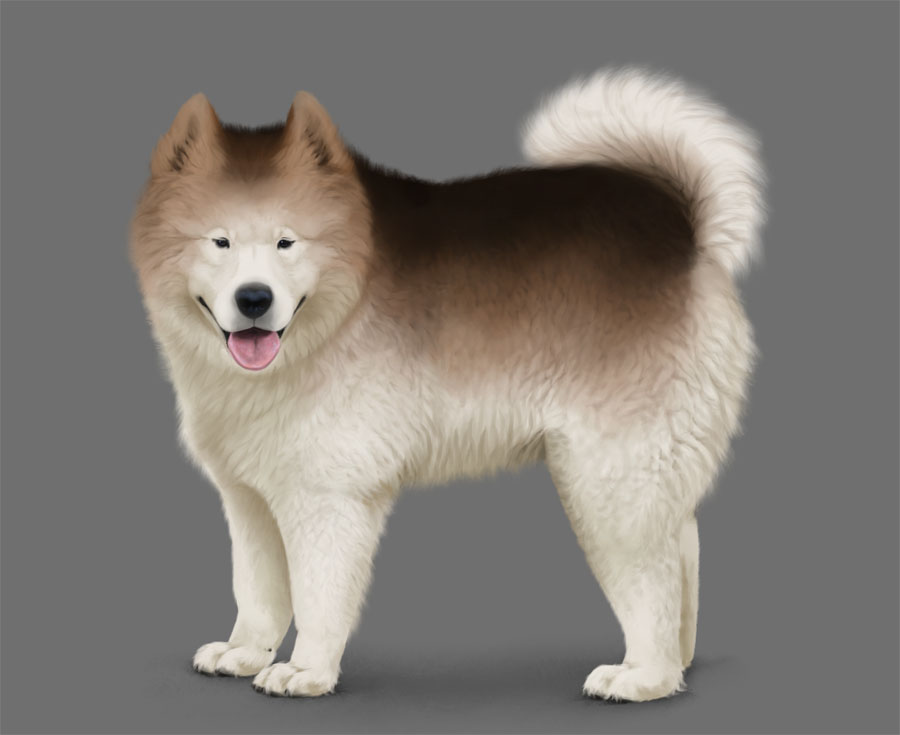
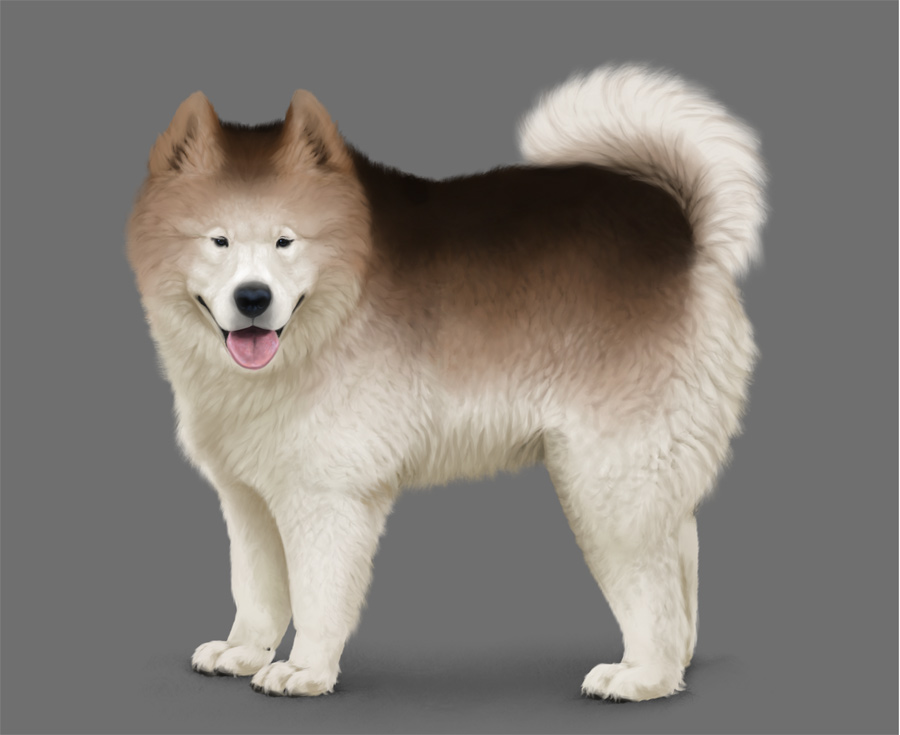
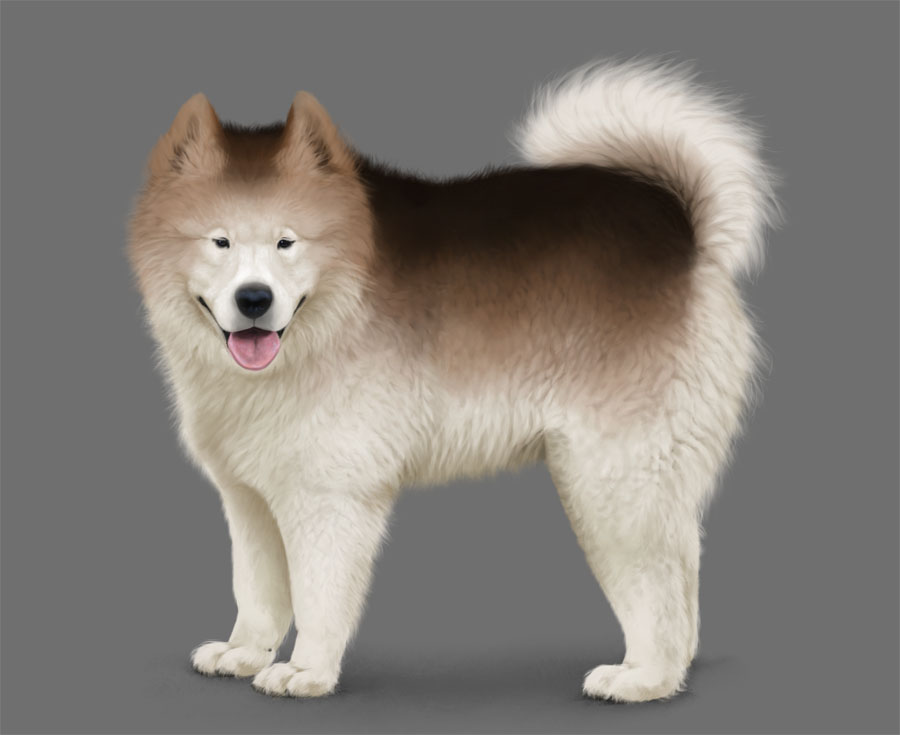
In this tutorial I’ll show you my method of painting fluffy fur. I’ll be using Autodesk SketchBook and two brush sets: my Quick Sketch Set, and a special fur brush set that I’ve created for this tutorial.
Also, in this tutorial for the first time I’m using a special plugin to better show the difference between certain steps. Please let me know if it works for you, and whether you find it useful or not!
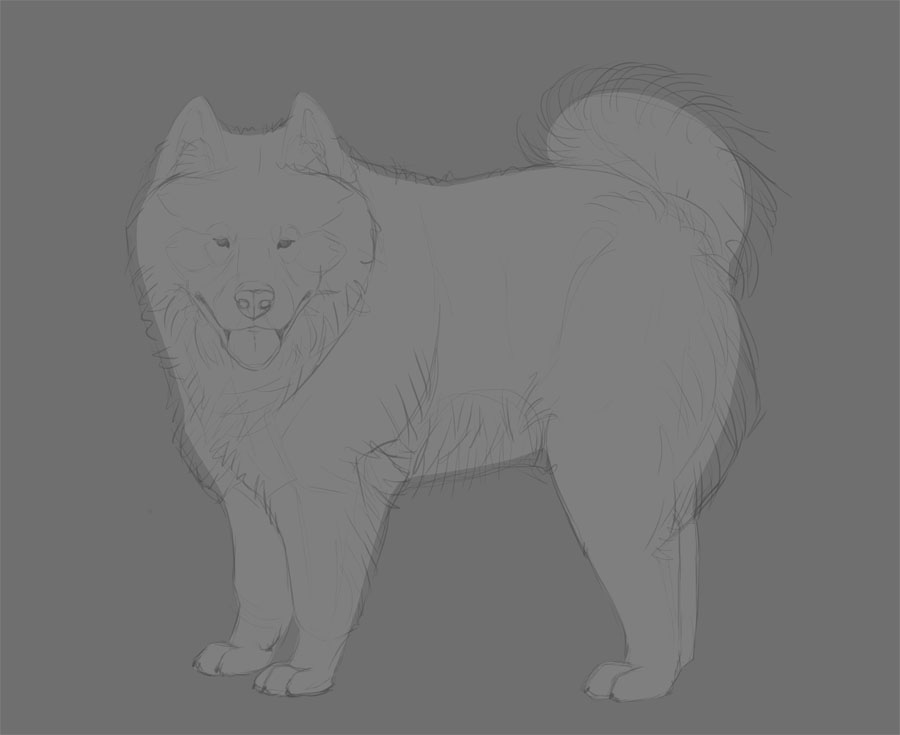
1. Prepare the Layers
Step 1
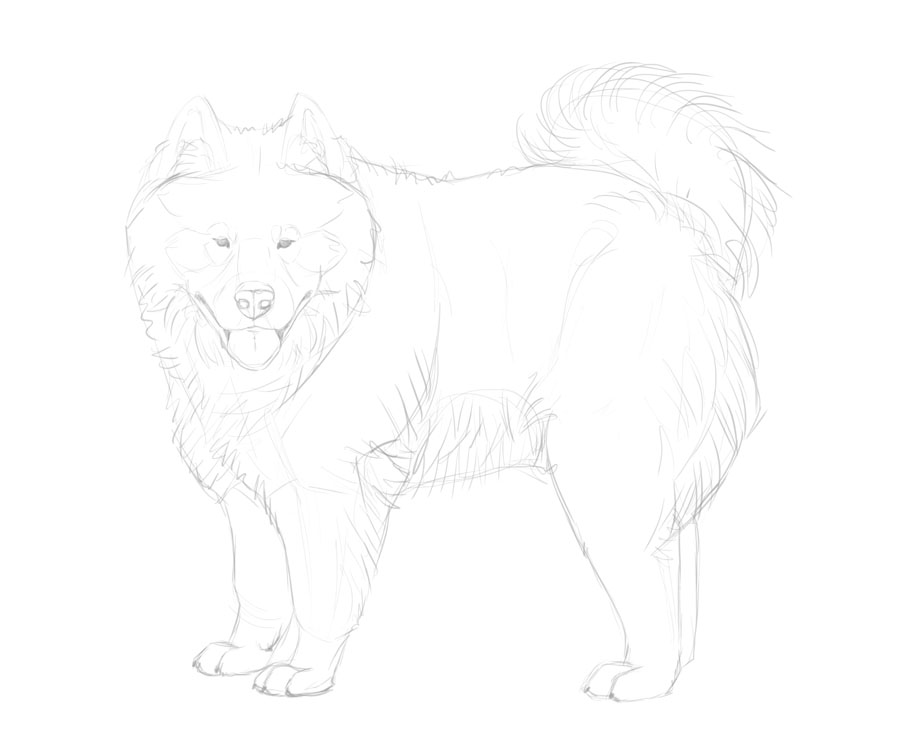
First, you need the line art. It doesn’t have to be super clean, but it must include all the important details. If you want, you can use mine for this exercise, or simply trace the lines from your reference. When you’re done, lower the Opacity of the layer to make it visible, yet non distracting.
Step 2
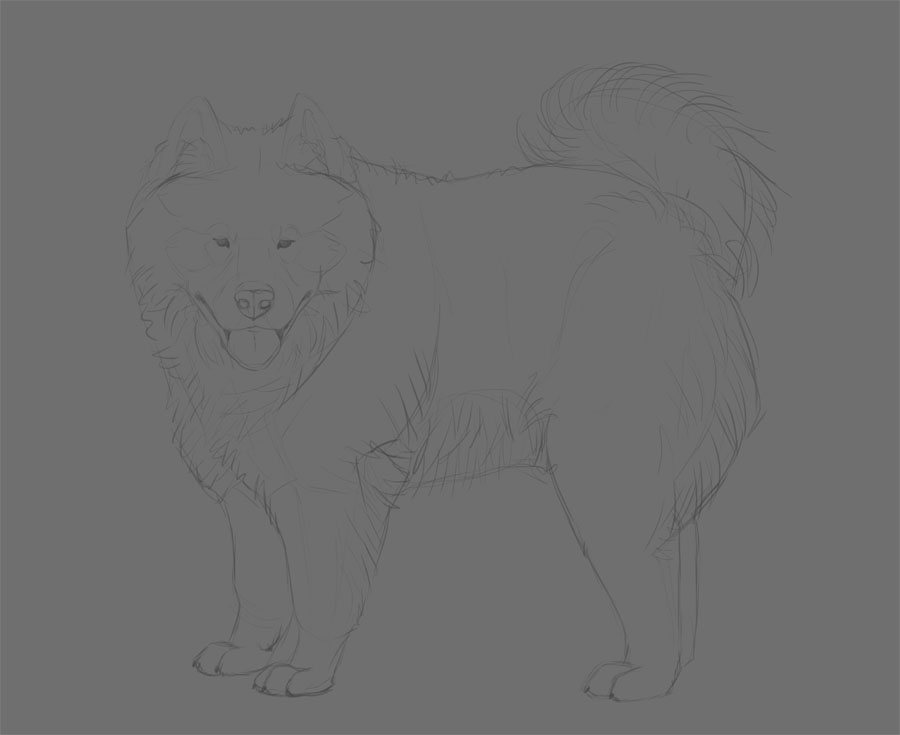
Switch the background color to medium grey. This will help us see all the shades of both light and dark colored fur.
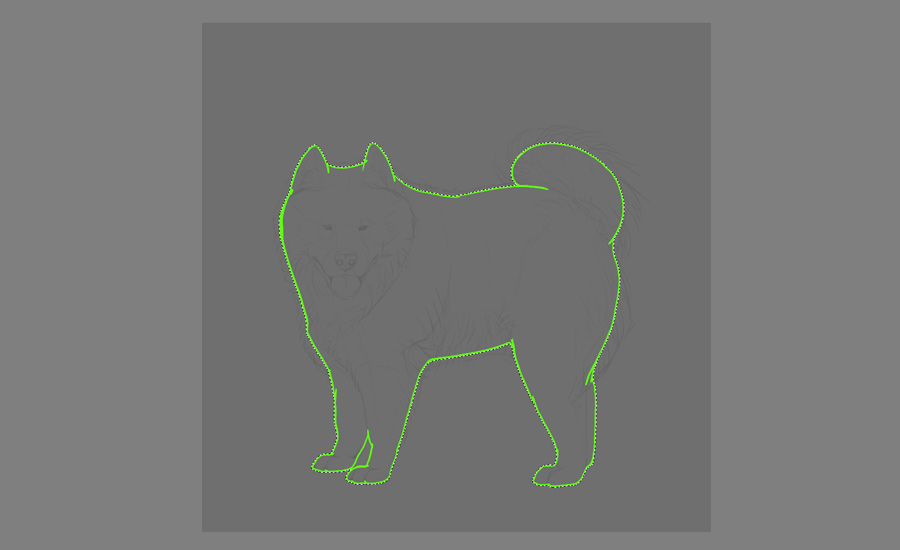
Step 3
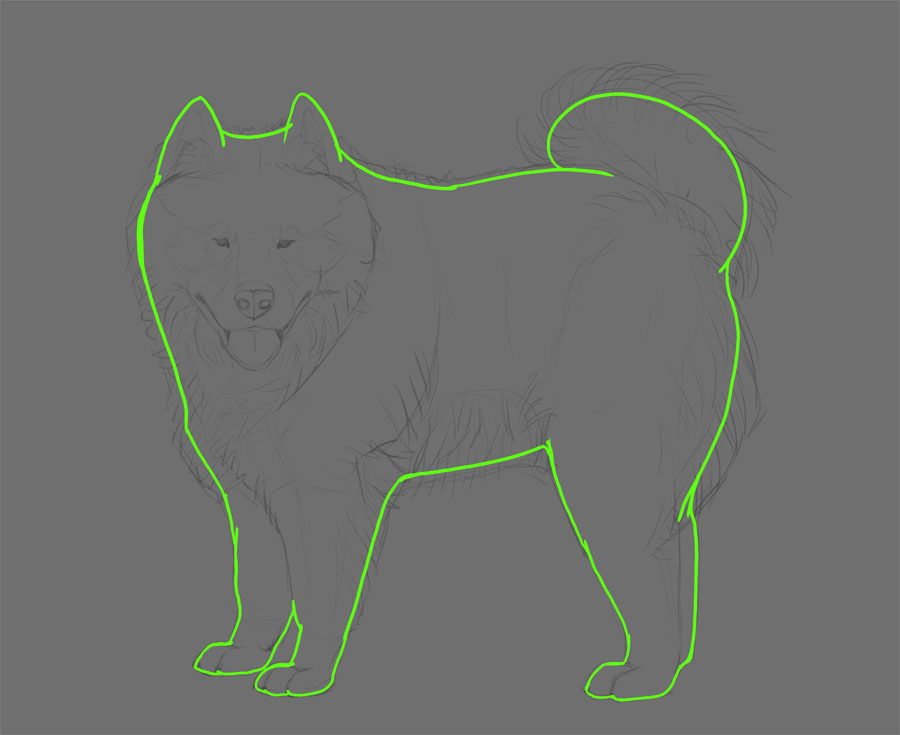
Create a new layer over the line art. Take the Inking Pen and draw the outline of the animal using a bright, neon color. Fluffy creatures seem bigger than they really are—try to draw this real outline rather than the seeming one.
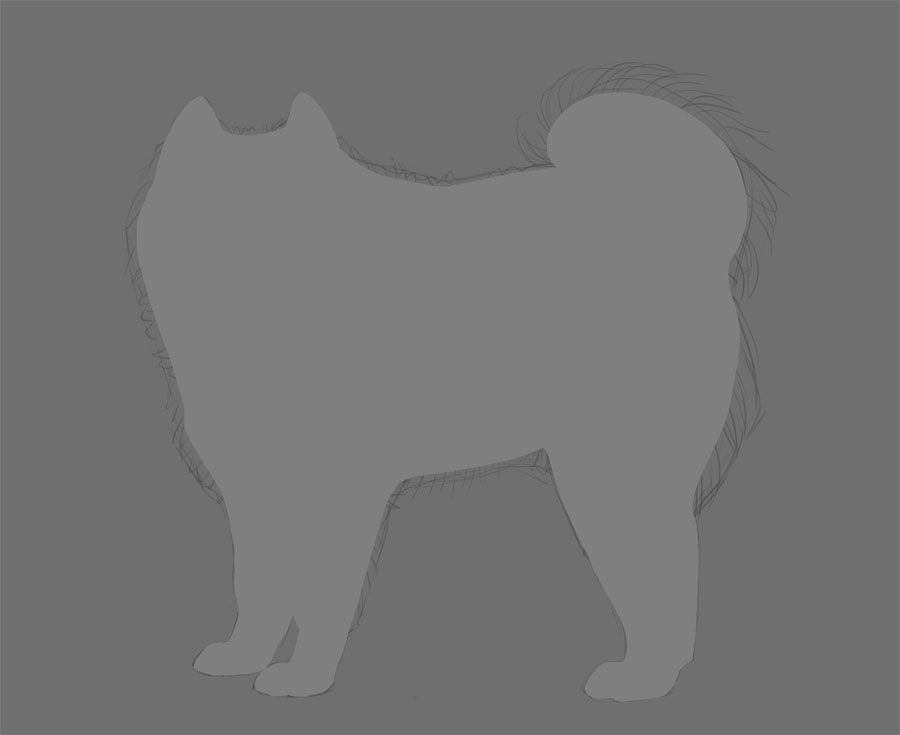
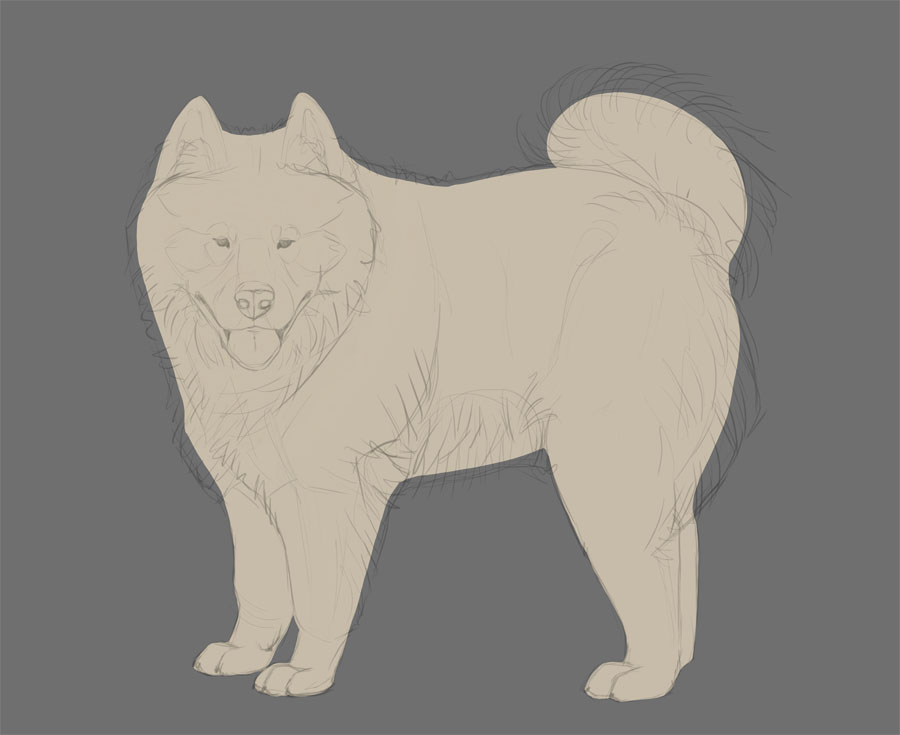
Step 4
Take the Magic Wand Tool (W) and click the space outside of the outline.

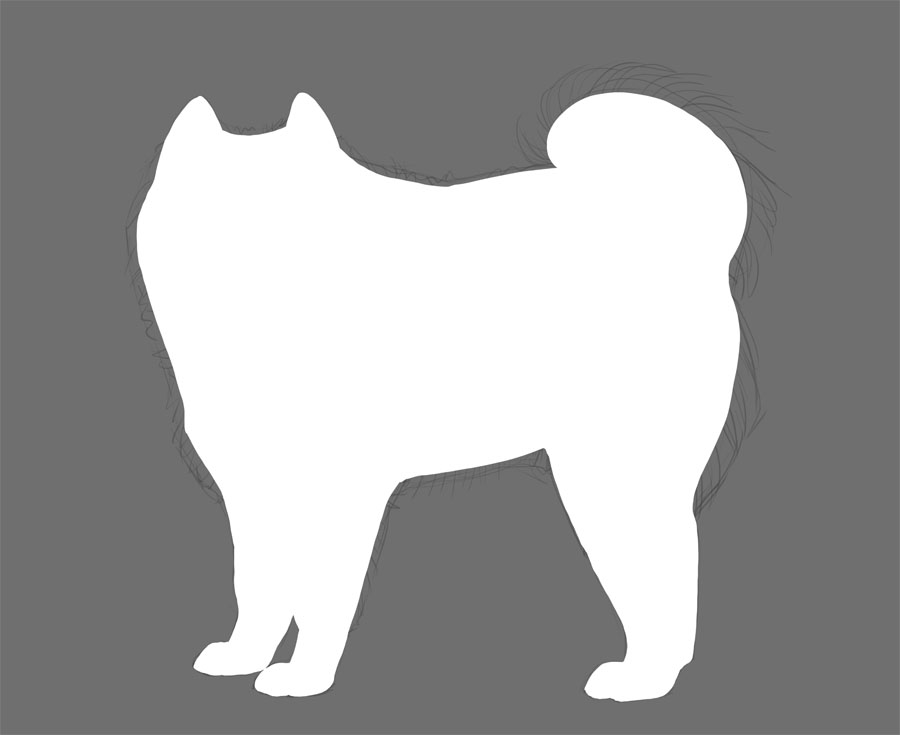
Step 5
Invert the selection.

Step 6
Create a New Layer and use the Flood Fill Tool to fill the selection with 50% gray. Name this layer Colors and lock its transparency.

Step 7
With the selection still active, create a New Layer and fill it with white. Name this layer Shadows, and set its Blend Mode to Multiply. Lock its transparency as well. Deselect with Control-D.
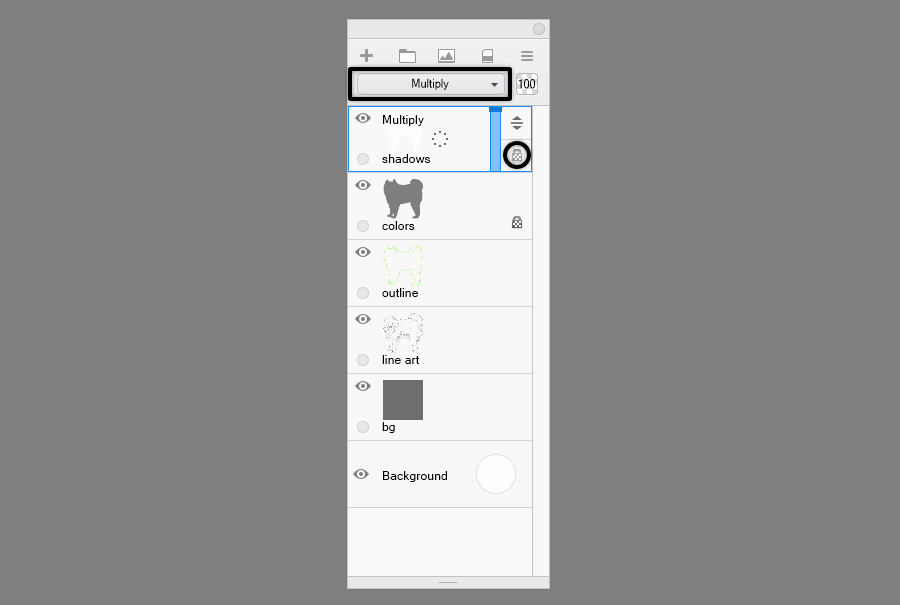
Step 8
You can now remove the neon outline—it will not be needed anymore. Drag the line art layer to the top.
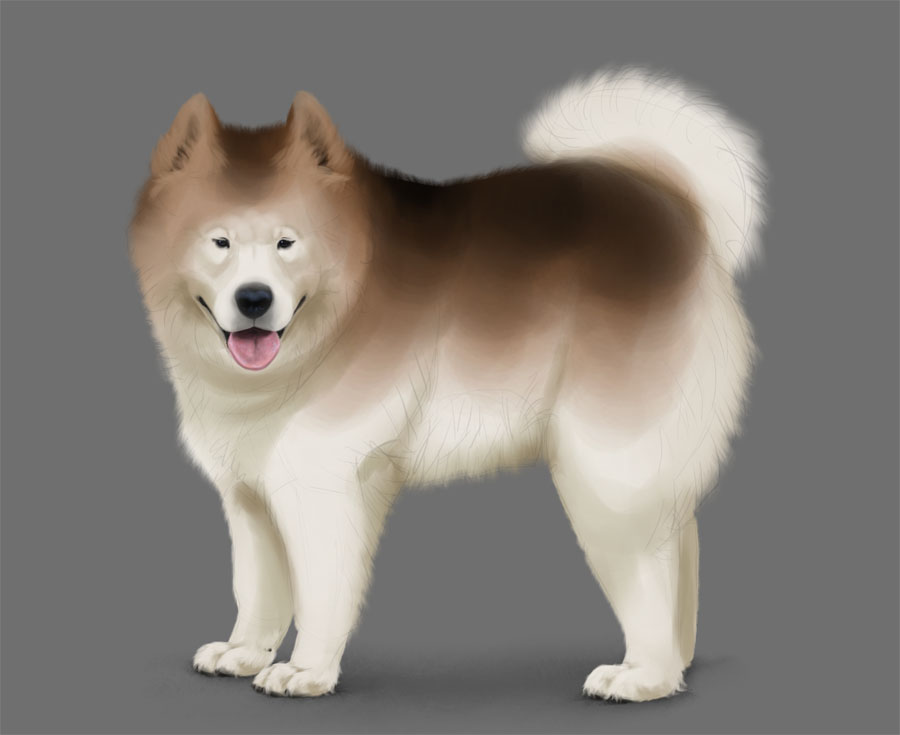
2. Add Basic Colors and Shading
Step 1
Go back to the Colors layer. With the transparency locked, you can draw all over it and you’ll never cross the outline. First, pick a base color for your fur. I usually start with dark beige, because most creatures have light colored underside. You can use any brush for adding this base color.
Step 2
Take the Painting brush now. Pick a brighter version of the previous color and paint over the body parts. Don’t think about the position of the light source yet, but rather try to “sculpt” the form of the animal by leaving out the areas that would be darker regardless of the lighting. This is a very basic form of ambient occlusion.

Step 3
Samoyeds are normally white, but since I want to show you how to draw fur in all colors, I’ll add a simple pattern to mine. When adding different colors, it’s good to think in terms of gradients. For example, if an animal is brown with white underside, white turns into into brown gradually, sometimes even switching tone from warm to cold, to warm again.
To create this appealing gradient effect, first paint the pattern with the middle color, not the final one. And do it gradually as well! First, paint the pattern with a big brush, but press very lightly, to mark it subtly.
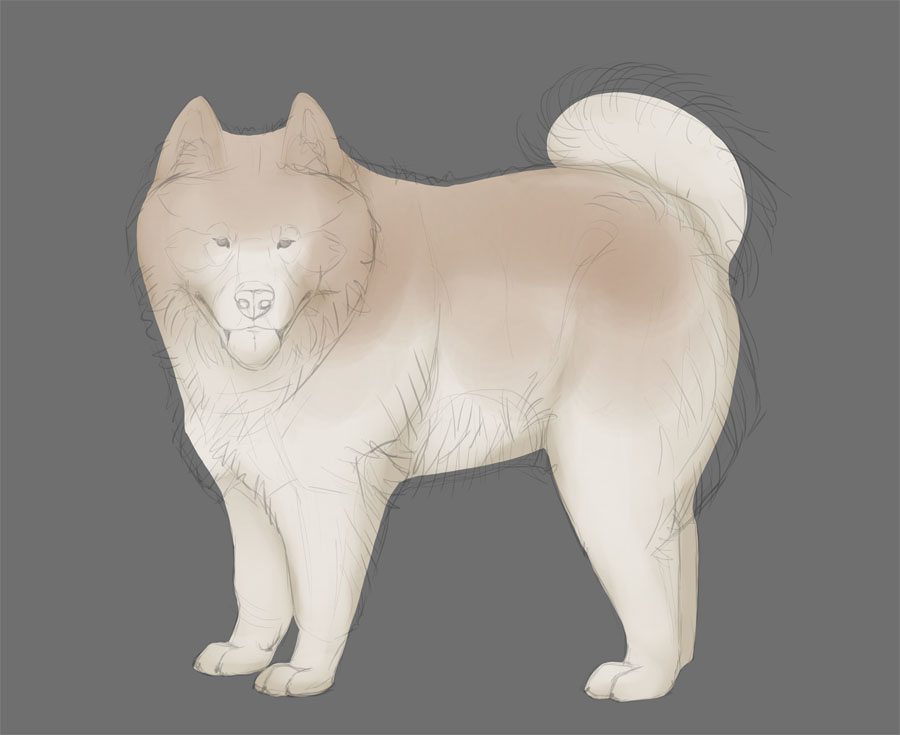
Then press harder as you go towards the area where the intended final color will be.
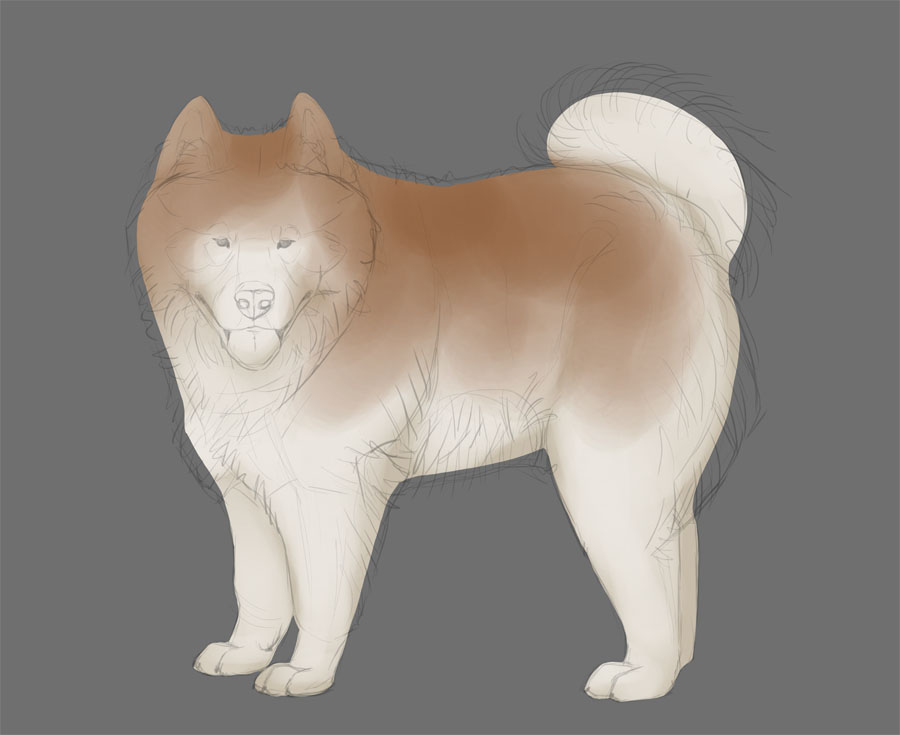
And then press even harder, until you add 100% of the current color.
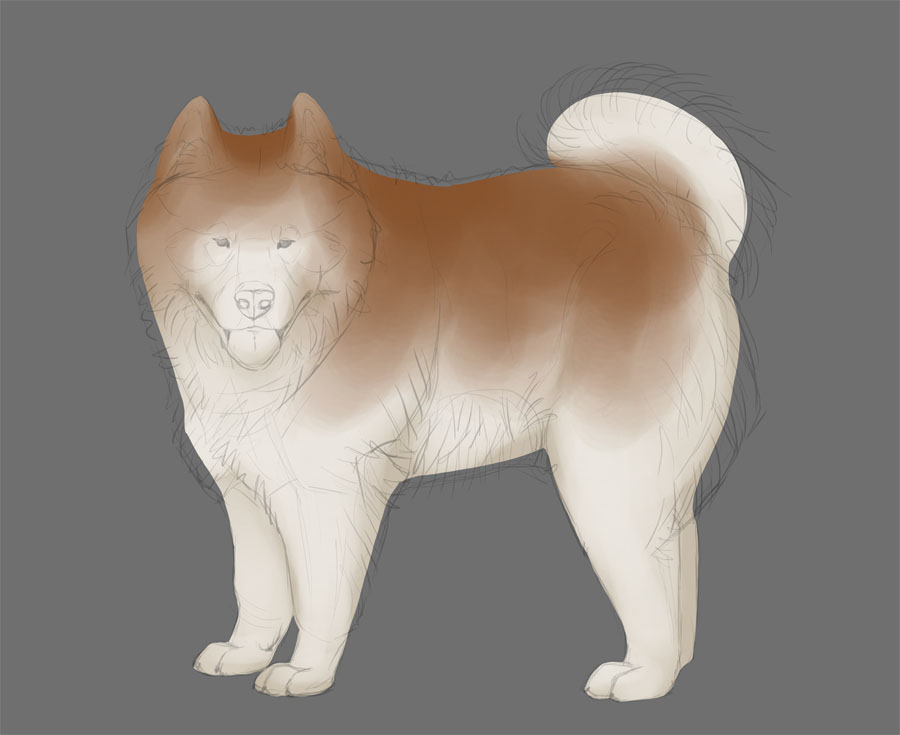
Next select the final color, and repeat the gradual process. You should end up with a natural effect of one color turning into another.
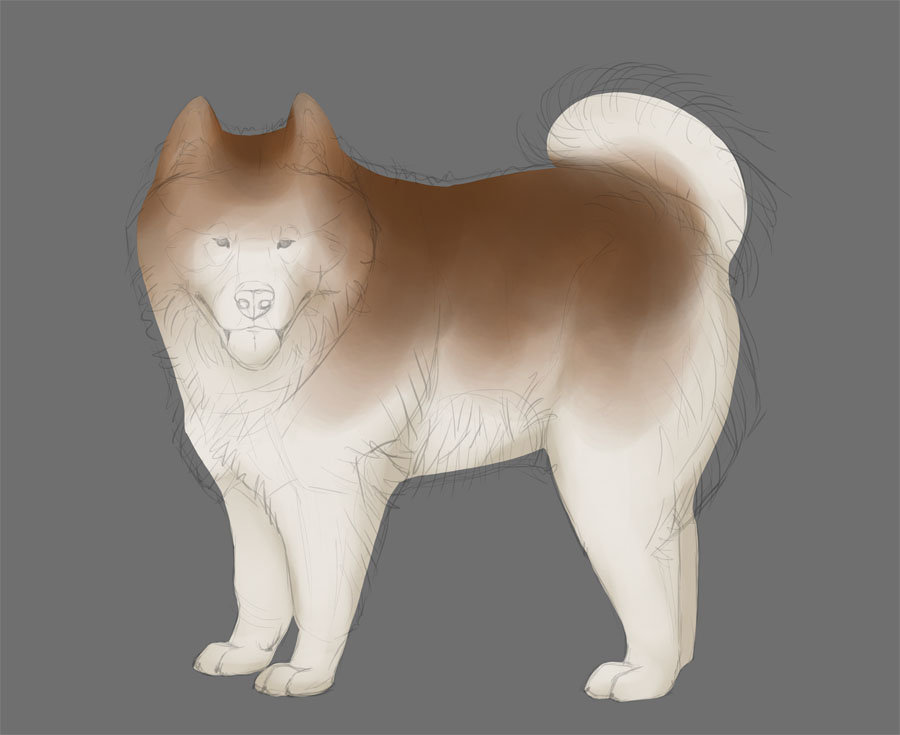
Step 4
Once you have the basic color pattern, you can add colors to the details. Do it with big strokes, without trying to be precise—this is not the time for it yet! Avoid perfect black and perfect white.
Step 5
Now, go to the Shadows layer. In case of fluffy animals, big shadows are not that visible—light is caught in the fur and shines through everywhere. Still, there are certain areas that should be darker. Paint these with light, warm color—the darker the shadows, the warmer the color should be.
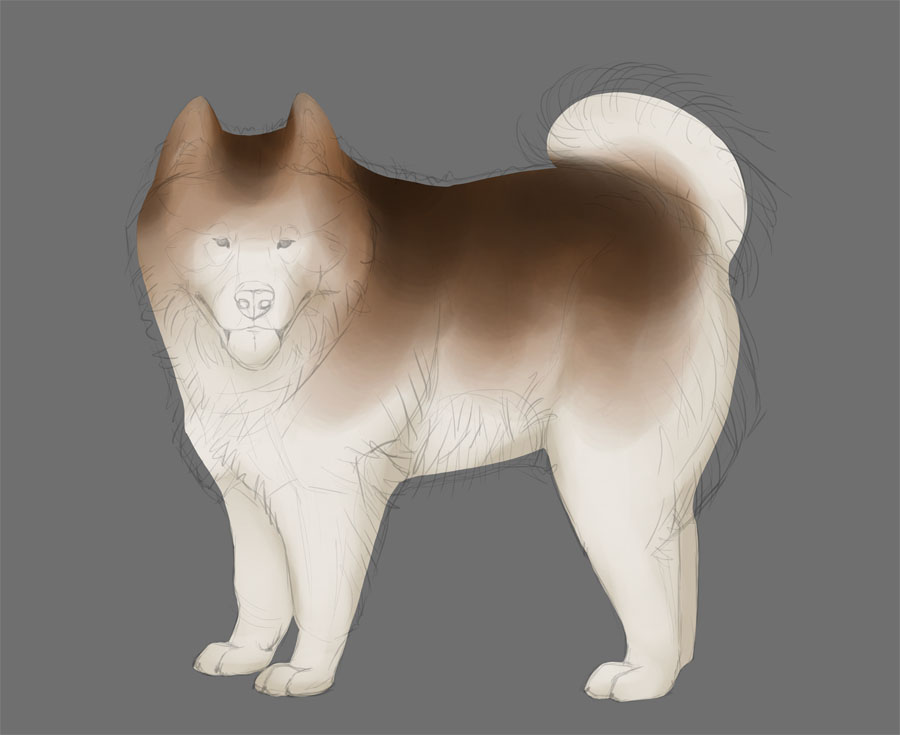
Step 6
Also, it’s a good time to paint the shadow on the ground. It will help us see the whole form of the animal better. Do it on a separate layer under the others.

Step 7
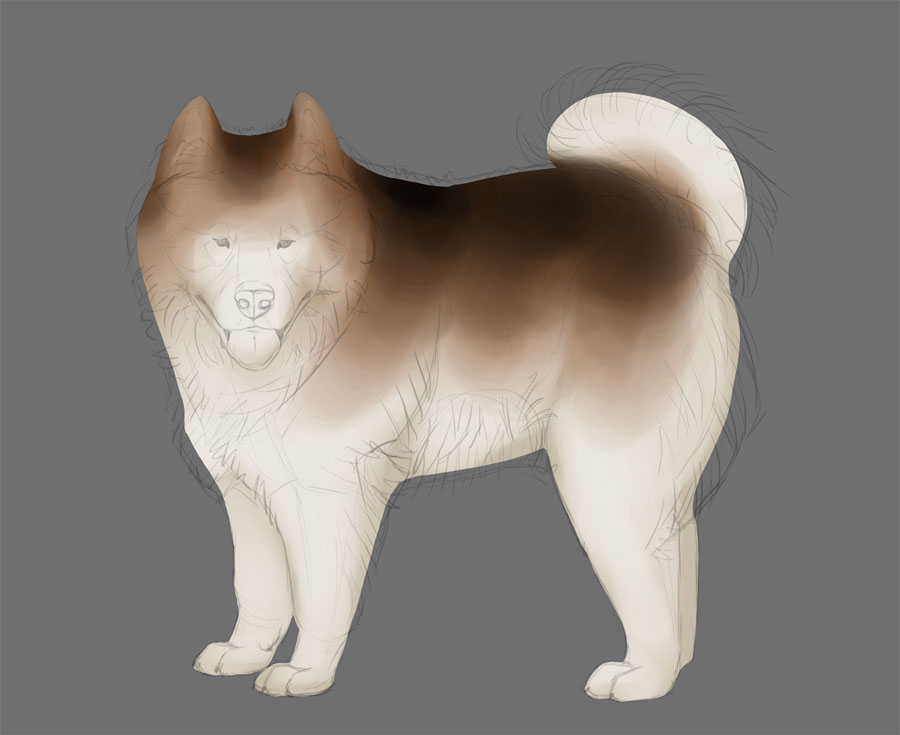
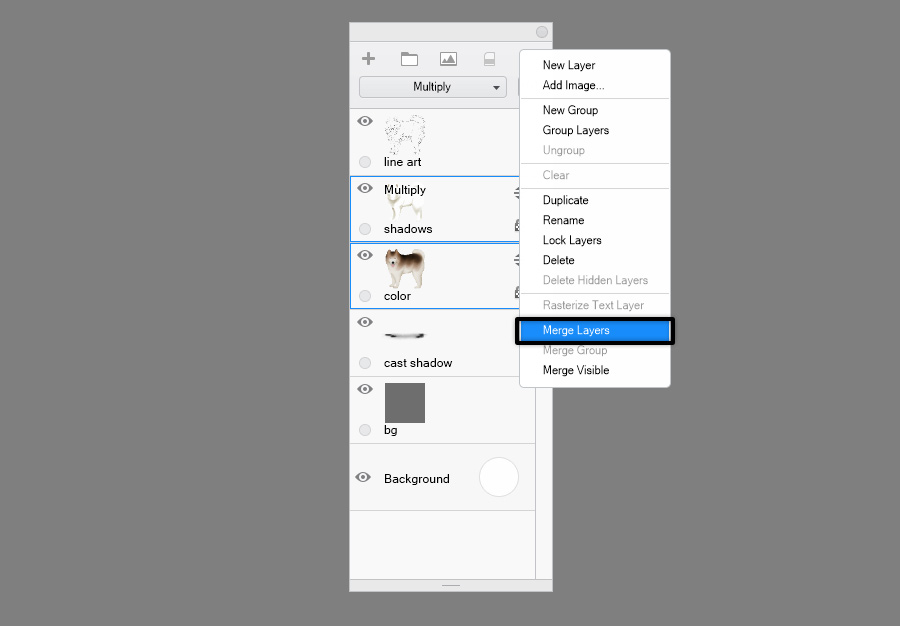
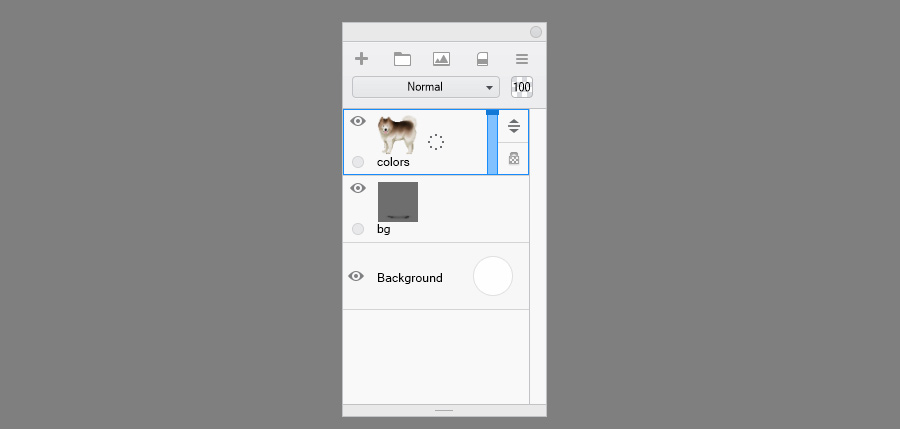
Merge the Colors layer with the Shadows layer. Go to Image > Image Size and make your image at least 6000 px wide.
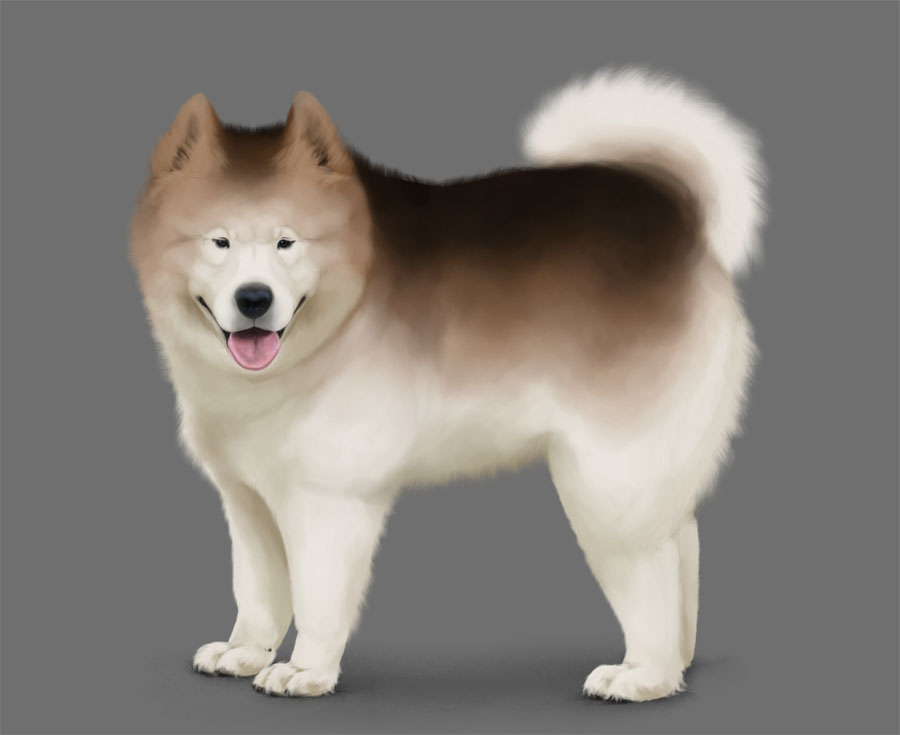
3. Draw Simple Fluffy Fur
Step 1
Now take the Fur Maker brush and drag it over the outline, creating an illusion of fluffy fur. This is my favorite part, because the effect is instant! Just don’t overdo it—this isn’t the end yet.

Step 2
Take the Magic Wand Tool and again select the area outside of the creature. Go to the line art layer and press Backspace to remove the selected area. Deselect and merge this layer with the body.

Step 3
Now, take care of the details that have nothing to do with fur. Give them a finished look, so that you have a clear point of reference for the rest of the artwork. Since this tutorial is focused on drawing fur, I won’t be explaining how to draw these details.

Step 4
Next, let’s go to the ears. Fluffy ears are very easy to draw! First, draw their dark inner part.
Step 5
Unlock transparency, if it’s locked. Take the Fur Strand brush, pick the color of the fur next to the ears with the Eyedropper Tool, and paint over the edges of the dark area.

Step 6
To make the ears even fluffier, take the Airbrush and cover the upper part of the dark area.

Step 7
Let’s go to the paws now, since they’re another small detail that should be easy enough to finish. Pick the color of the shadow and cover the lines by sculpting the form of the toes with the Painting brush.

Step 8
Now pick the color of the illuminated area, take the Fur Strand brush, and paint over the illuminated part of the toes. Don’t draw too any details—your goal here is simply to hide the sharp outline of the paws.

Step 9
Let’s go back to the face. We need to cover the lines here using the same method, but this time you need to pay more attention to details.
Lock transparency again. Shade the smaller forms of the face using the Painting brush, and then cover the shadows with colors picked from the area. If you keep your brush big, and your strokes light, you should be able to achieve a soft type of shading that is perfect for fur.

Step 10
Do the same with the rest of the body. Remember: your goal here is to cover the lines, add more detailed shading, and create soft transition between the colors. Use the Painting brush only, and keep it big (unless you’re painting a shadow under a body part). The more often you pick the color from the area before you paint, the more natural the transition will look.
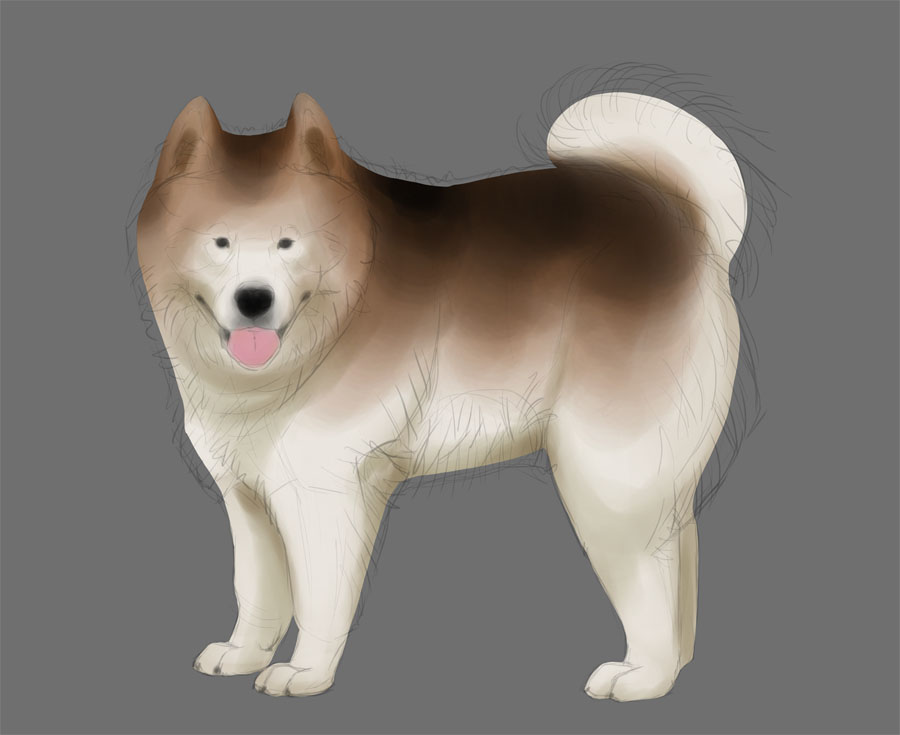
4. Draw Detailed Fluffy Fur
Step 1
The fur should look pretty fluffy already, but it lacks details. We need to cover the soft transition between the colors and the light and shadow with actual hair. To do this, take the Fur Shadow brush. It’s the opposite of the Fur Strand brush—instead of drawing the strands, you’re drawing the shadows between them. So pick the color of the shadow and paint over the transitional areas.
This brush works perfectly for short shadows, If you want to draw longer ones, cross them and mix their brightness for a more natural effect.
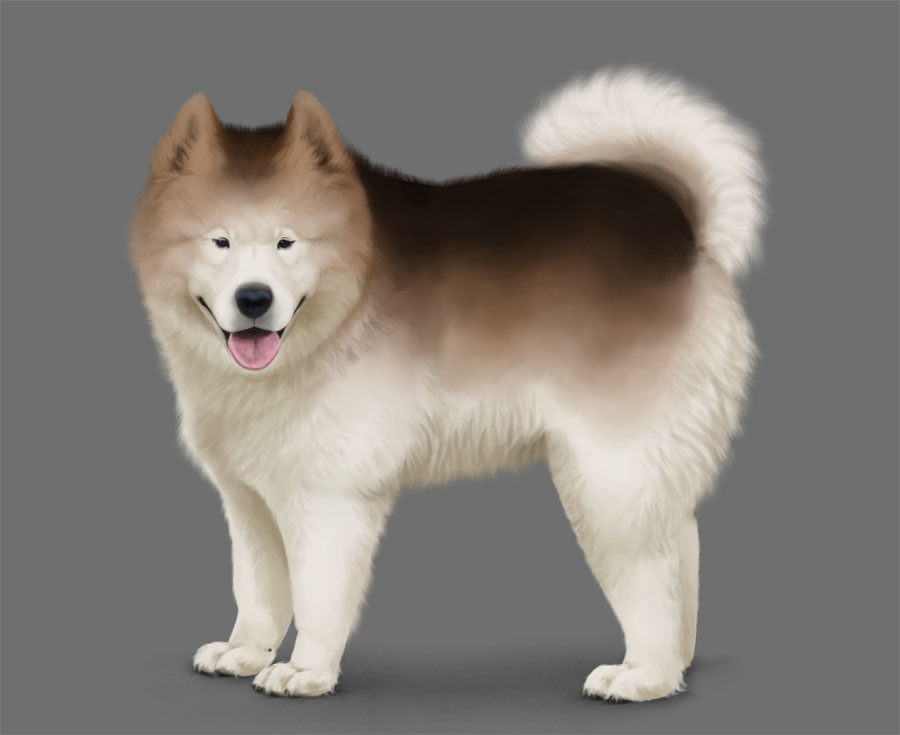
Step 2
But fur brushes have their limits. They’re perfect for drawing fur in side view, but what if the hair strands are directed towards you? Then it’s time to come back to the universal Painting brush and paint these shadows manually. You can achieve a natural effect of clumping hair by drawing a lot of loose X’s. Keep them fairly light.

Step 3
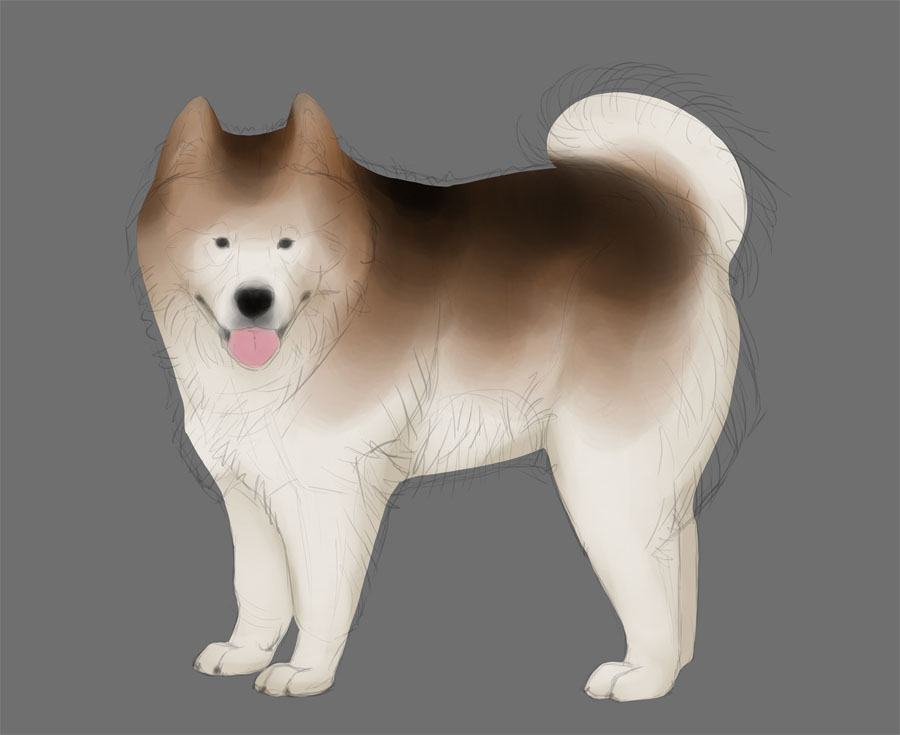
Now it’s time to finally make the brush smaller and draw tiny shadows inside these shadows. Find the areas where the strands are separated, and accentuate the separation by deepening the shadow between them. You should do it very subtly, though—you may feel the urge to add more details, but the truth is that real fluffy fur doesn’t have a very detailed look. If you make it too detailed, it will stop looking fluffy, and start looking wet instead!
Step 4
In the process of painting the shadows you might have covered some of the strands. Now it’s a good time to accentuate them back, to give them a right shape.
Step 5
Once we’re done with the strands, we can finally add some loose hair. With transparency unlocked, use the Loose Hair bush to add extra fluffiness to the fluffiest areas.
Step 6
And if you need even more fluffiness, you can draw single hairs using the Single Hair brush. Just keep these strokes loose and natural—it helps to shake your hand a little. Also, remember that loose hairs tend to clump together—if you draw them separated, they will look stiff.

Step 7
The fur is done! If you want, you can add some rim light by painting over the edge with much brighter version of the color (with transparency locked). You should also take a good look at the whole image and decide if there’s anything that can be improved. In my case, I made the tail fluffier by adding more loose hairs.
Conclusion
Now you know how to paint fluffy fur in SketchBook! But if you found this tutorial overwhelming, I would recommend going back to the basics of digital drawing with my series Digital Drawing for Beginners:
3 Comments