There’s this concept in photography called “three-point lighting”, where you use three types of light to properly accentuate the form of your subject. We can use it in art as well, slightly adjusting it to make it fit the natural light conditions. In this very short tutorial I’ll explain this concept to you, using my lighting study as an example.
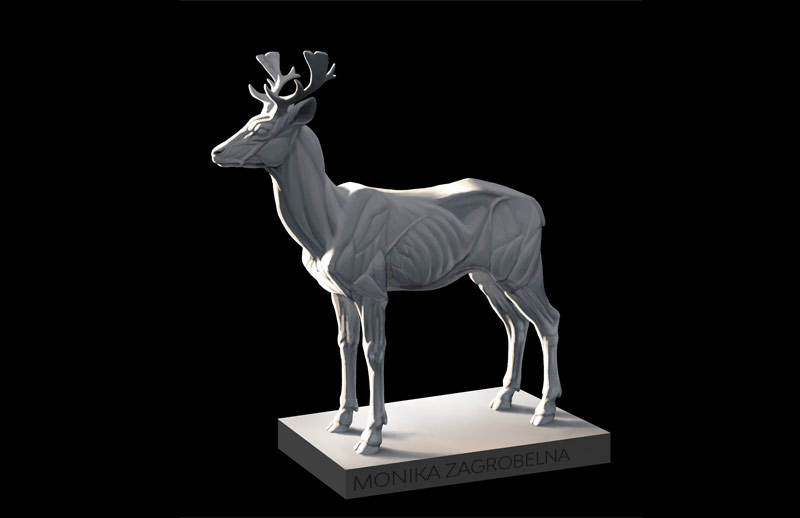
To create this study, I downloaded a free model of a deer from here. Then I opened it in Blender and experimented with the lighting to create a simple, natural, and appealing setup. Next, I rendered the model a couple of times, showing only the effects of one light at a time. Finally, I sketched the deer and used these images as references to shade it. The goal was to understand how to create this appealing 3D lighting with digital painting methods.
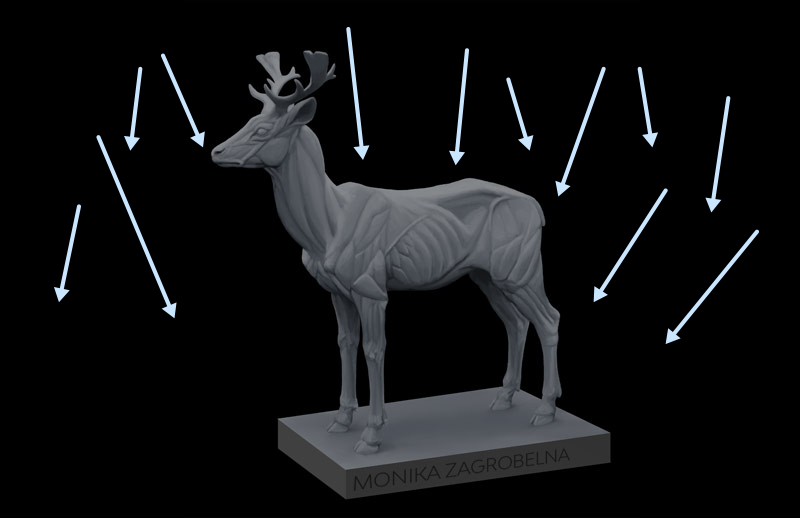
Ambient Light
First we need the key light, which is light that illuminates the most of the subject. In natural conditions, we can use the sky for it—because of the phenomenon called Rayleigh scattering day sky is full of soft, ambient light, that comes roughly from above and envelops the whole subject. This light allows us to show the form of the subject without worrying about the shape and direction of the shadows.
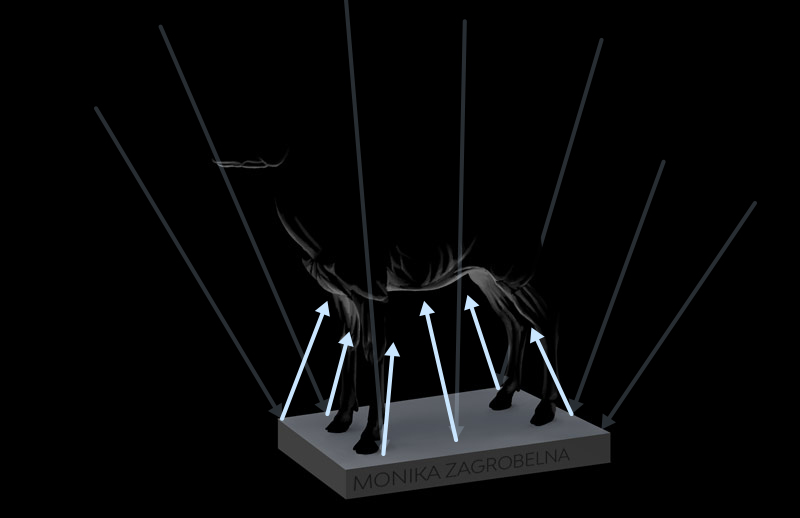
Reflected Ambient Light
After the key light hits the ground (or walls, or other objects around), it gets reflected. It loses some of its power in the process, so it’s weaker, but it’s perfect to show the details hidden in the shadow created by the key light. This type of light is normally called the fill light, because it fills the shadow.
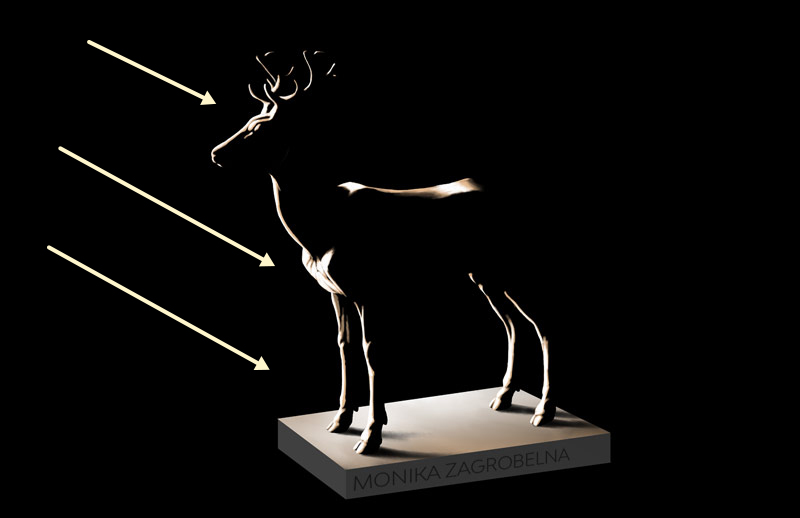
Rim Light
These two lights are all we need to create a realistic lighting, but if you want to accentuate the edges of the subject, you can add the rim light—light coming from behind of the subject. This light, if placed as a correct angle, has a hard time reaching most of the subject, but the parts it does reach get strongly illuminated. This helps cut the subject from its background in a natural way.
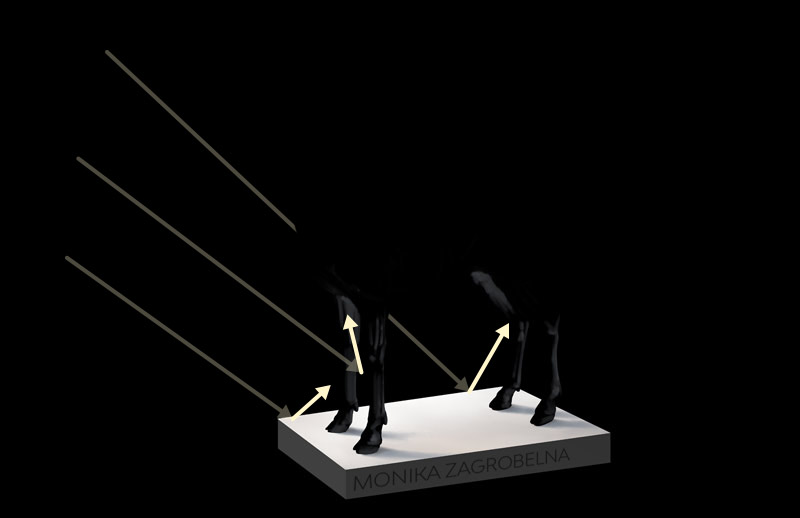
Reflected Rim Light
So we have three types of lights, but that’s not the end—the rim light creates its own reflected light as well. So you need to take care of its effects on the ground, but there’s also one more issue. This light hits the side of the object we don’t see, and it’s often so strongly iluminated that it reflects its light back to the parts we do see—like the inner thigh.
Composite
Finally, it’s time to put it all together. By changing the Blend Mode of the layers, we can combine them into a composite lighting setup. Here are the modes I used:
- Ambient Light: Multiply if there are colors underneath, Normal if there are none
- Reflected Light: Screen
- Rim Light: Screen
Remember that you don’t have to paint these layers completely separately, waiting until the end to combine them and see the effects. In fact, it can be quite hard to draw the rim light without seeing what is underneath. So feel free to figure out your own process and don’t be afraid of doing something “wrong”. As long as it works, it’s totally ok!

0 Comments