During the last lighting study I learned how important it is to define the lighting early on, before adding any details. So I decided to apply this knowledge to the process of painting another one of my colored big cats. Here’s how I did it!

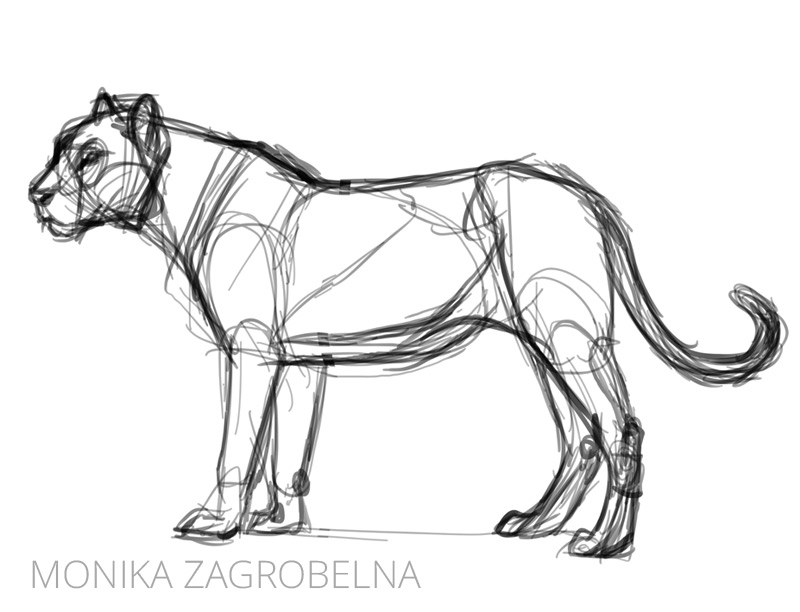
1. Basic Sketch
First I found a reference photo for the pose and sketched it in a quick, lose way—just to capture the proportions and form.
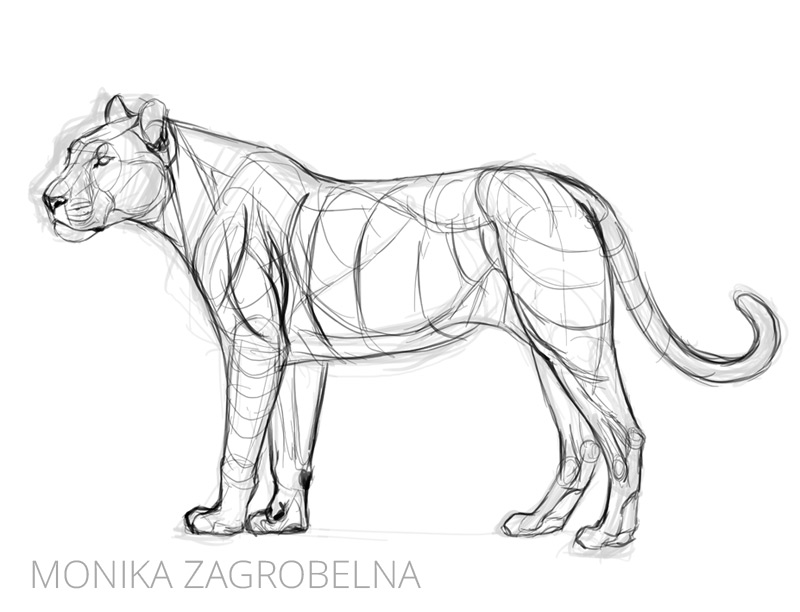
2. Detailed Sketch
I lowered the opacity of this basic sketch and created a new layer over it. I Draw the details without trying to be clean—this line art will not be visible later, so it would be a waste of time.
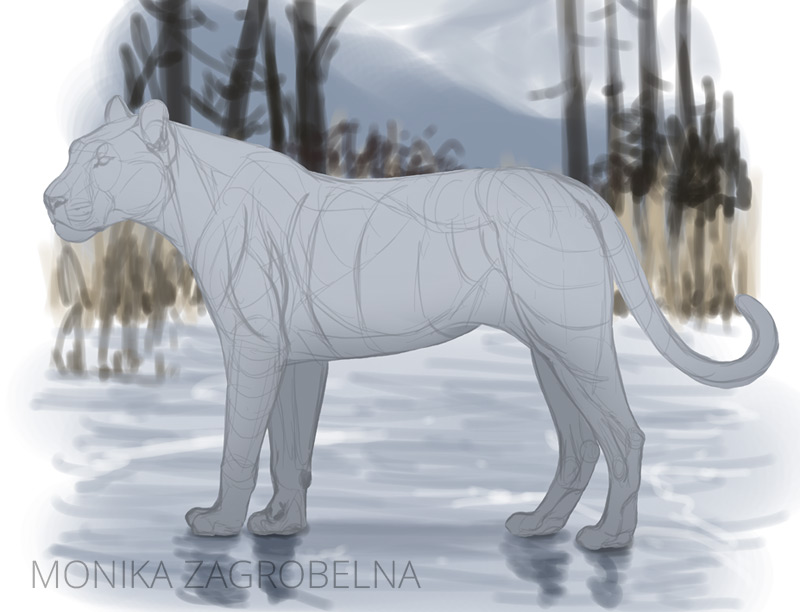
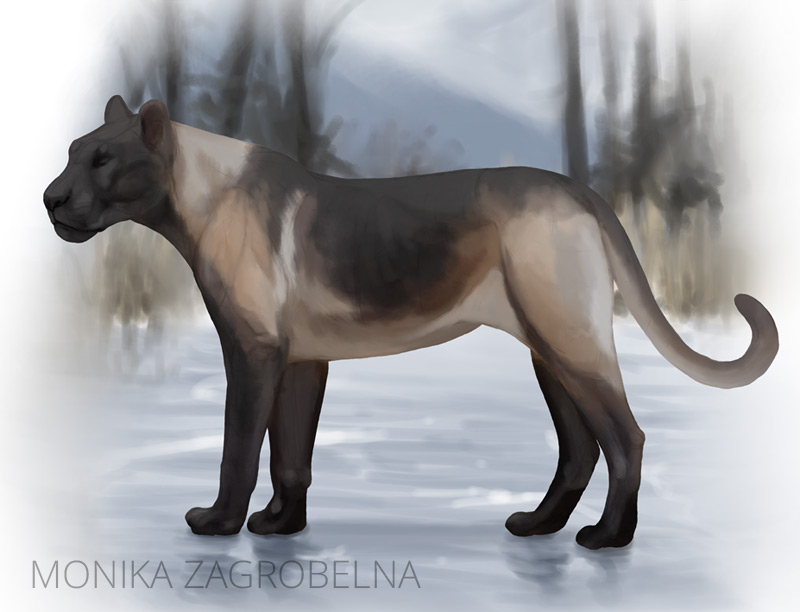
3. Colors
I created a new layer under the line art and drew the outline of the silhouette. I filled it with grey, and locked its transparency. Then I blocked out the colors within the silhouette. I also added a basic background on another layer.
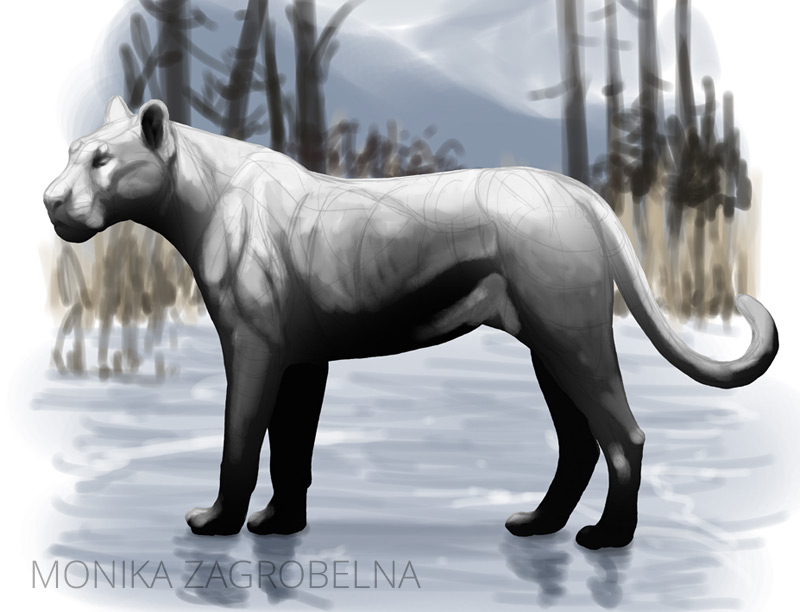
4. Shadow
I duplicated the silhouette layer and filled it with white. I imagined the location of the light source and I painted subtle, light shadow in the proper areas. Then I changed the Blend Mode to Multiply and adjusted the opacity of the shadow layer.


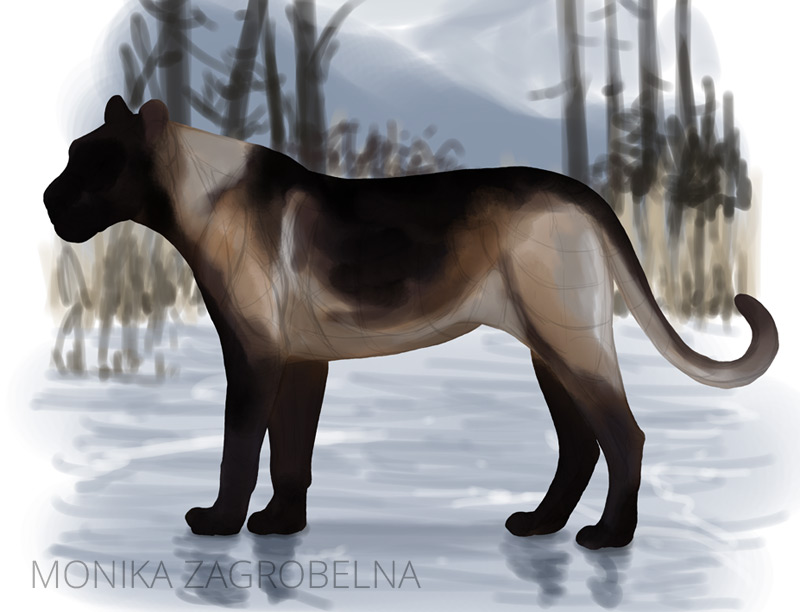
5. Ambient Color
Because the background seems to be full of cool tones, these tones should be reflected into the colors of the cat. I added another silhouette layer filled with light blue, and set its Mode to Multiply to create a blue filter. I lowered its opacity to decrease its darkening effect.
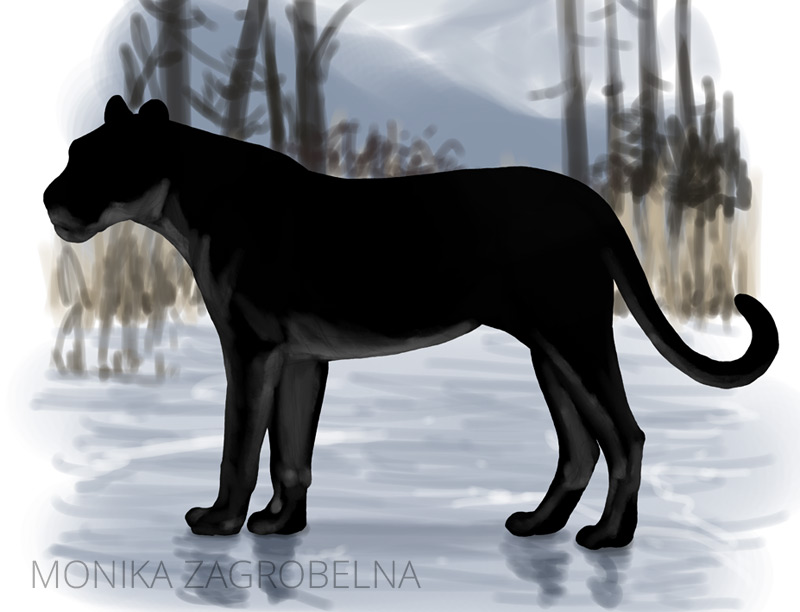
6. Light
I added another silhouette layer filled with black, and painted over the areas perpendicular to the light source, to make the form of the body clearer. I changed its Blend Mode to Screen and lowered its opacity.

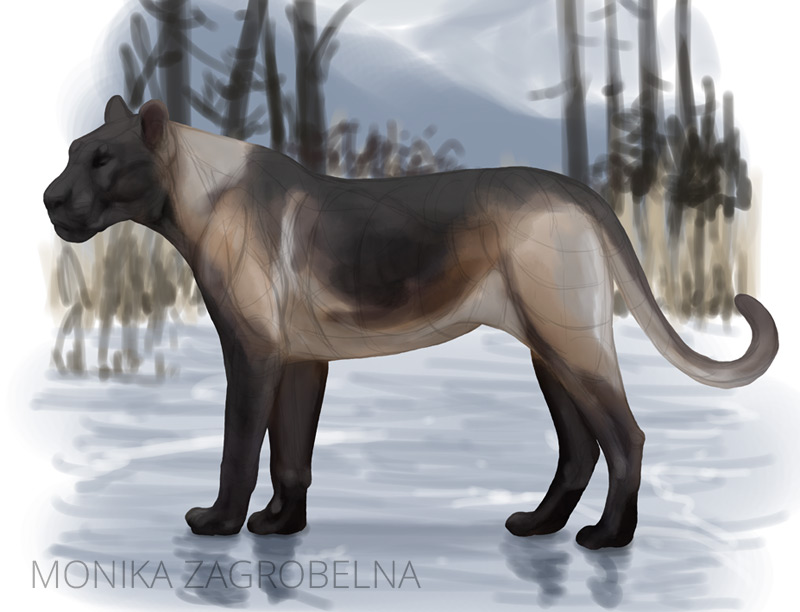
7. Reflected Light
Similarly, I added another layer in Screen mode to add the effect of the light reflected from the ground.
8. Covering the Line Art
I merged all the silhouette with the line art, and started painting over the merged layer to cover the lines. I picked the colors from the area using the eyedropper tool and then painted over the line. I also blended the background to make it less distracting.
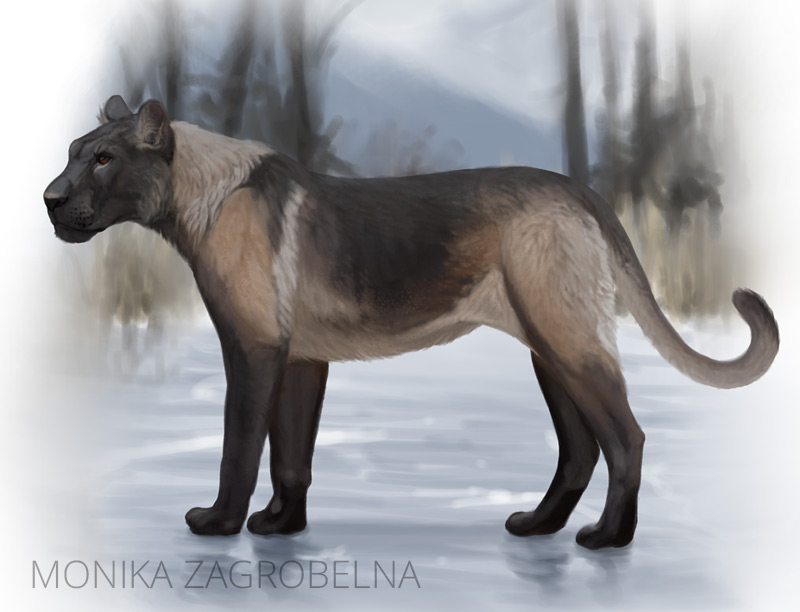
9. Rendering the Details
If my cat was supposed to be short-haired, I could only add a couple of details to the head and I would be done. However, longer fur requires more work. I rendered the fur using this method.
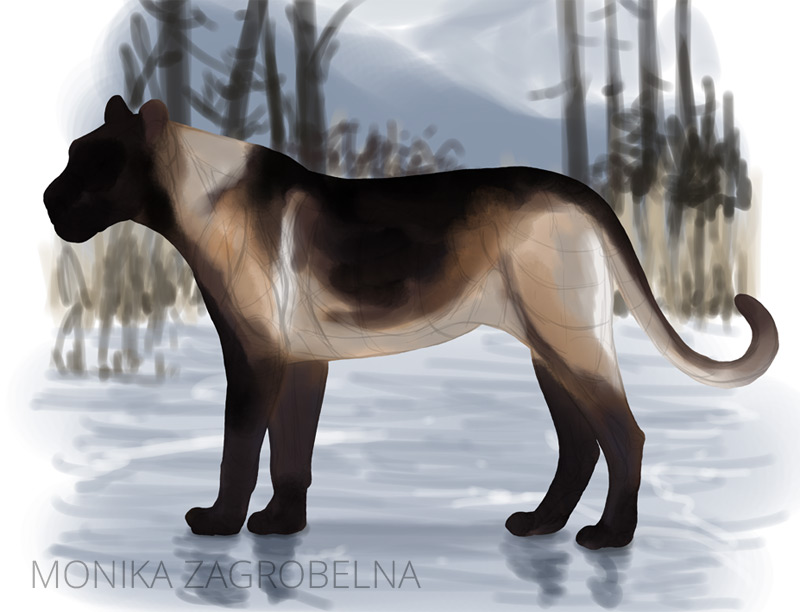
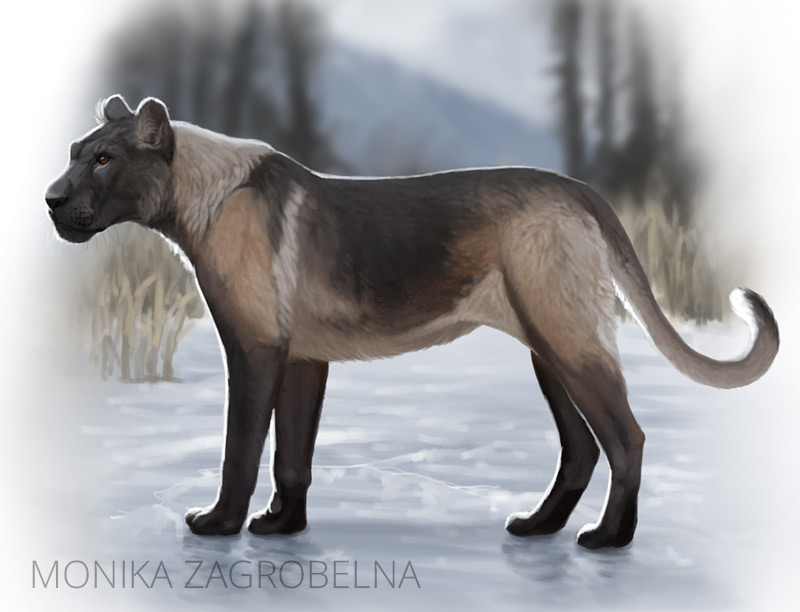
10. Rim Light and Final Touches
Finally, I added some rim light to accentuate the silhouette. I also finished the background.
Do You Want to Learn More?
If you found this process too difficult to understand, you may find it useful to go back to the fundamentals. I recommend my series Digital Drawing for Beginners:
1 Comment