There are countless ways of shading digital art—it’s one of the reasons why there are so many distinctive styles, even when the artist is trying to paint semi-realistically. However, to create your own style of shading, first you need to know the rules. In this tutorial I’ll show you a universal method of shading that you can later modify to your own liking!
This is a software-independent tutorial—I’ll be showing you techniques that you can use in any digital art program. Personally, I use Autodesk SketchBook. Also, to keep this tutorial simple and universal, I’m not going to talk about textures.
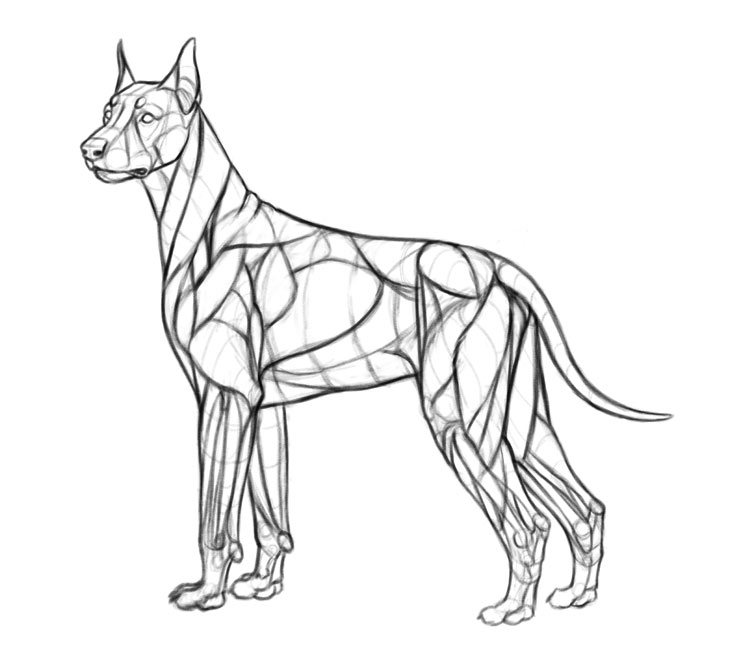
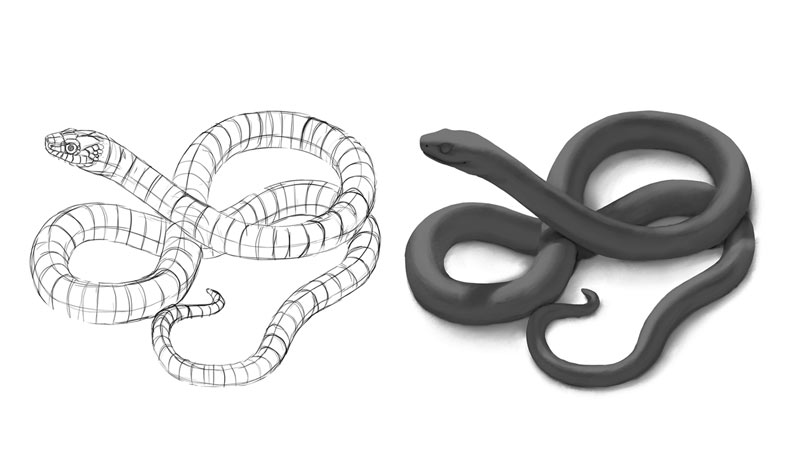
1. Plan the 3D Form of Your Subject
This is the most important part of the shading process—the reconstruction of the 3D surface of the body/object. You don’t have to draw it, but you need to be able to imagine it at least. These “hills and valleys” are exactly what we will be adding shading to!
If you want to follow this tutorial directly, you can download my line art here.
To create such a sketch, you need two things: the understanding of the 3D form, which you can learn here:
… and, if you want to draw animals, the understanding of animal anatomy. Here are the resources that I’ve been using for my studies:

You can also take a look at my animal anatomy video course!

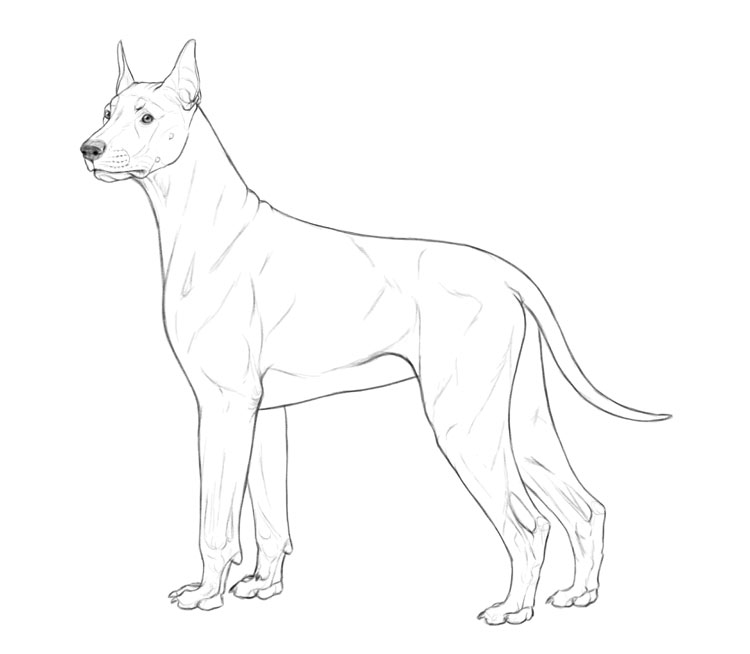
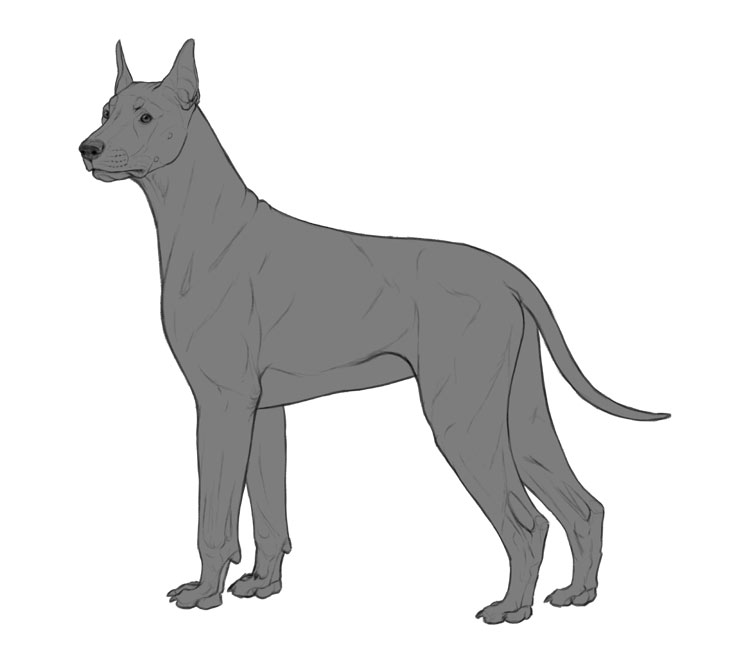
2. Draw the Line Art
Lower the Opacity of your 3D sketch and draw the line art on a new layer. The line art doesn’t have to be super clean, but it can’t be confusing either. At the very least, it should define the outline of the subject and the most important details.
After you have the line art, you can hide the 3D sketch and show it back whenever you want to take a look at the 3D surface.
3. Create the Clipping Mask
Create a new layer under the sketch layers. If you have a clean line art, use the Magic Wand to select the outside of the subject, then invert the selection and fill it with any color. If you don’t, just paint the outline manually, and fill it. Name this layer “Color”.
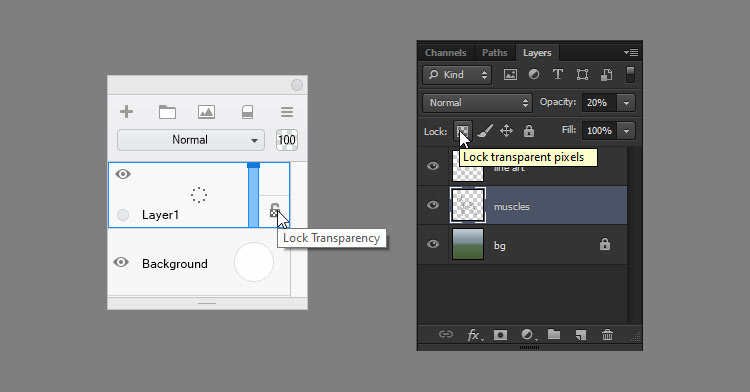
Now, your program probably allows you to lock the layer in a couple ways. Search for an option named “lock transparency”, “lock transparent pixels”, or something similar. If you lock the layer this way, you’ll still be able to paint on it—but only within the limits of the area that’s already been painted.
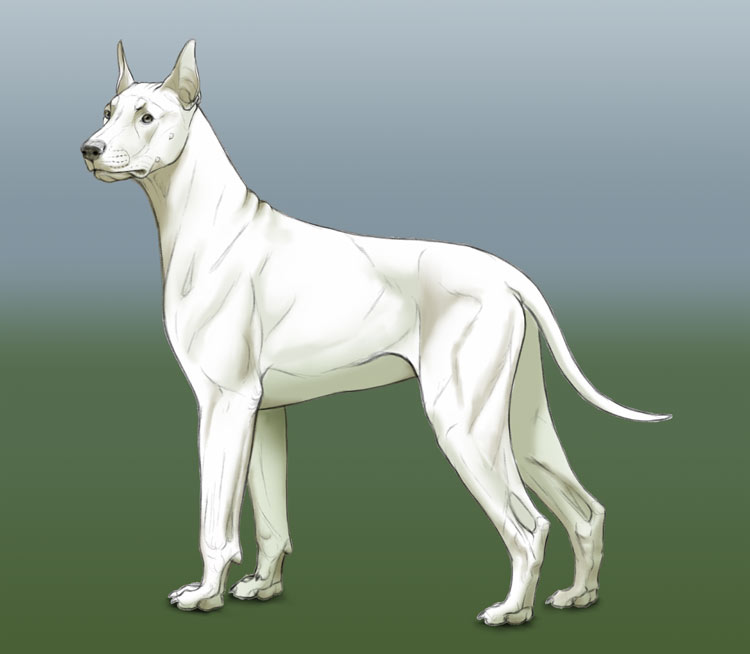
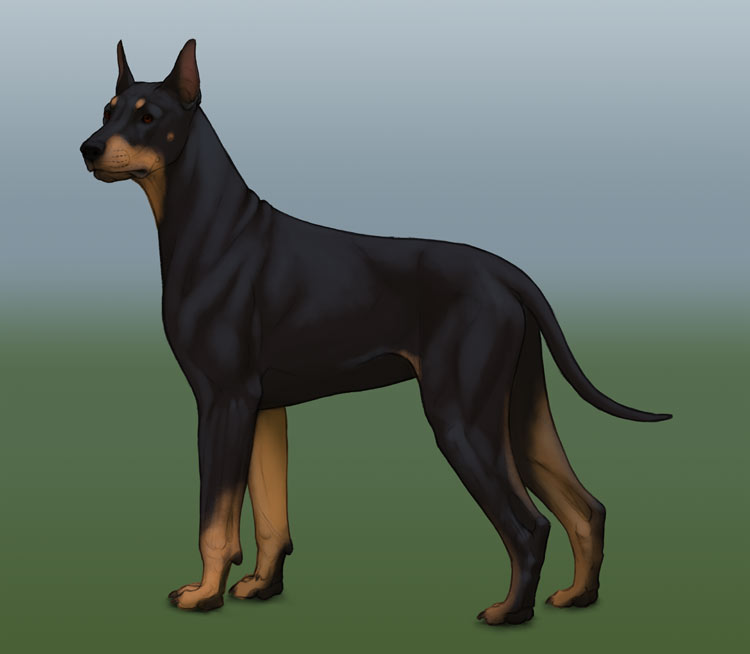
4. Paint the Basic Colors
Now, define the color of the background—it shouldn’t be too dark or too bright. Keep the background on a separate layer, right on the bottom.
Come back to the Color layer and paint the colors on it. Make the colors as bright as they would be in full light. Keep in mind that some colors simply are dark—not because they lack illumination, but because they absorb most of the light hitting them. However, don’t use perfect black or perfect white—they are rare in nature and they make shading more difficult.
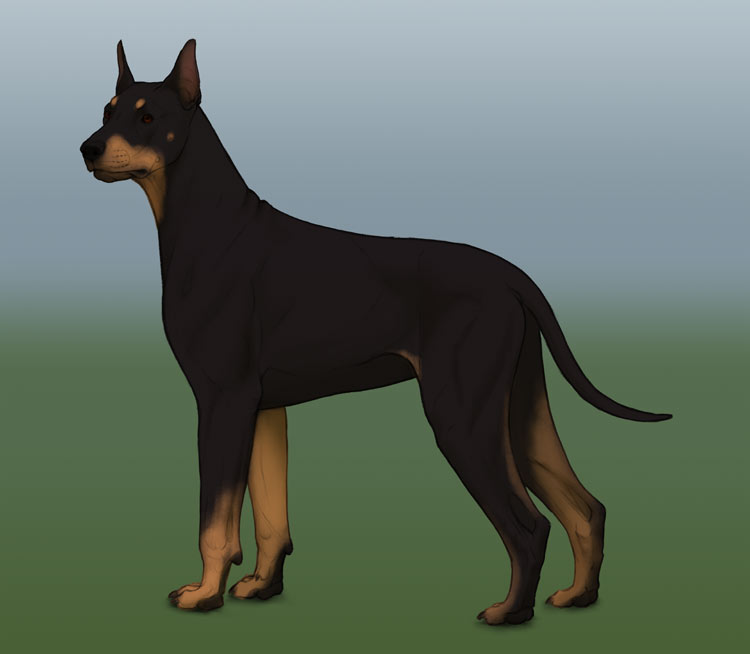
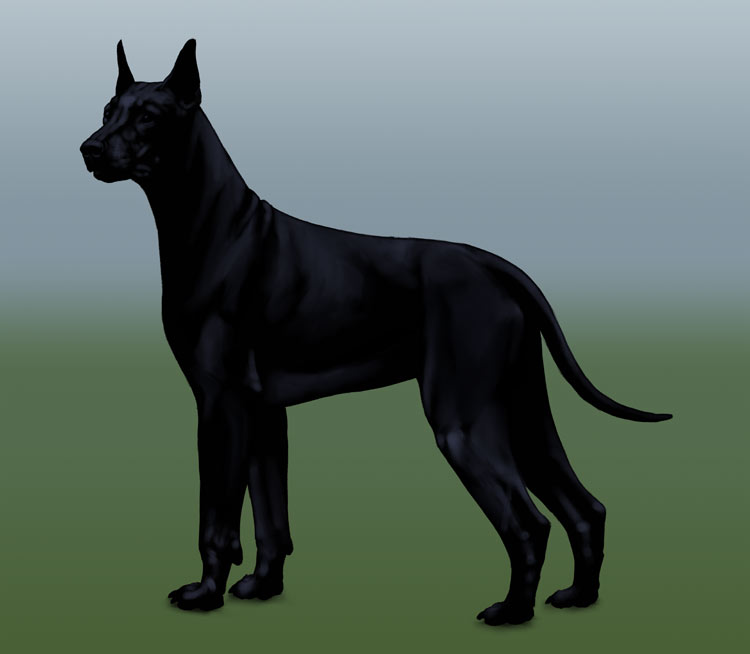
5. Add the Shadows
Duplicate the Color layer and fill it with white. Imagine the location of the light source, then paint the shadows using a rather light color. Show the 3D sketch again—this will help you see the little forms you have to shade. Name this layer “Shadow”.
If you need more help to understand how light and shadow work, try this article:
Change the Blend Mode to Multiply to make the white parts transparent, and to make the shadow parts darken the image below. The brighter the colors below, the more visible the effect will be.
Feel free to adjust the Opacity of the shadow layer, or keep painting on it until you get a desired effect. However, keep in mind that shadows don’t have much effect on a dark surface, so don’t try to make the shadows darker and darker, just to make them artificially more visible.
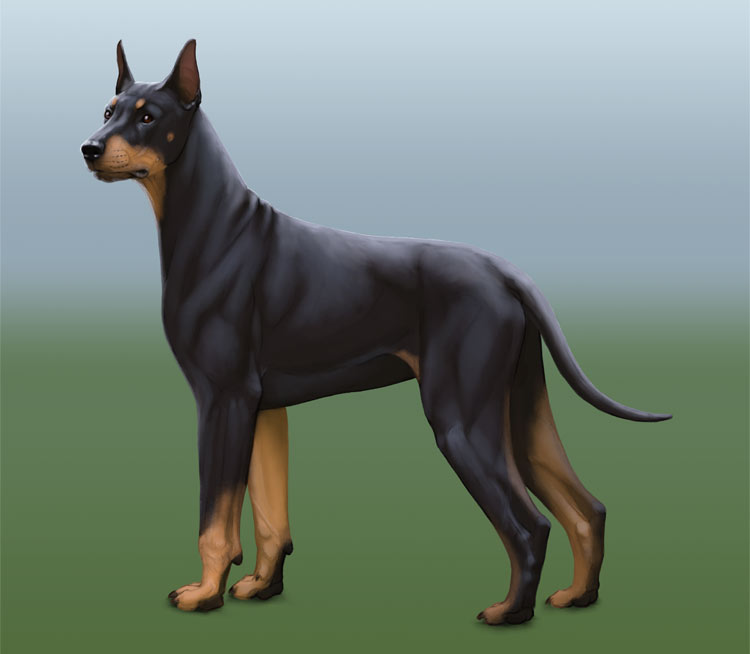
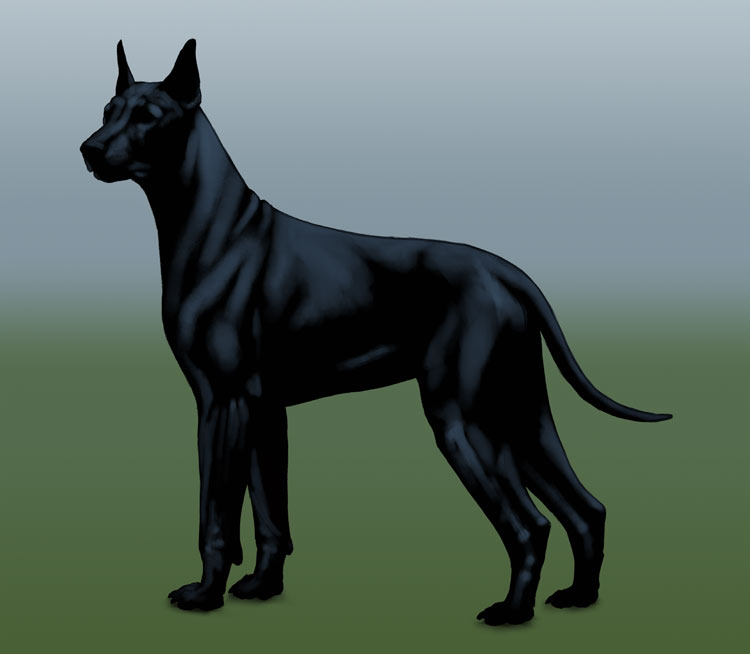
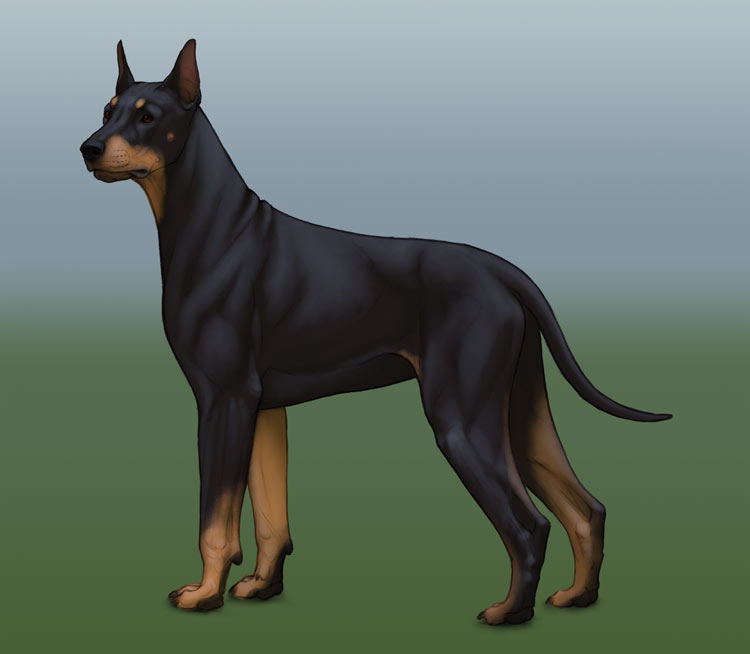
6. Add the Shine
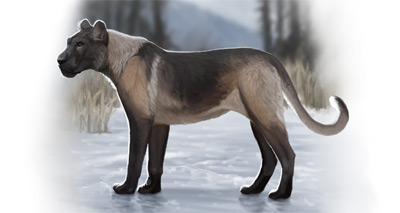
In a way, our subject is already shaded—it has the form-defining shadows on it. However, because it’s so dark, the shadows are barely visible, so the dog still seems flat. That’s where shine comes into play!
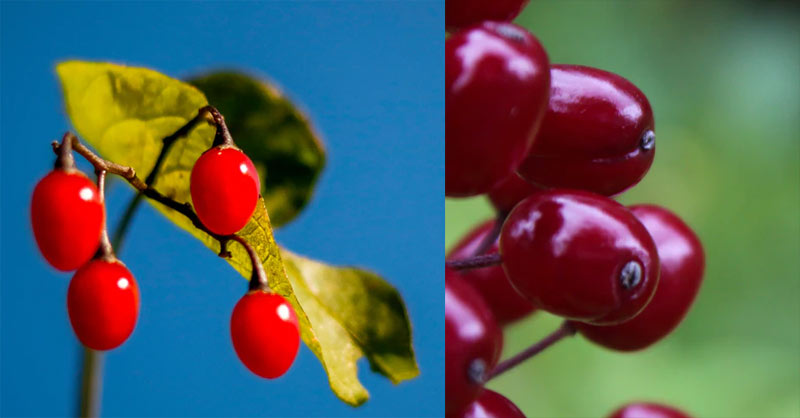
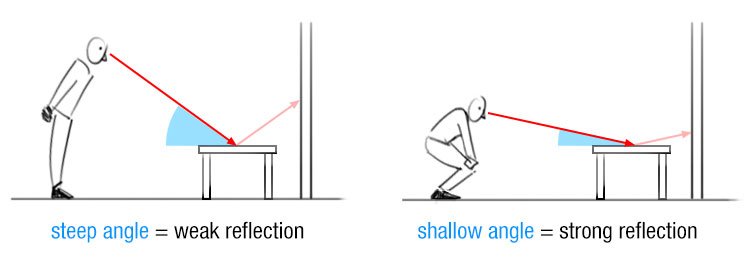
Shine is simply a reflection of something bright—the sun, the sky, or bright light reflected from another object. This reflection appears somewhere around the top of each “bump” on the surface of the object.
To add shine to your subject, duplicate the Shadow layer and fill it with black. Change its Blend Mode to Screen, identify the “bumps”, and paint the reflection on them. Use dark, low-saturated blue to create a natural effect of a sky reflecting off the skin. The sharper the borders of these areas, the glossier the subject will look.
When you’re done, feel free to lower the Opacity of this layer to make this effect subtler. Name this layer Shine 1.
7. Add More Detail to the Shine
Duplicate the Shine 1 layer and fill it with black. Paint on it once again—this time paint smaller areas, adding more shine to the highest point of each “bump”. It’s not a necessary step, but it helps make the shine more detailed. Name this layer “Shine 2”.
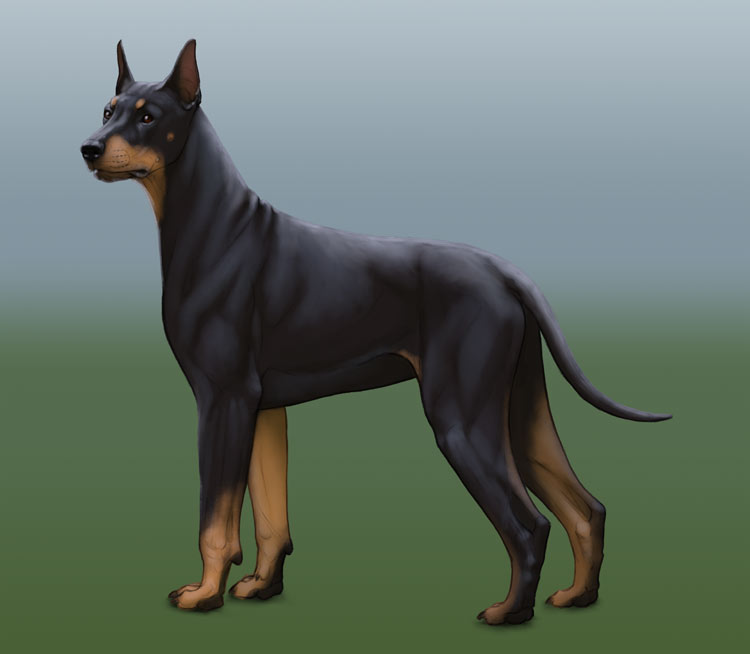
8. Add the Highlights
Duplicate the Shine 2 layer and fill it with black. Now it’s time to paint the highlights. Highlights are the brightest type of shine, and they help make the image look more finished.
Add bright, sharp shine to the glossy parts of the painting (here it’s the eyes and the nose). The matte parts can be brightened too, but only in the areas that face the light source, and not the viewer (this is called the Fresnel effect). Drag this layer above the line art, to be able to brighten it as well.

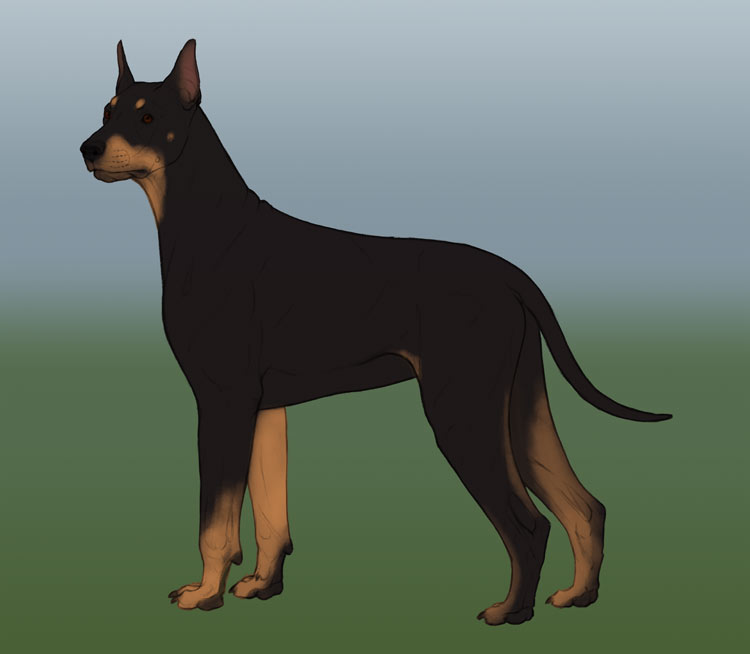
11. Cover the Lines
The shading is done! If you want to finish the painting, you can now create a new layer on the very top, and paint over the lines. Pick the color from the area and use it to cover the lines in a natural way. You can also add any details you want at this point.
Good Job!
Now you know how to shade in digital art! Of course, these are just the basic rules, and you’re free to modify them to create your own style.
If you want to learn more about shading, check out this article as well:

0 Comments