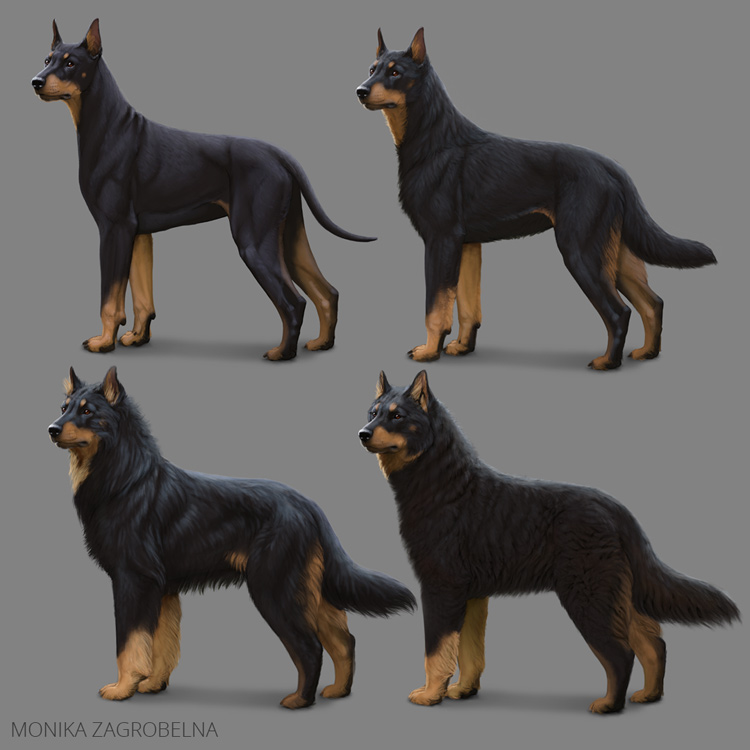
Last time I showed you a simple method to shade in digital art. However, while it’s easy enough to shade something that doesn’t have any texture on it, shading fur is another pair of shoes. And to make matters worse, fur comes in different variants, and each requires a different approach!
In this tutorial I’ll show you how to modify that simple method of shading to paint four types of fur: short, medium, long, and thick. However, keep in mind that this isn’t the only way to paint fur—I’ll show you the general rules that I use to create these four effects, but feel free to modify them to fit your own style.
I will be referencing that previous tutorial extensively, so please check it first!
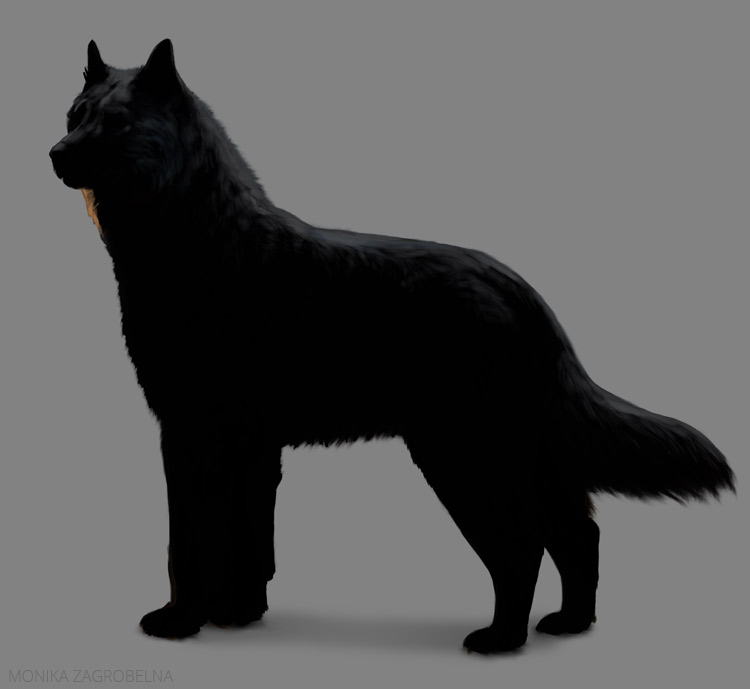
1. How to Paint Short Fur
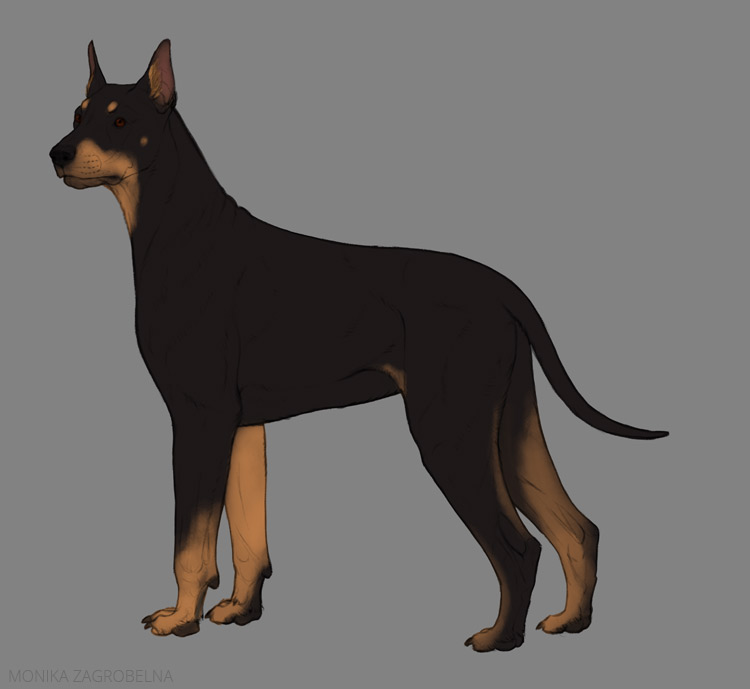
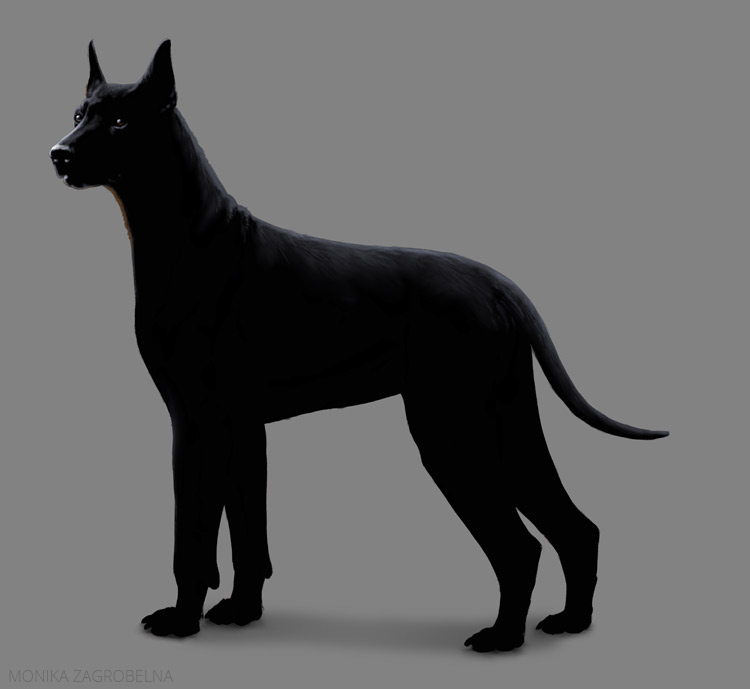
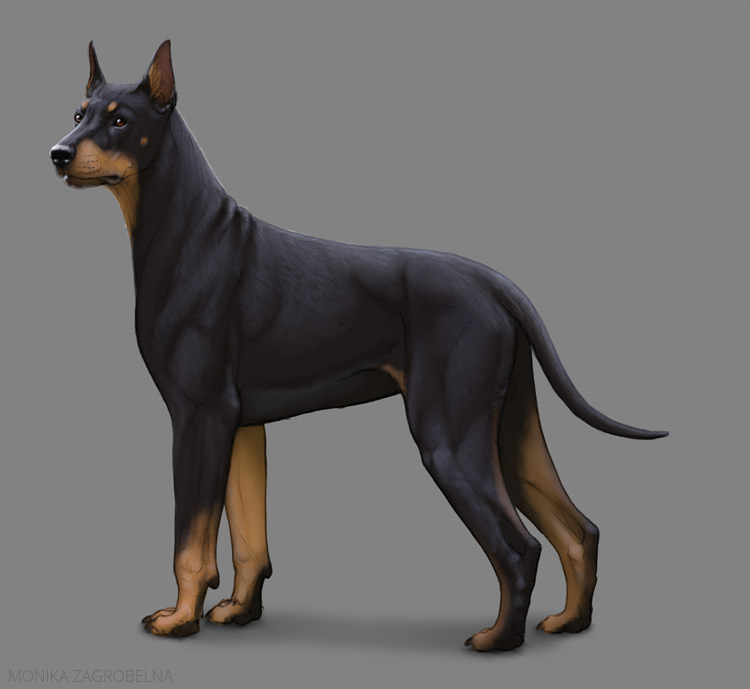
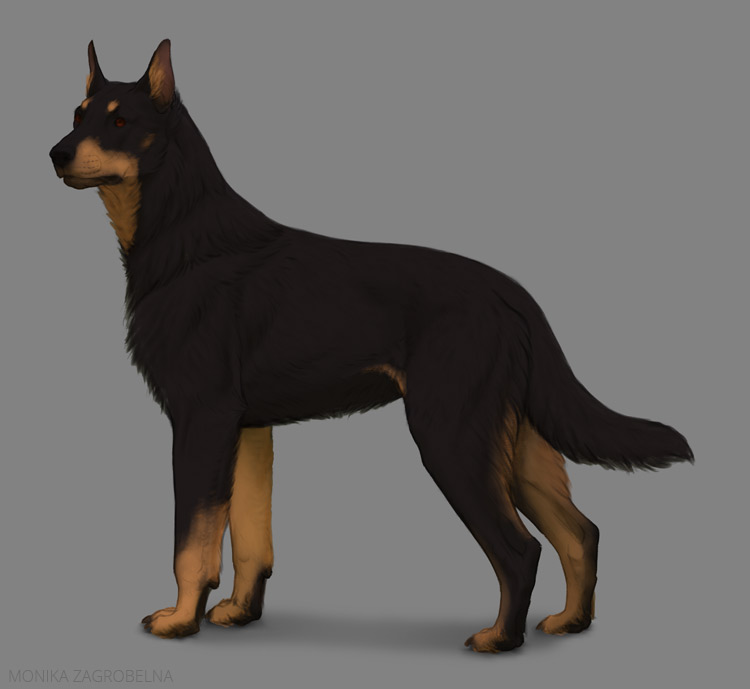
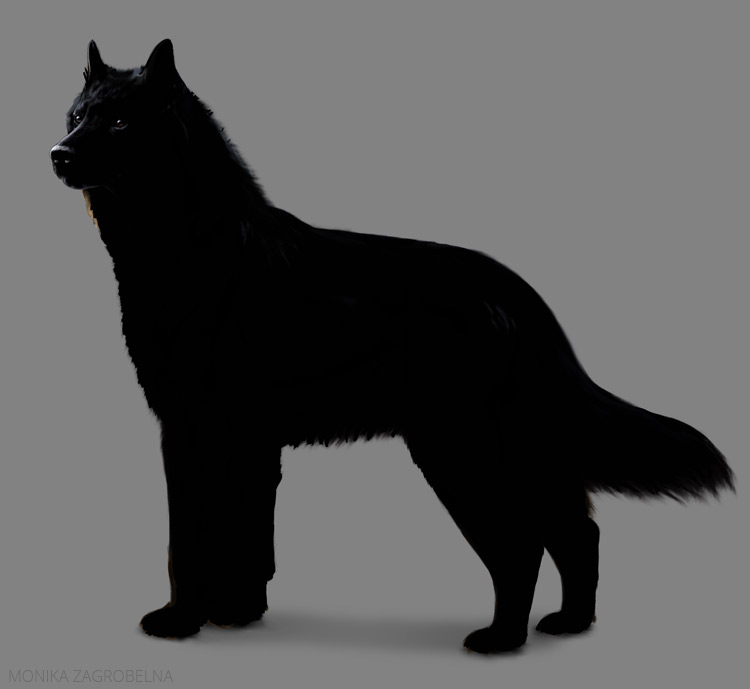
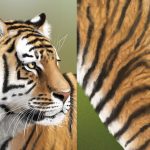
Let’s start with the short fur, the type that at a distance may seem like no different from skin. But even though it’s smooth and can be very shiny, it still should have a subtle texture if you don’t want your creature to look hairless.
To be clear, by “short fur” I mean something like dobermans have. The fur of the short-haired German shepherd is only short when compared to the long-haired version, so in my naming it counts as medium fur.
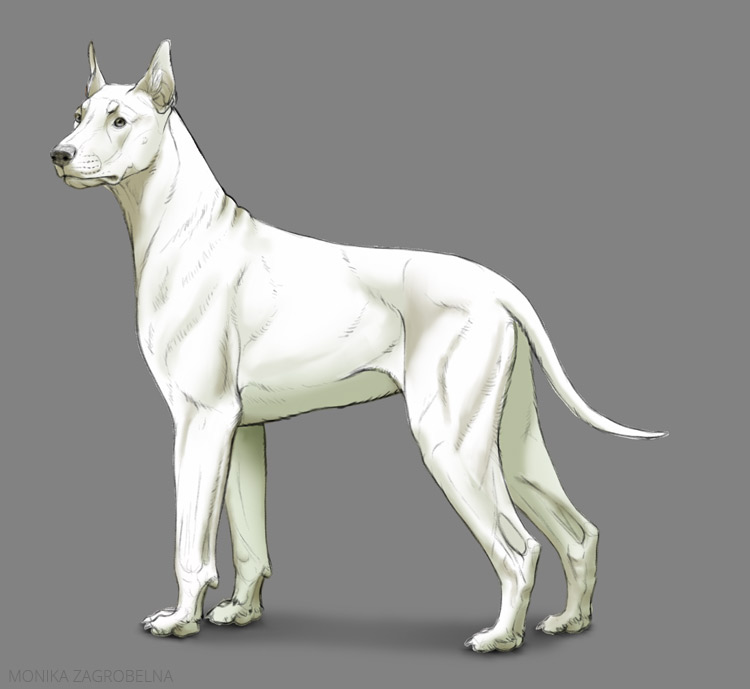
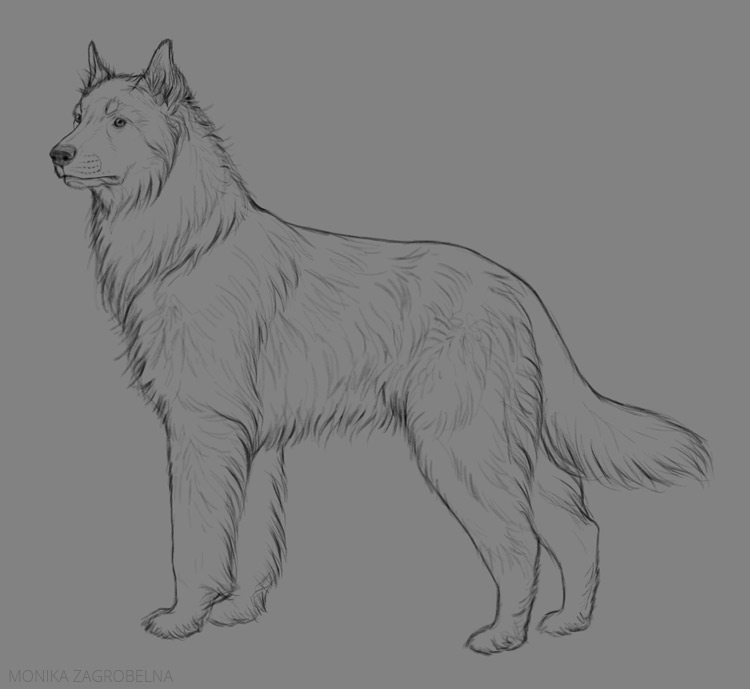
Draw the Line Art
When drawing the line art, you should accentuate the muscles—the short fur doesn’t cover them nearly as strongly as the longer types. When doing it, mark the direction and length of the hair.

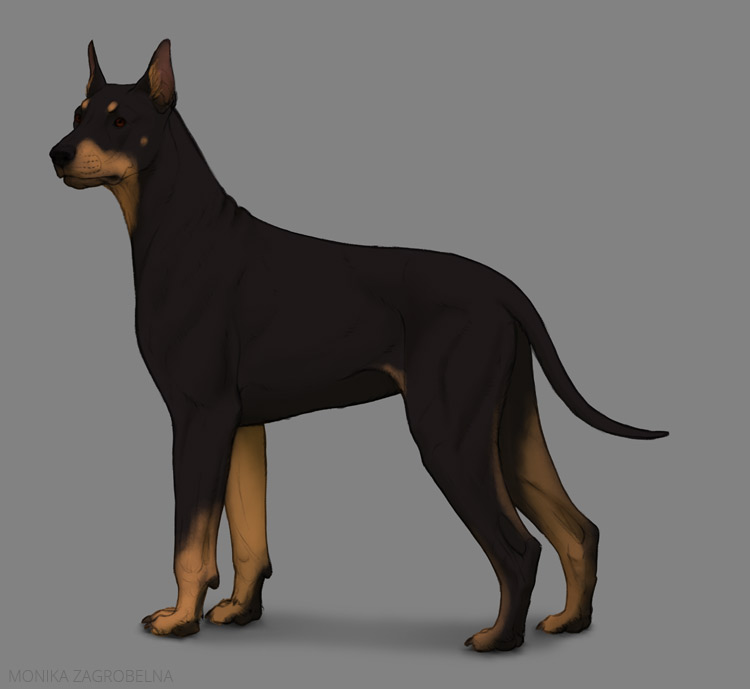
Paint the Basic Colors
Short fur doesn’t really affect the outline if the body, so feel free to draw it the same way as you would in the case of a hairless creature.
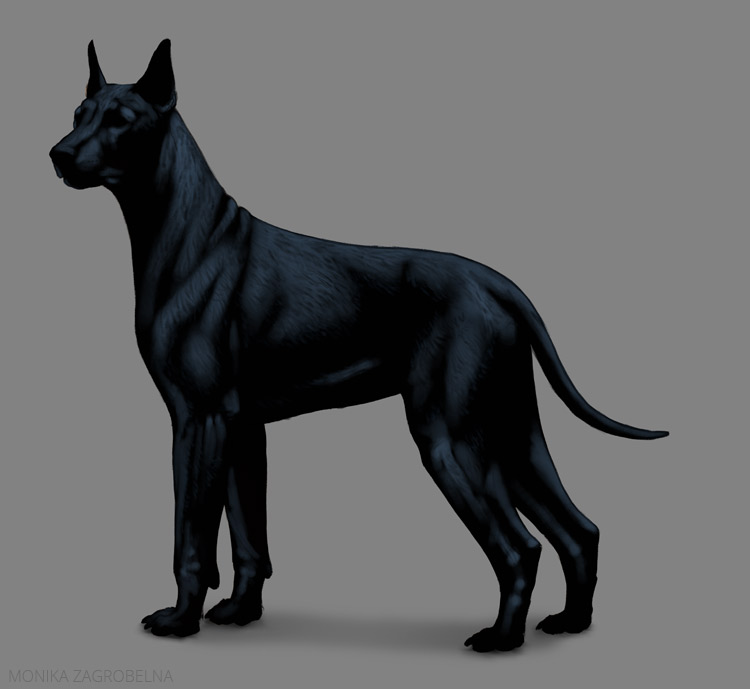
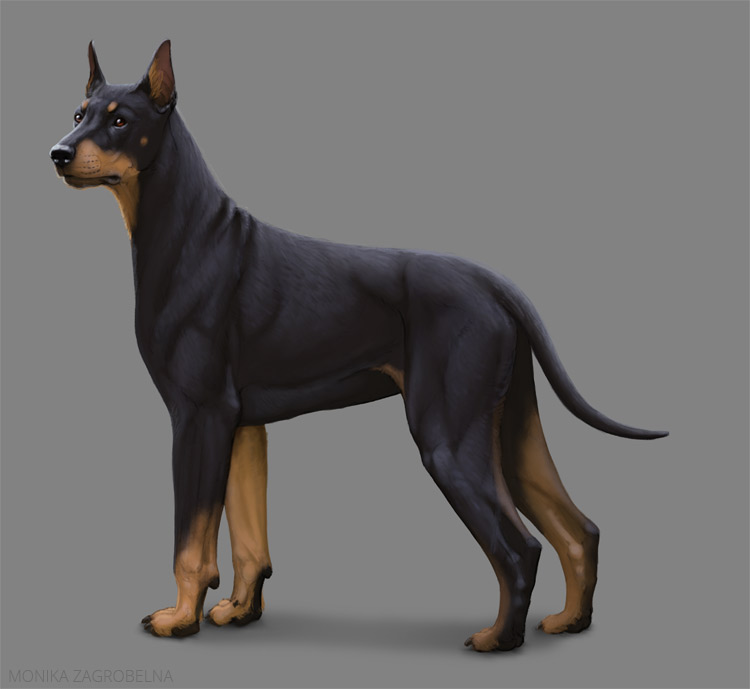
Add the Shadows
Because the short fur is so smooth, you can also paint the shadows smoothly, ignoring the texture for now.
Add the Shine
Here’s where the first difference appears: the shine should be distorted by the spaces between the tufts of hair. Also, the border of the shine should be covered with single hairs.

Add More Detail to the Shine
The detailed layer of shine should be painted the same way, but with even more attention to the individual hairs.
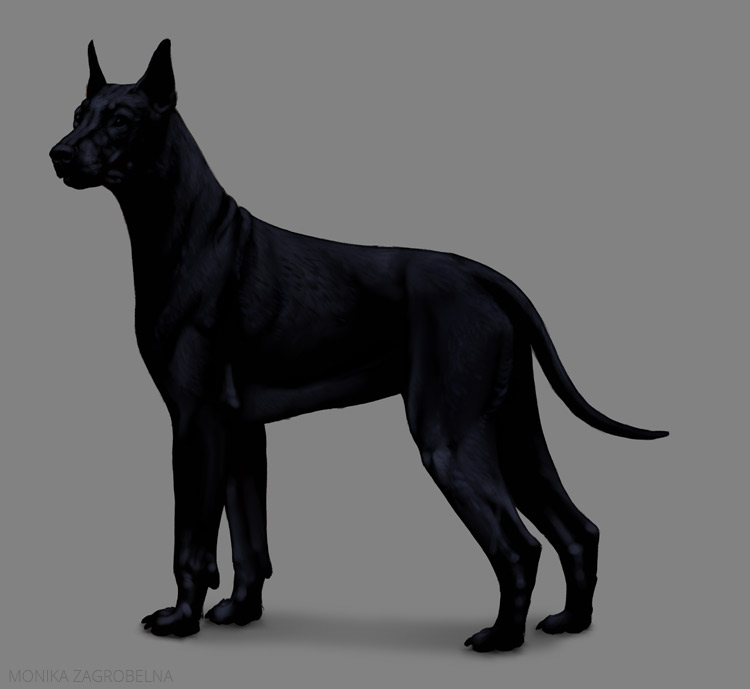
Add the Highlights
The Fresnel effect should affect a smaller area than normally—this will be a good indicator that the surface isn’t actually that smooth.
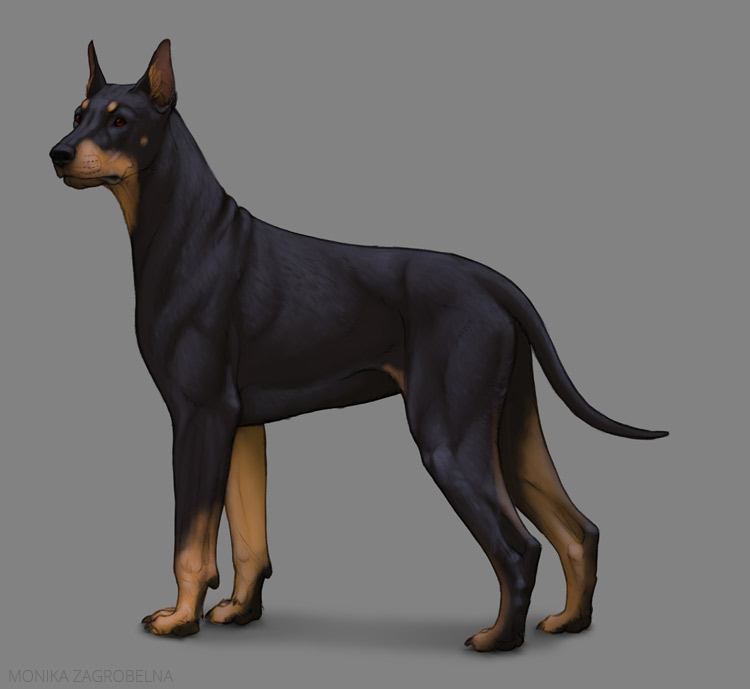
Cover the Lines
Finish the painting now the normal way.
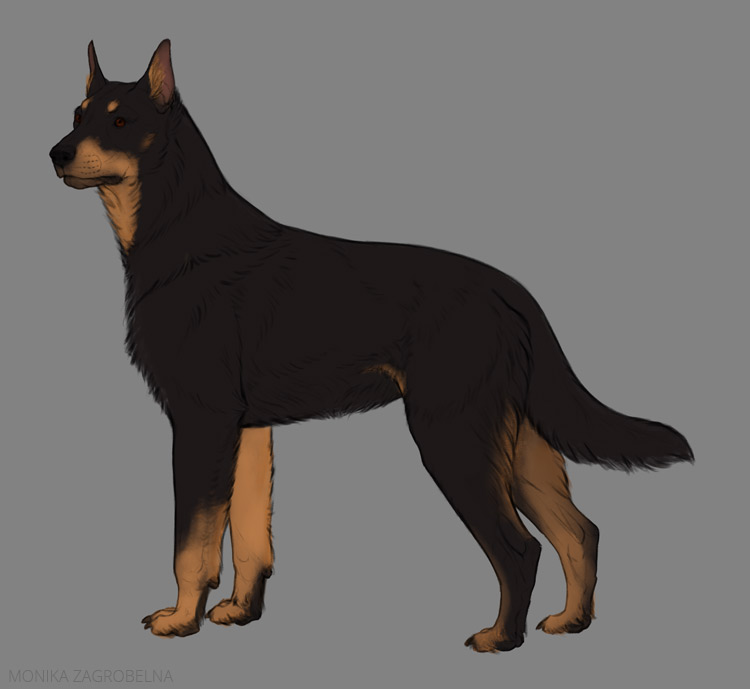
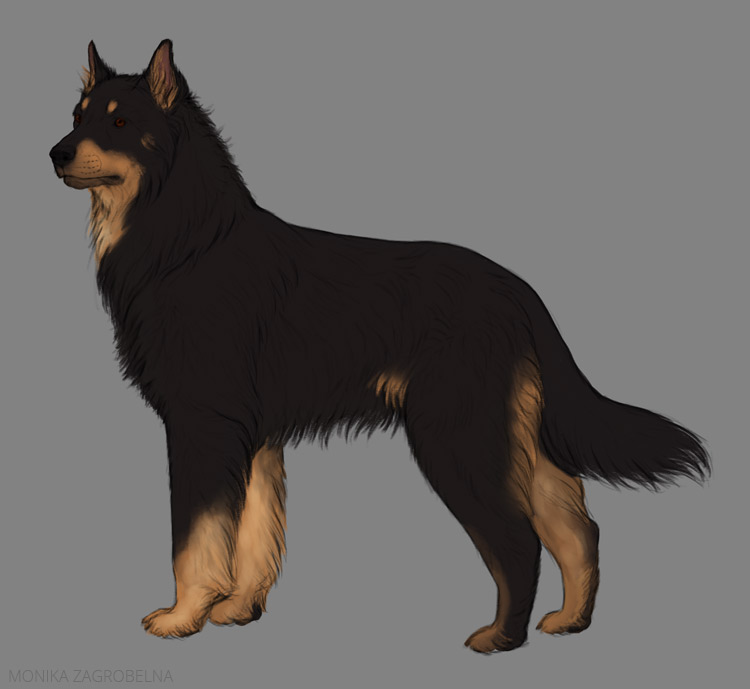
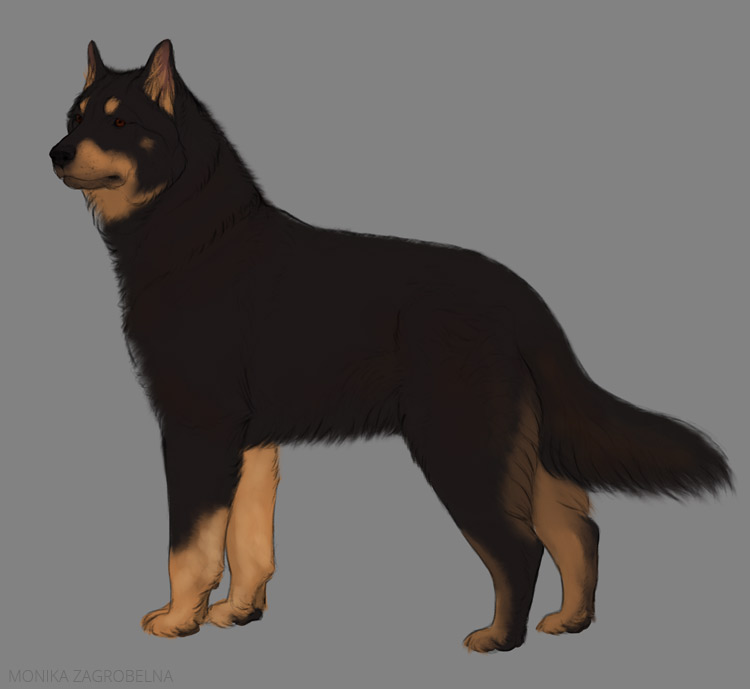
2. How to Paint Medium Fur
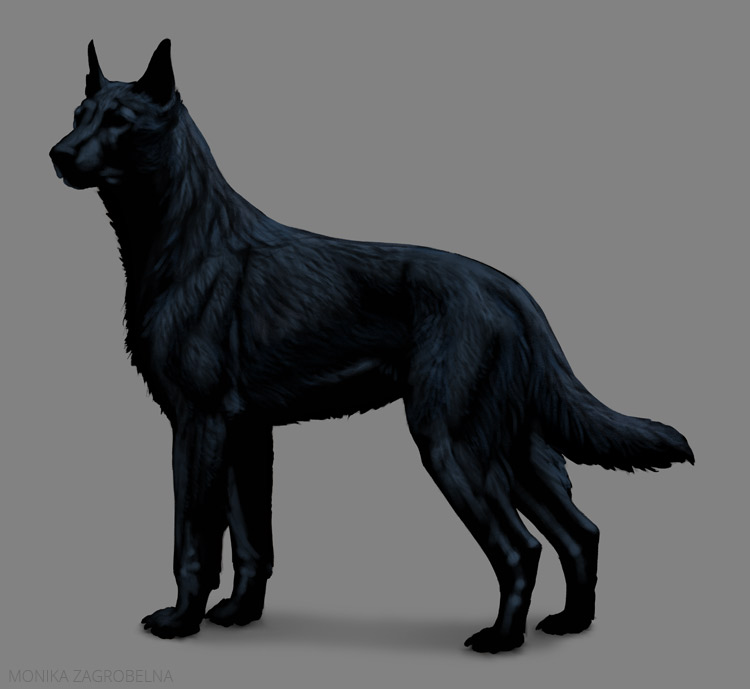
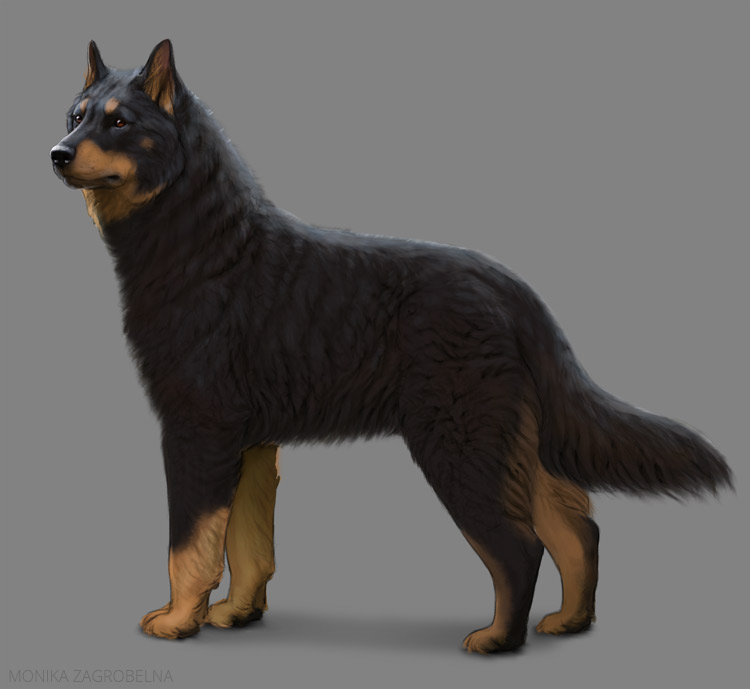
Medium-long fur doesn’t look like skin anymore, but it’s still pretty smooth. This is something you’d expect to see on a short-haired German shepherd.
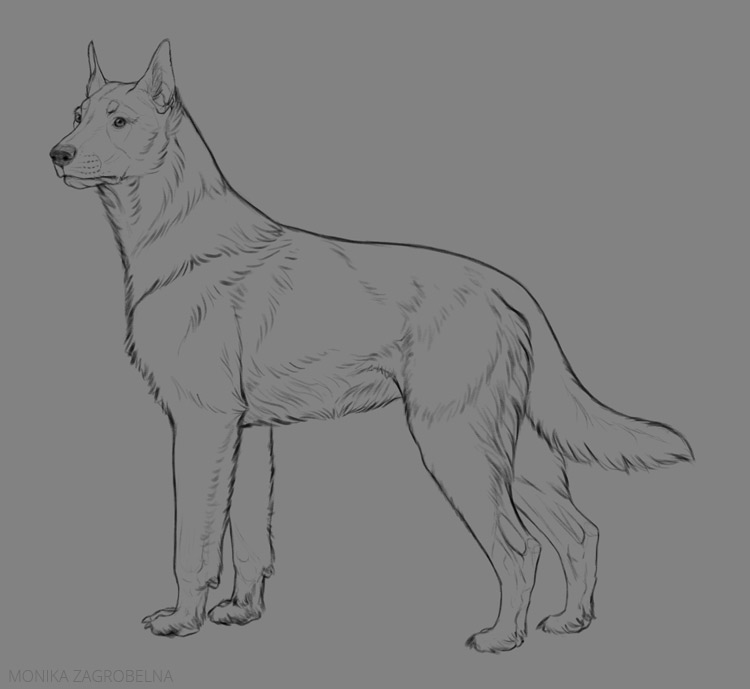
Draw the Line Art
When drawing the line art of this length of fur, you should ignore the form of the muscles mostly and focus on the dividing the whole fur surface into overlapping sections. Also, this fur creates a thicker layer on the body, so you should put some distance between the anatomical borders of the body and the final outline.
Paint the Basic Colors
When painting the colors (and the clipping mask), you should make the outline slightly fluffy on the bottom.
Add the Shadows
When painting the shadows, you need to take the layers of fur into consideration. Just like the muscles on a hairless dog, these layers have their own form. Also, paint the shadows between the tufts of hair, paying attention to the direction of fur.

Add the Shine
Now, this is where things get tricky. The shine has to be distorted by whole tufts of fur, with pretty big shadows between them. It’s really important to create a variety of tufts, with areas of different size and direction. The mane and tail usually have longer fur than the rest of the body, and the legs can be actually short-haired.
Adjust the Opacity if this layer very carefully—here the shine should be less noticeable.

Add More Detail to the Shine
You shouldn’t make the shine too detailed—it would make the fur look wet. Add the details to the shine on the head only, and maybe right on top of the body, where the Fresnel effect is the stronger.

Add the Highlights
Add the highlights very sparingly as well—subtly mark the details on the top of the body (the back of the dog), but don’t go too far inside the outline.

Cover the Lines
Finally, cover the lines. It may also be necessary to add some details around the borders of the body.

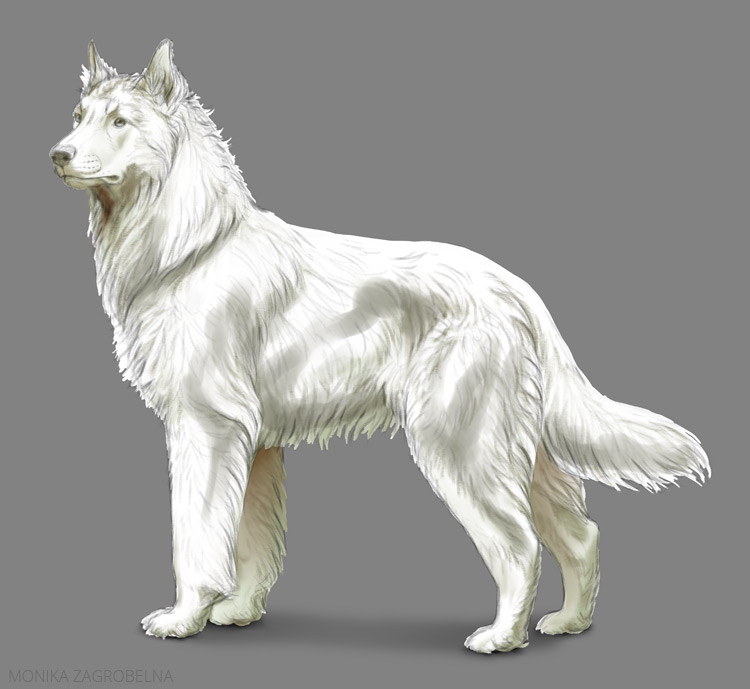
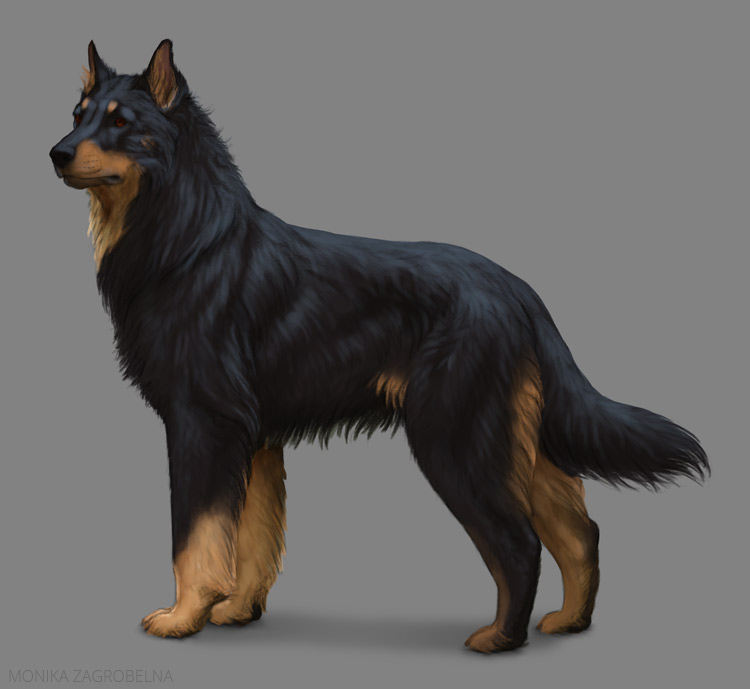
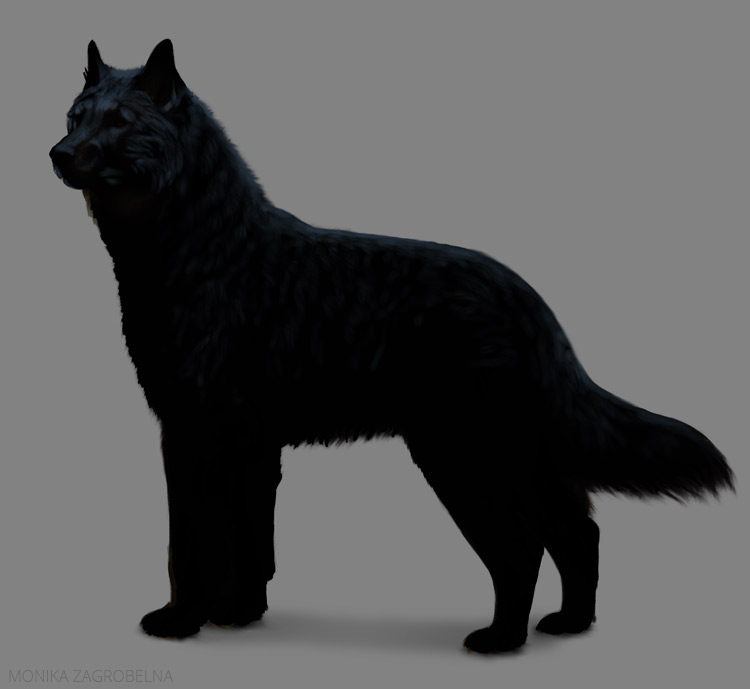
3. How to Paint Long Fur
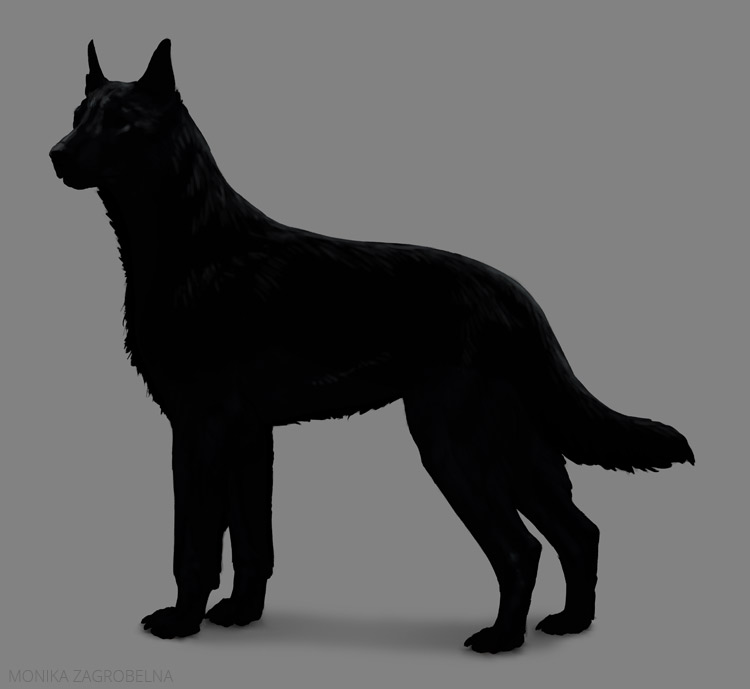
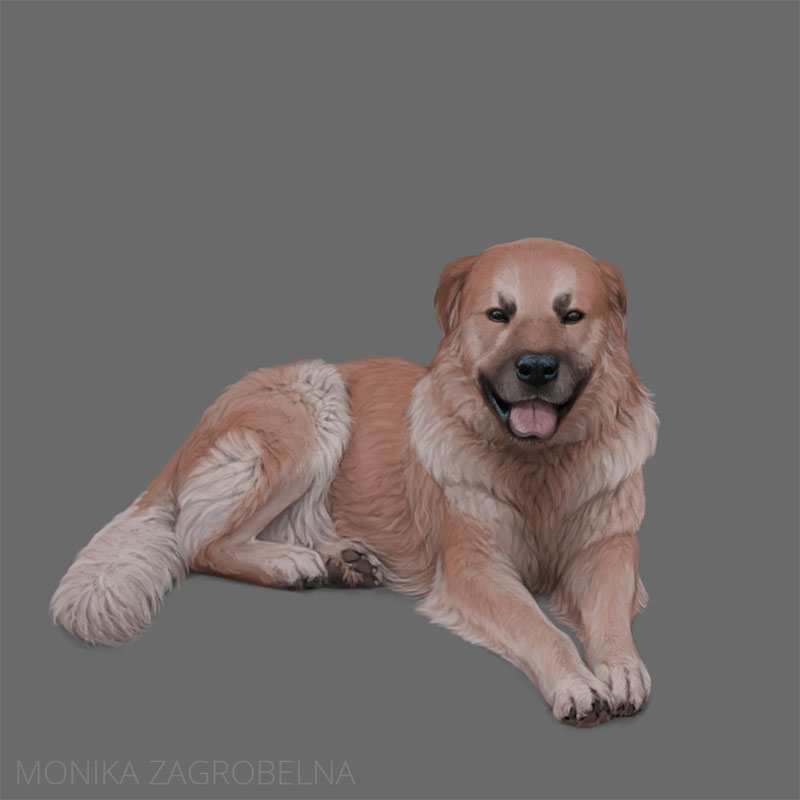
Let’s now talk about the fluffier type, something like the long-haired version of the German shepherd.
Draw the Line Art
This fur is so long that you can forget about the muscles entirely. The outline of the body should be visibly thickened—a long-hared animal seems much bigger than it really is. A mane forms around the neck, and long fur growing from the cheeks makes the head seem wider.
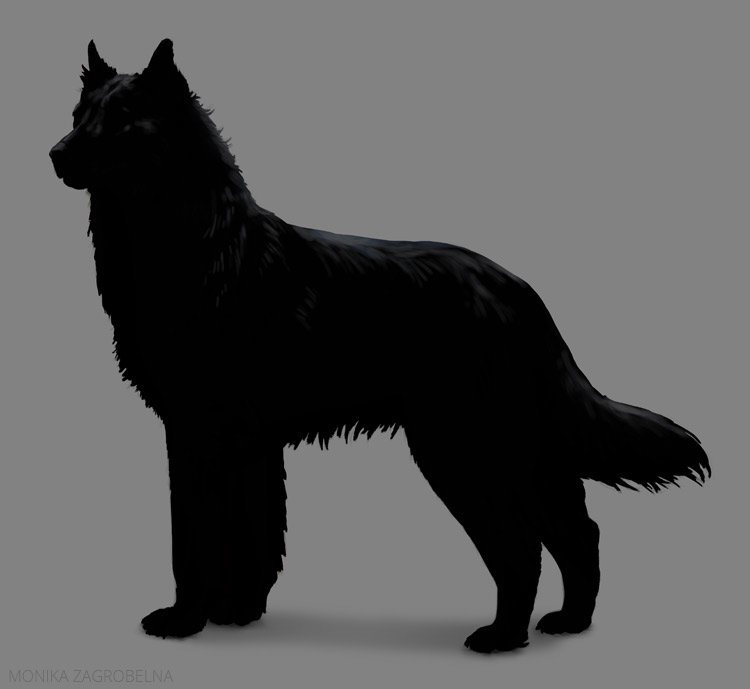
Paint the Basic Colors
When painting the colors, add visible fluff on the bottom of the body, as well as on the top of the neck and head. The separate tufts of hair should be visible, especially in the tail and under the belly.
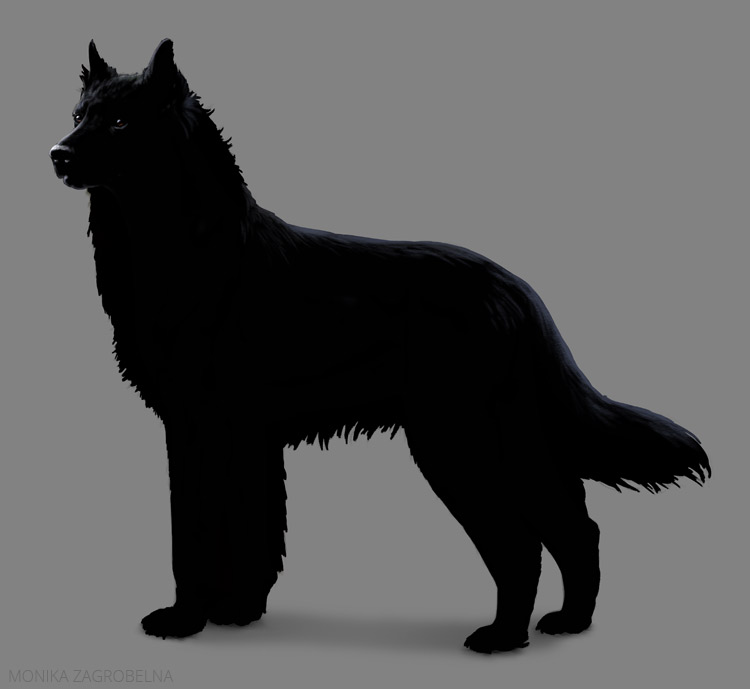
Add the Shadows
You should paint the shadows similarly like in the medium fur, but make them less detailed—instead, focus on adding big shadows to the thick layers of fur
Add the Shine
Long fur can be pretty shiny! Place the strands of shine on the layers of fur, and distort them with the shadows between the tufts.

Add More Detail to the Shine
Add the detail very sparingly—accentuate the Fresnel effect only.

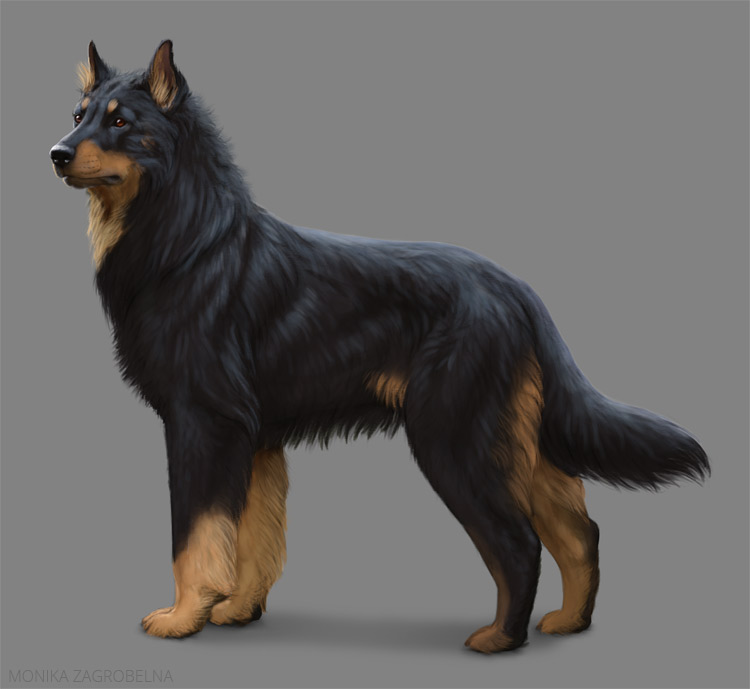
Add the Highlights
Similarly, there’s not much space for detailed highlights—the fur already looks pretty shiny, and adding any more detail to it will only make it look wet.

Cover the Lines
Finish the painting by covering the lines. To make it faster, you can erase the lines in the fluffy areas.
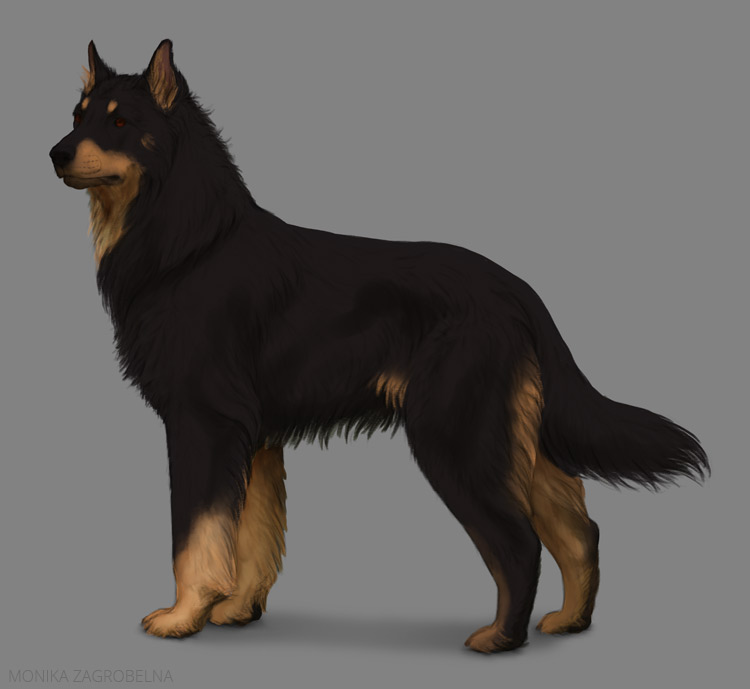
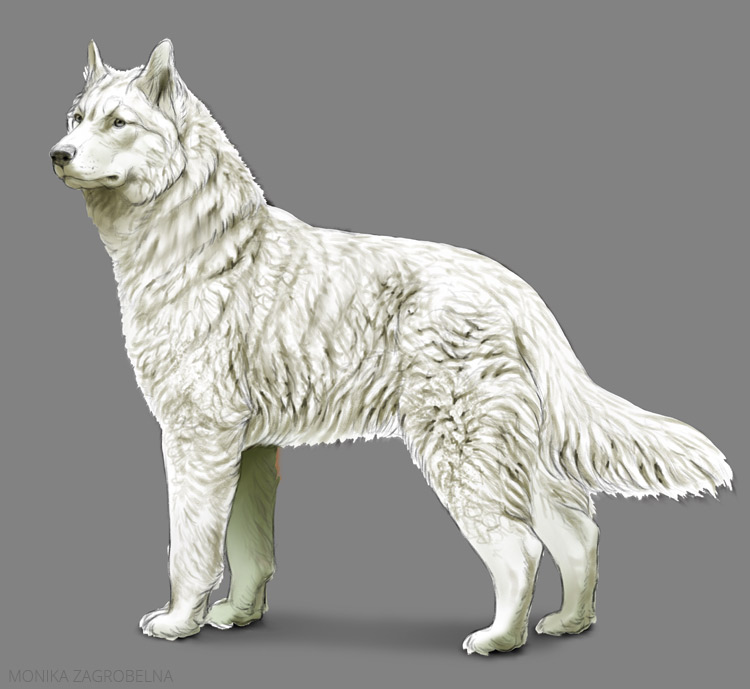
4. How to Paint Thick Fur
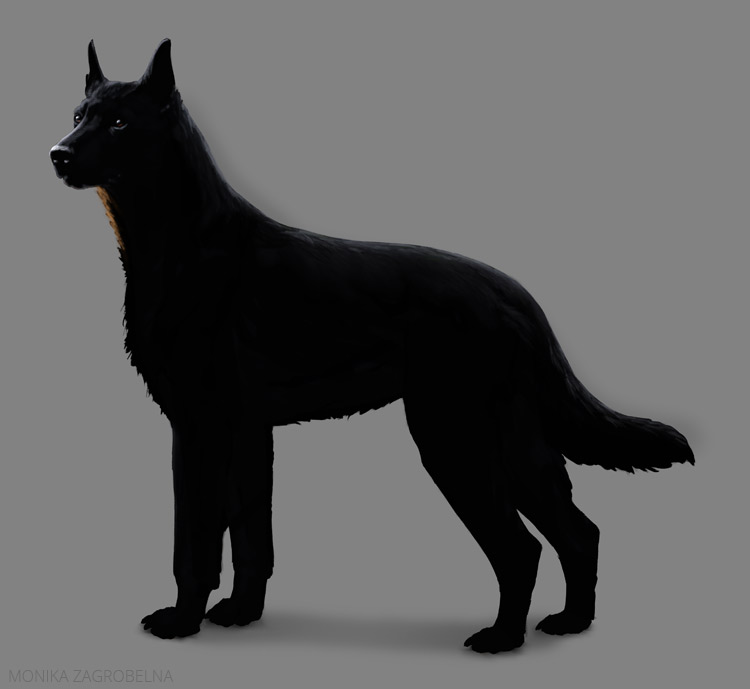
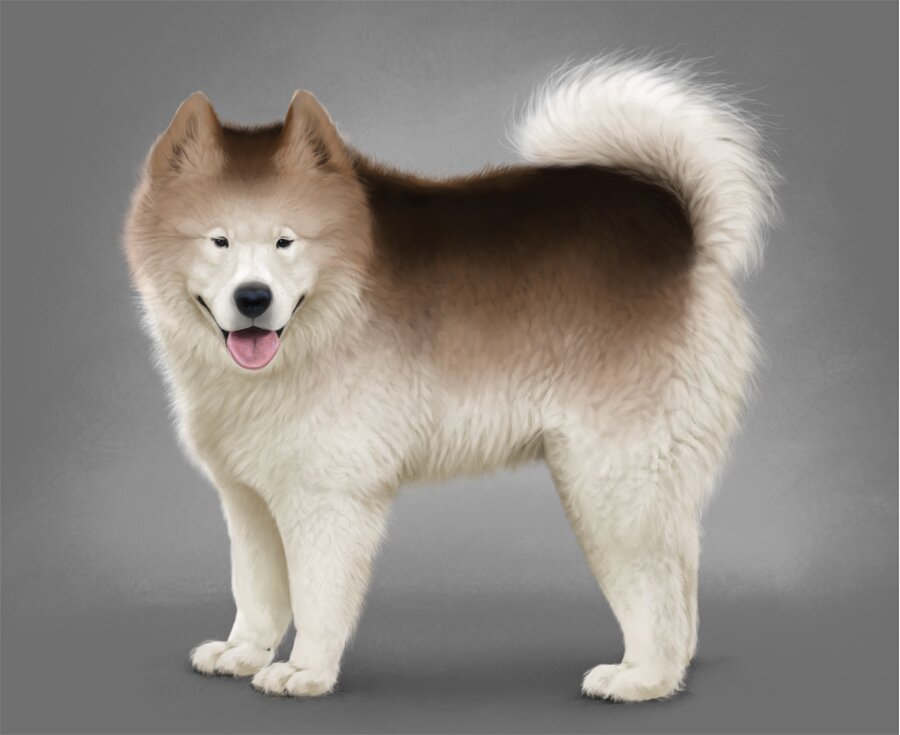
Although long fur can be considered thick, there’s also another type of fur, with hair sticking out more vertically instead of flowing down in a form of smooth strands. I’m talking about something similar to what Alaskan malamutes have, or to the winter coat of wolves.
Draw the Line Art
This type of fur makes the animal look even bigger than the flowing type of long hair—the head turns smoothly into the thick neck. However, because this fur is so stiff and thick, it doesn’t produce nicely separated tufts like in the previous type. Also, the legs can be covered with a significantly shorter fur.

Paint the Basic Colors
When adding the colors, make the border of the body very soft, but without creating long tufts.
Add the Shadows
The shadows are the most important part in this type of fur. The hair produces vertical layers with elongated gaps between rows of tufts. They’re much trickier to draw than the flowing strands of hair, because effectively you’re drawing foreshortened hair—tufts as seen from the top, not from the side. So it takes some practice to get it right!

Add the Shine
Add very minimal amount of shine—because the light hits the tips of the hair rather than the side of them, there’s not much space for big reflections. Actually, the lack of shine will immediately make the fur look fluffier!

Add More Detail to the Shine
However, even though the lack of shine in this type of fur is realistic, sometimes it looks simply flat. If this is the case for you, you can brighten the top of the body, but do it very carefully—the border of this brightened area needs to fit the texture of the fur beneath.

Add the Highlights
Keep the highlights on the head only.
Cover the Lines
Finally, cover the lines

That’s all!
As you can see, although this method of shading is very universal, it has to be adjusted to the texture of the surface you’re painting. Also, remember to adjust this method to the color of fur—dark fur will look great with shine, but brighter fur needs to rely more on the shadows.
Painting fur is a complex subject, so if you feel this tutorial hasn’t answered all your questions, or you don’t find this method convenient, give these tutorials a try as well:

0 Comments