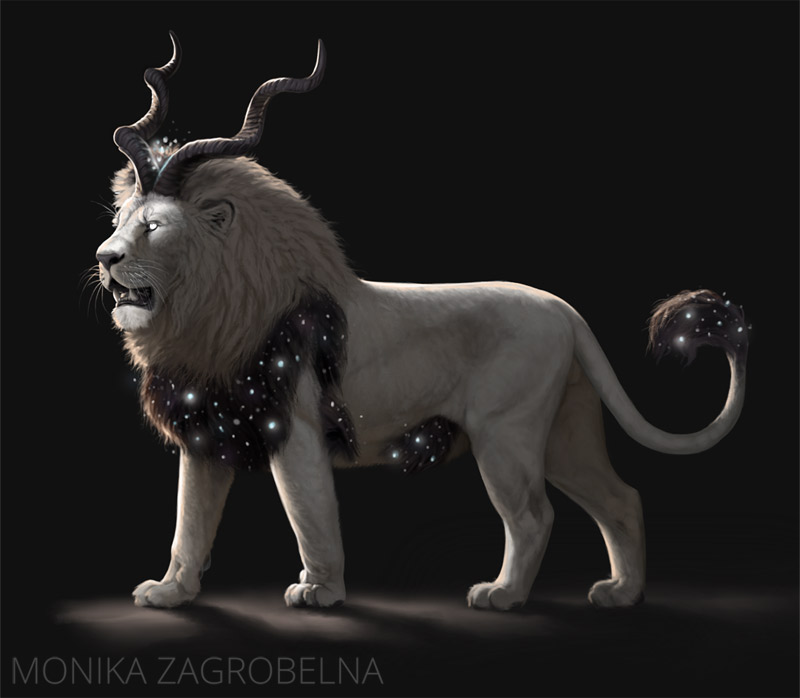
Here’s an artwork I created for the #drawthisinyourstyle challenge, using this amazing piece of chenandink as my inspiration. If you want to see how I did it, keep reading!
1. Sketch
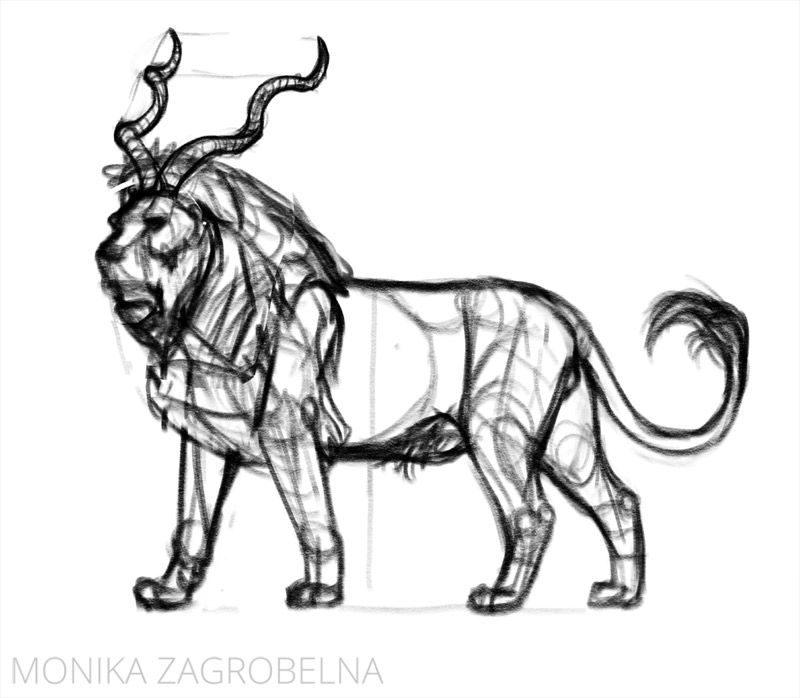
As always, I started with a very general sketch of the body, trying to capture the feeling of power and majesty. I paid special attention to proportions—they’re the easiest to fix at this point.
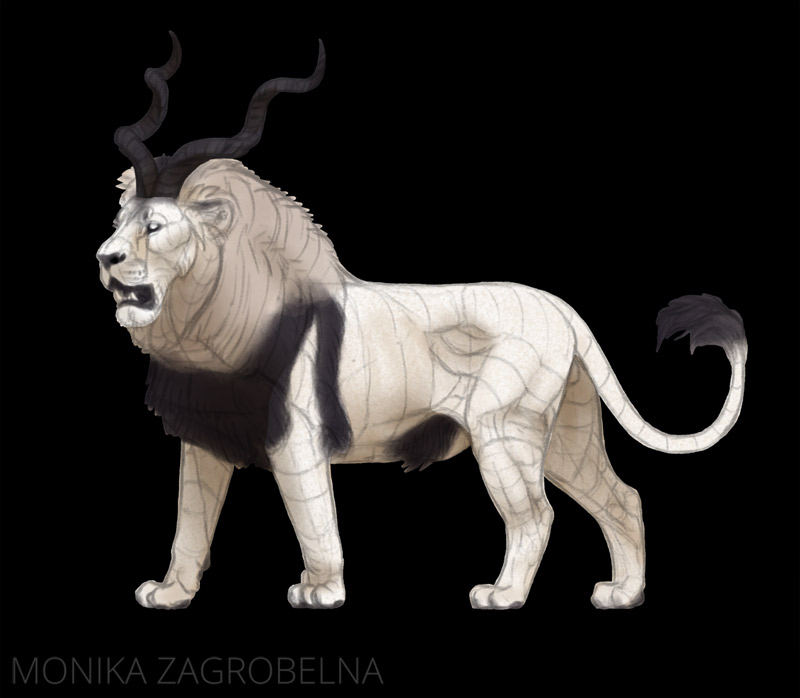
2. Line Art
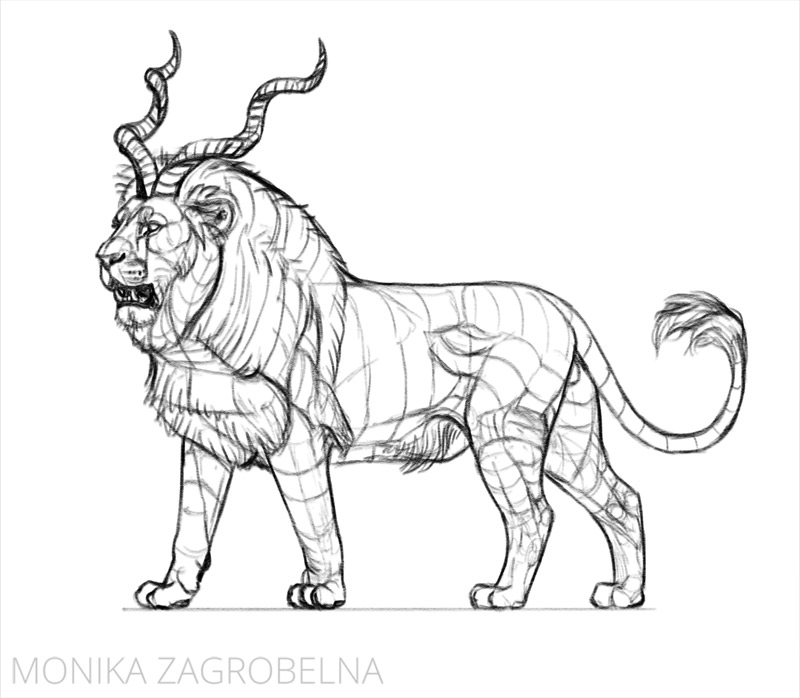
I lowered the opacity of the sketch and drew the new, cleaner lines on a new layer. This time I focused on capturing the 3D form of the body—the contour lines helped me visualize it. To make sure my details look realistic, I used these two photo references:
3. Colors
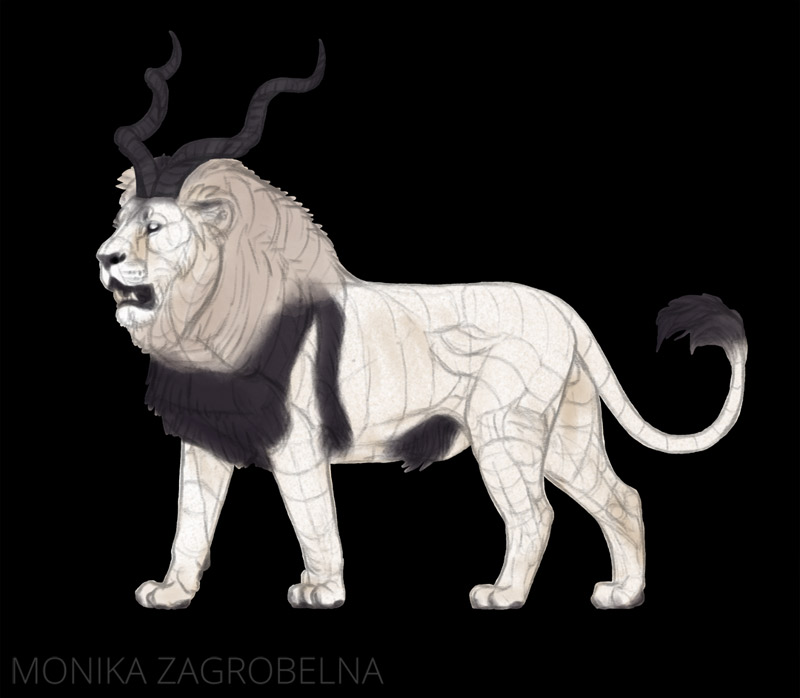
I lowered the opacity of the line art and painted the colors below. painted the lion and the horns on separate layers, so that I could work on the mane without affecting the horns.
My lion is supposed to be black and white, but notice that instead I used dark, desaturated purple and light beige. Thanks to this I’ll be able to add both brighter and darker shades later to shape the 3D form of the body.
What’s also important, I didn’t use one color for the whole coat, but instead I added a few similar shades, sometimes darkening certain parts. This is more realistic, because fur on the whole body is rarely as uniform as, for example, a cloth.
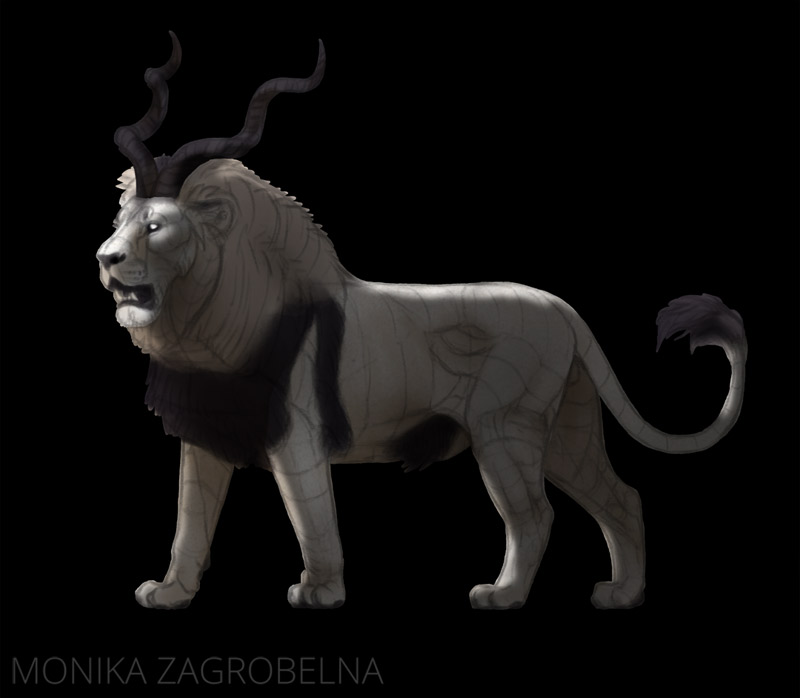
4. First Shadows
I’ve added a new layer in the Multiply mode over the lion and the horns, and added the form-accentuating shadows. They’re very simple and pretty bright. I used the lasso tool and an airbrush to quickly create mixture of soft and hard edges.
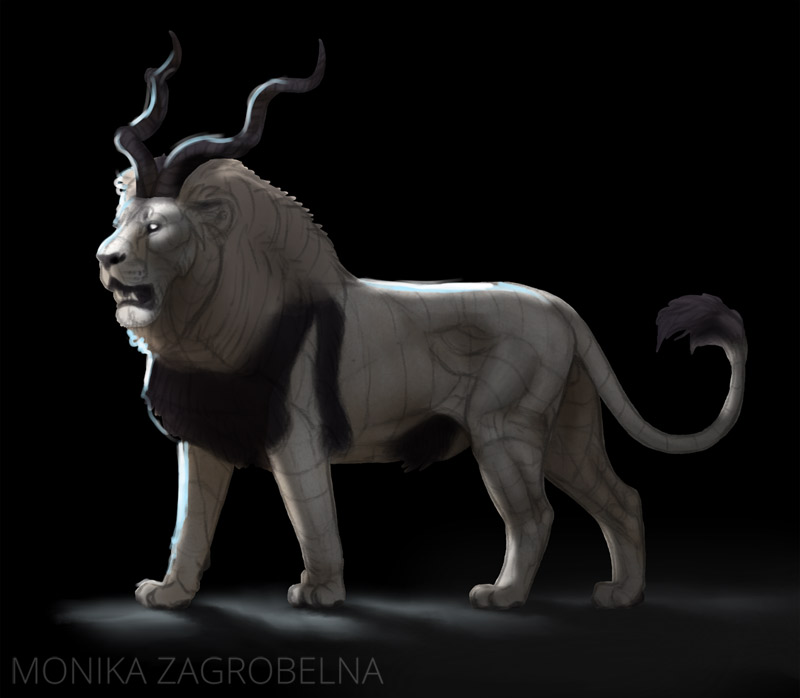
5. Second Shadows
To make this piece more atmospheric, I decided to put the lion in the shadow, with a rim light accentuating its contours. To do this, I added a new Multiply layer and painted with an airbrush, darkening the whole body with very dark grey. Then I switched to white to create an effect of a rim light.
6. Reflected Light + Rim Light
Because most of the body landed in the shadow, it started to look pretty flat. To fix this, I added some reflected light by painting with light gray on that second Multiply layer.
I also sketched some stronger rim light on a new layer. Because this part is supposed to be overexposed, this rim light will brighten every color the same way, creating a border between the dark horns/mane and the dark background. Next, I added some light on the ground in the color of the rim light.
I have to warn you about one thing here: the artwork looks almost done here, but it’s an illusion. Generally, it takes longer to go from “almost done” to “actually done”, than from nothing to “almost done”. So it’s important to stay patient and not rush it.
7. Details
I erased parts of the line art that weren’t important anymore. Then I merged all the layers except the rim light (I hid it for now) and the light on the ground, while still keeping the lion and the horns separate. Now I made my brush smaller, zoomed in, and started to blend everything manually, step by step. By “blending” here I don’t mean smudging over the colors, but rather picking the colors with the eyedropper too, and then painting over the area that I wanted to make more detailed.
You can learn more about rendering detailed fur here and here.
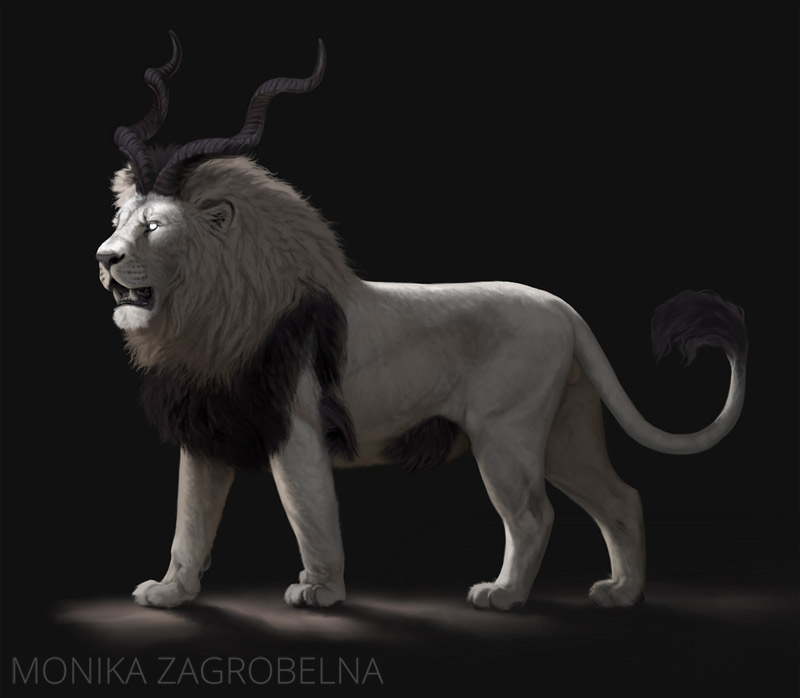
8. Final Details
Finally, I added a detailed rim light (I used the previous version as a reference), and also changed its color. It was also the time to add the “stars” in the fur, just like in the original. And that was all!

2 Comments