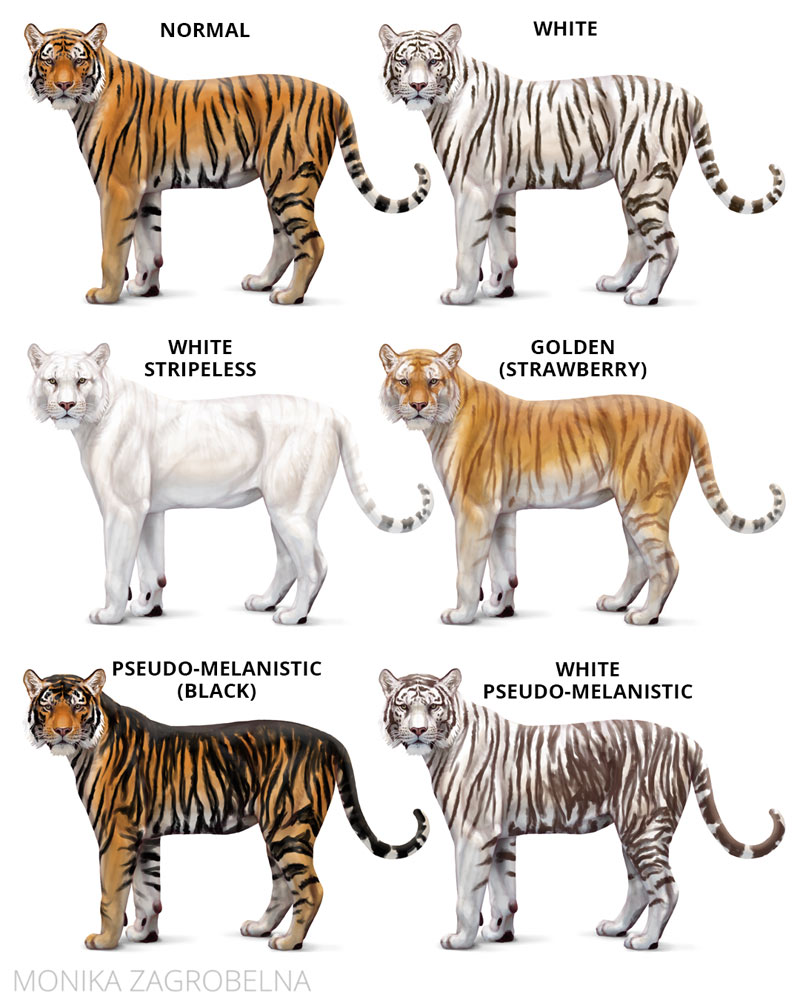
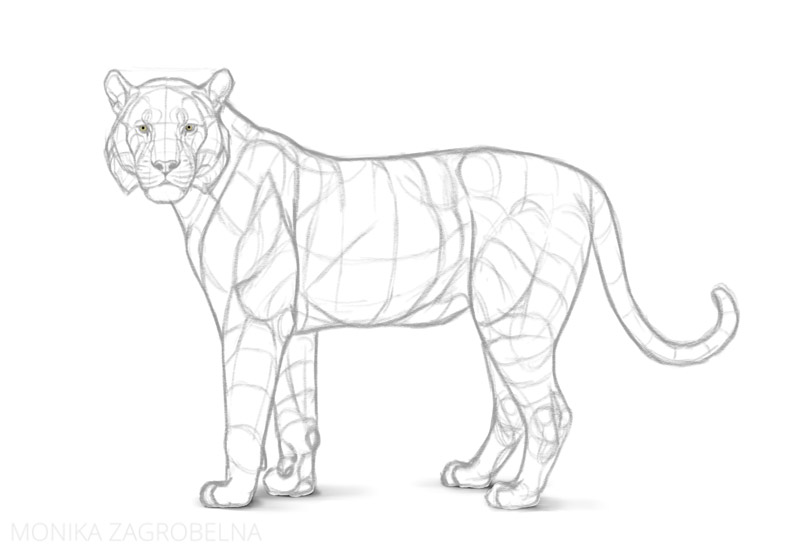
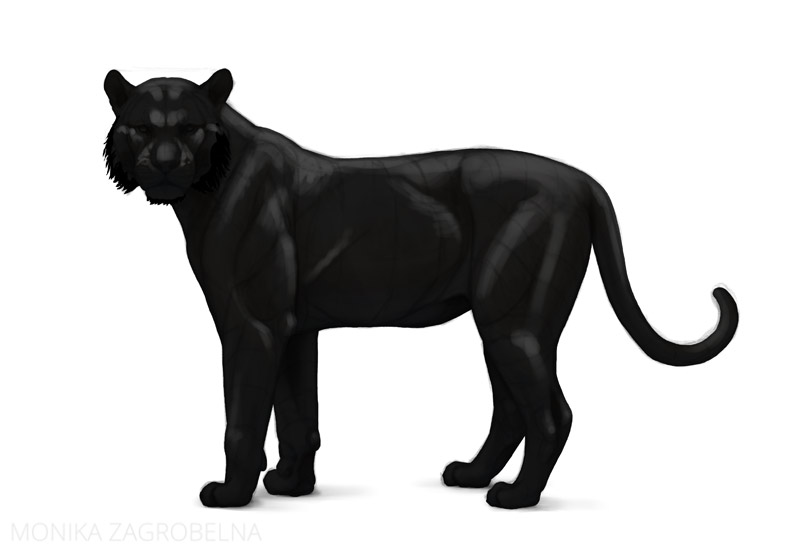
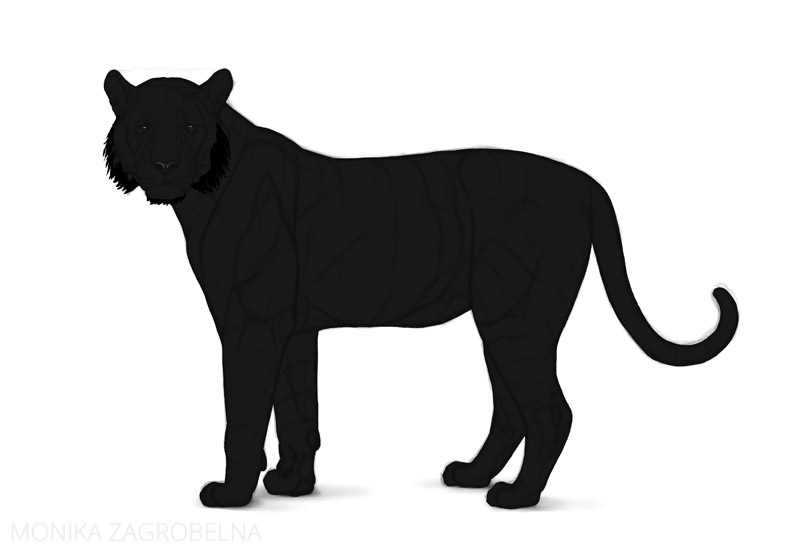
When was working on the image below, first I prepared a “tiger base” with body features and shading, so that I could create all the color variations without having to draw the tiger from scratch each time. Today I’d like to share that base with you, for free—you can use it to create your own designs, or just to learn more about my method of painting animals.
Rules
- Free for both personal and commercial use—this means you can sell the designs you’ve created using this template.
- Credit is required—on Instagram, tag me with @monikazagrobelna. On other sites, just provide the link to this blog. Mention me as the creator of this base.
- Do not re-upload this template anywhere, unless it’s for your own, personal use.
Download the tiger base here.
If your program has a problem opening the first file, try the “ungrouped” version.
Instruction
This template is pretty easy to use, but here are a couple of hints to help you understand how it works. It will also be useful to you if you want to learn how to create such an artwork on your own!
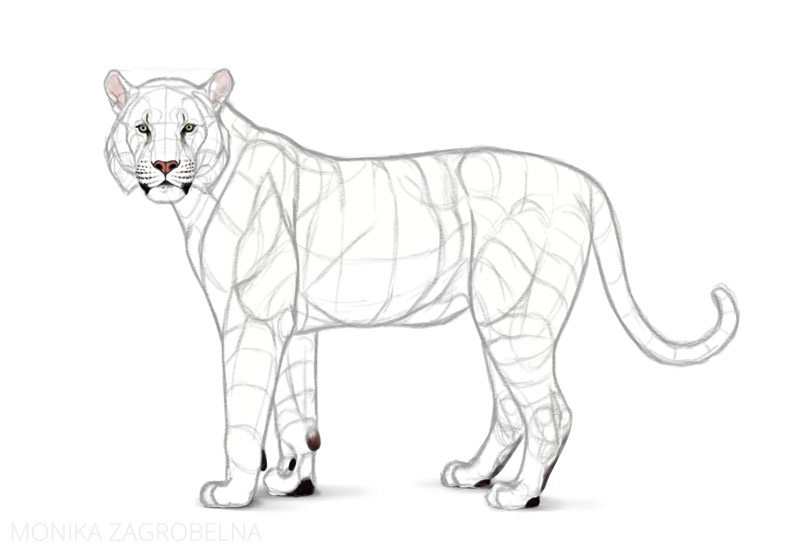
Most of the layers have their transparency locked, which means you can draw on them without risking crossing the outline of the body.
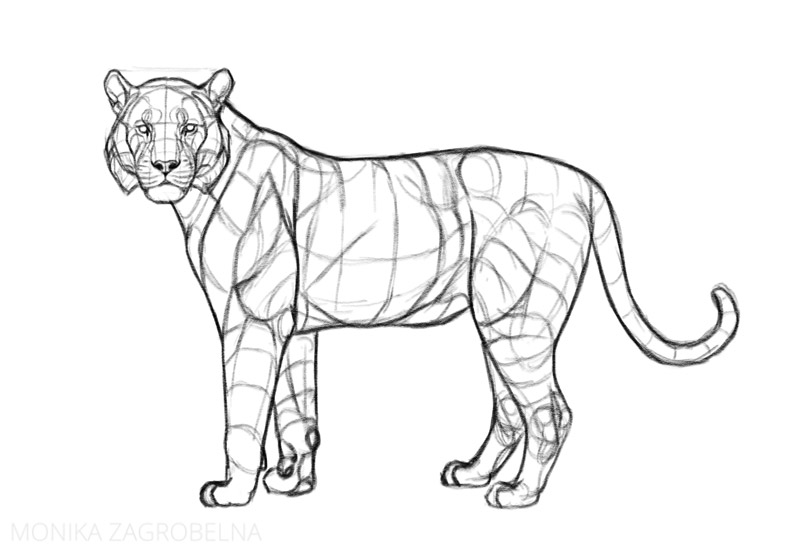
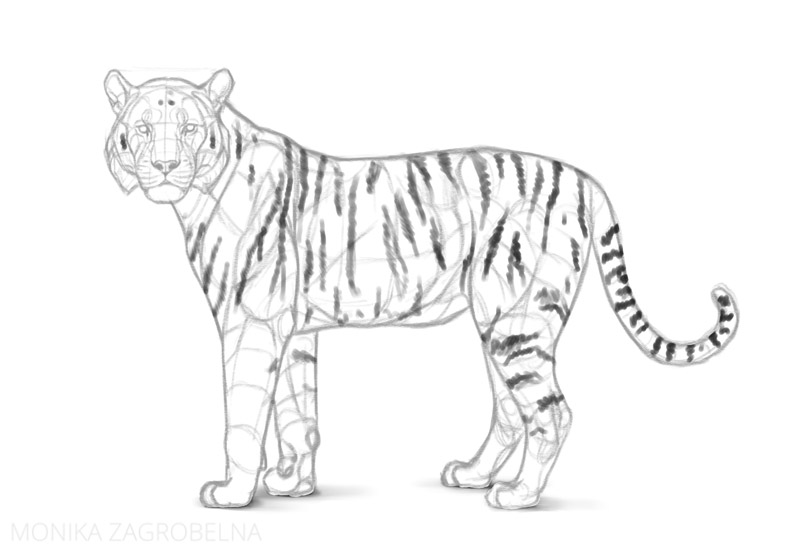
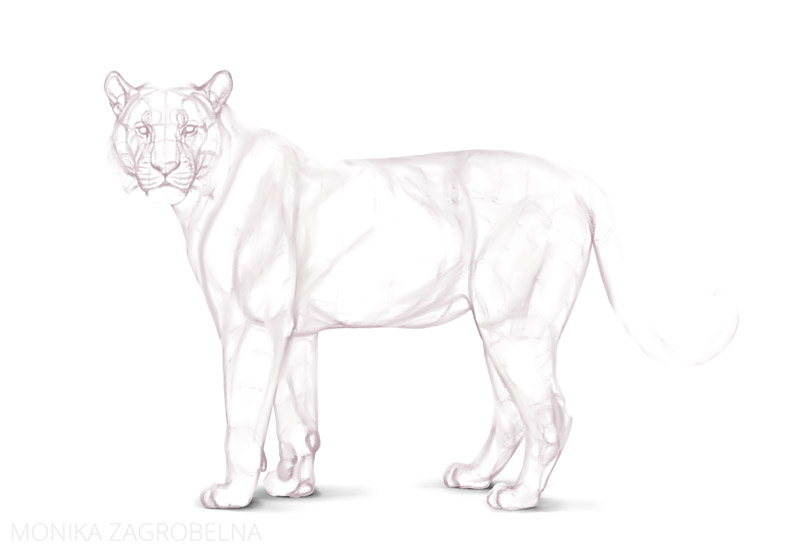
Form
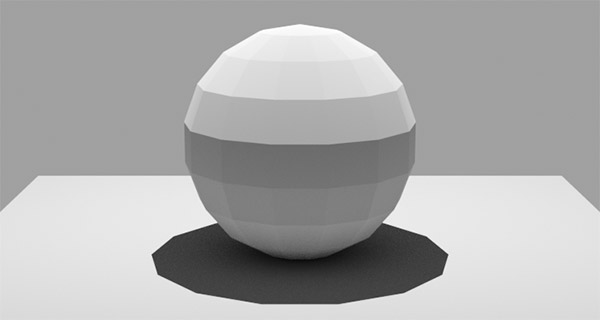
This layer is hidden by default, but you can turn it on to better see the 3D form of the body. It will be especially useful if you want to draw your own stripes or other pattern—following the form will help you avoid a flat effect.
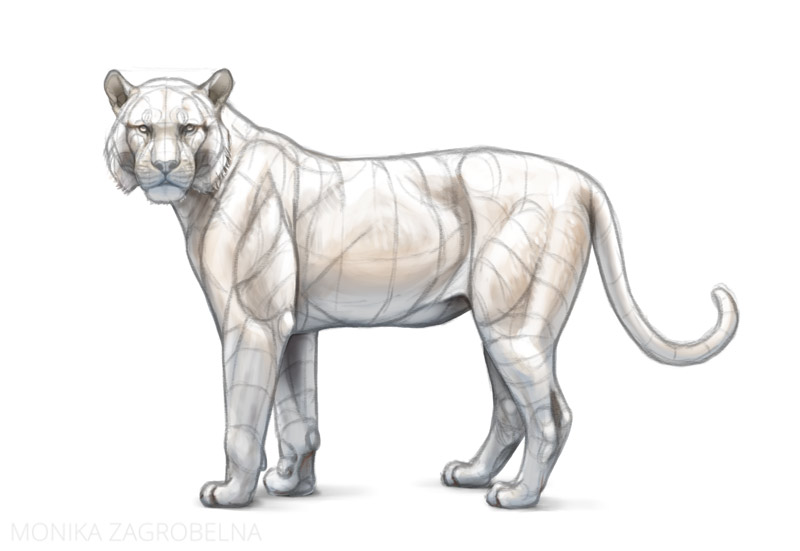
Colors
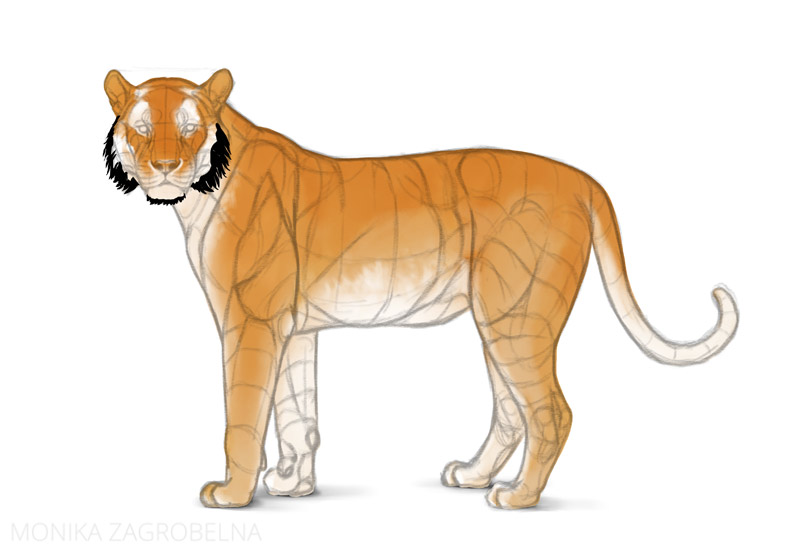
Color Main
This is the main color layer, excluding the details and the stripes. When painting over this layer, try to mix similar shades and use textured brushes—this will create a more natural effect.

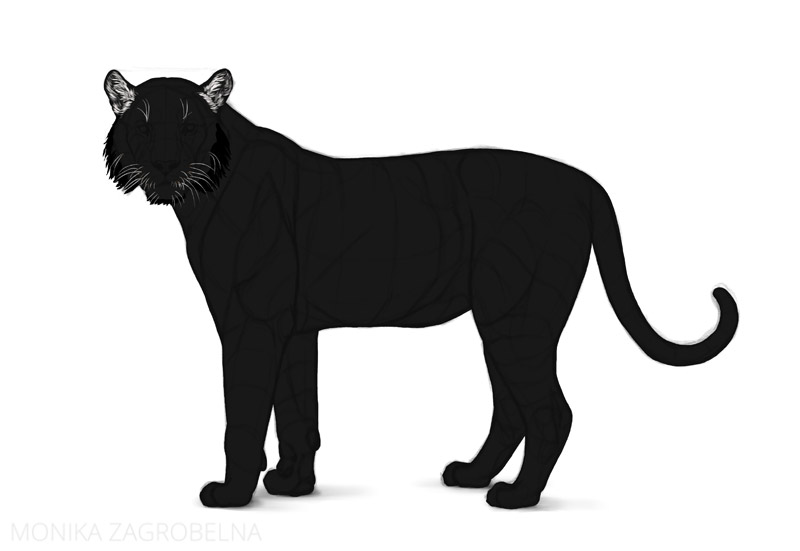
Cheek Mane
The cheek mane often has a brighter color than the body, so to keep it separated from the neck and easy to re-color, I put it on a separate layer. Cover it with the same color you use for the cheeks on the Color Main layer.
Details
Details (like eyes and nose) are placed on a separate layer, so that you could paint the colors of the body without worrying about them.
Eyes
This is an optional layer—eyes are included in the layer below already, but if you want to change their color without affecting the other details, you can do it here.
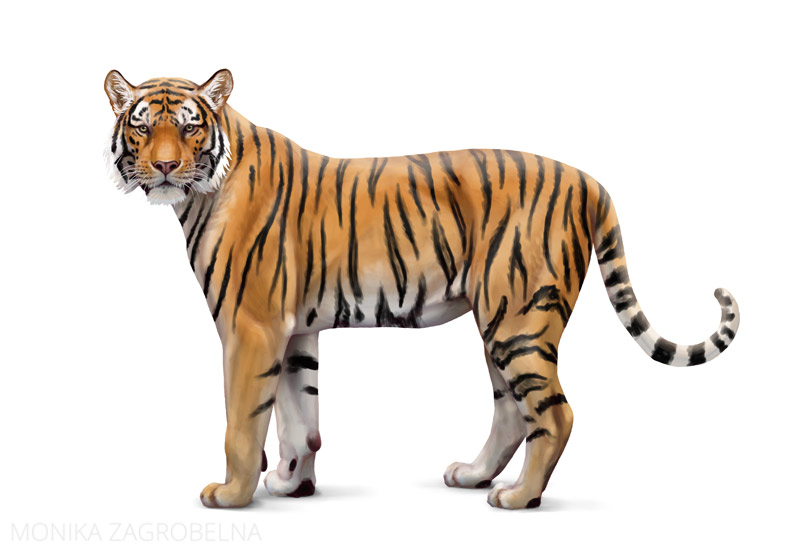
Stripes
Stripes Main
When changing the color of the stripes, start here. You can also lower their Opacity to make them subtler—or turn them off completely, to create your own pattern.
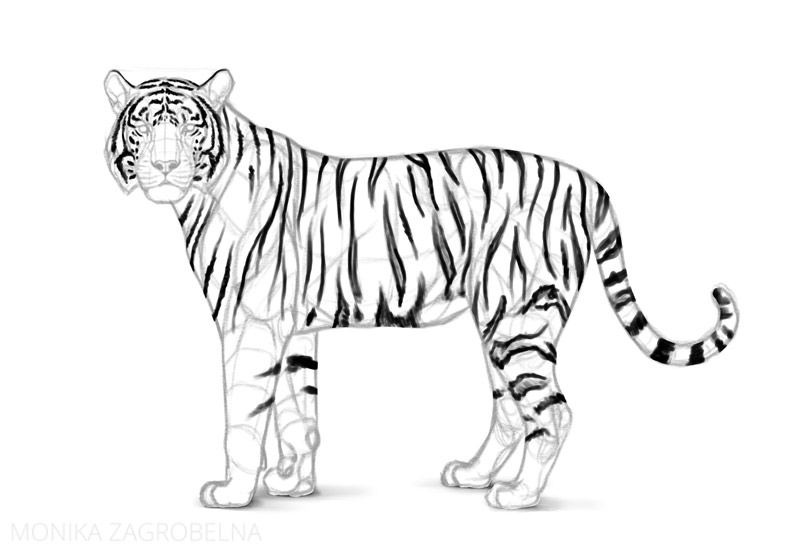
Blending Stripes
I’ve created this layer to make the stripes more “fluffy”. Color them separately, or turn the off to keep the stripes sharper.
Shading
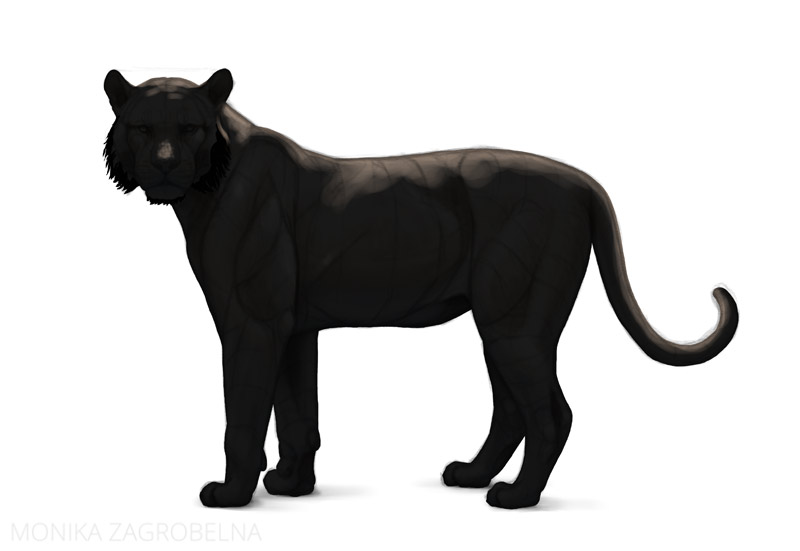
Shadow Main
This layer contains shadow and reflected light. The terminator area is warm, because the fur is often illuminated “from the inside”. However, if your animal is colored with cool tones, it’s good to desaturate this layer slightly.
Experiment with the Opacity of this layer—for bright fur, it’s good to make this layer more transparent; for dark fur, you may need to duplicate this layer to make the shadows more intense.
Shine 1
This layer adds some extra form to the body. However, the more matte the fur, the less opaque this layer should be. It will be especially useful for dark fur, since dark shadows on dark fur don’t really do their form-accentuating job that well.
Shine 2
Shine gets stronger when the illuminated surface turns away from the viewer, and this layer utilizes this effect. Experiment with its Opacity, its color, or turn it off completely.
Extra Shine
As I mentioned earlier, when the fur is really dark, the shadows may not really do their job. You may need extra shine instead, to make the 3D form more visible.

Shadow Detail
This layer makes the shading more detailed. It’s warm by default, but feel free to desaturate it if it doesn’t work for your pelage.
You can learn more about this method of shading here:
Details
Eye Shine
This layer makes the eyes and nose shiny. You can leave it as it is, or make it more intensive by duplicating it.
Whiskers & Ear Fur
These are just the final details that are supposed to stay on top. White will work for most color variants, but you cam switch it to reddish-brown or black for dark fur.
What Now?
Now, have fun! Because this is supposed to be a universal base, it’s not as detailed as it could be, so feel free to finish the painting afterwards, for example using this method of painting fur:
Did you find this post useful, helpful, inspiring? You can say “thank you!” by sending me a little donation:

2 Comments