Yes, that’s right—the newest Sketchbook Pro update gave us the long awaited feature, the Clipping Mask/Alpha Mask! Let me quickly show you how to use it and why it should become an essential part of your workflow from now on.

How to Create an Alpha Mask in Sketchbook Pro
First of all, if you’re familiar with the Clipping Mask feature in other programs, I have to warn you that it looks very different in Sketchbook. So it may seem pretty unhandy at first, but once you see how it works, you may discover you actually like it more!
Step 1
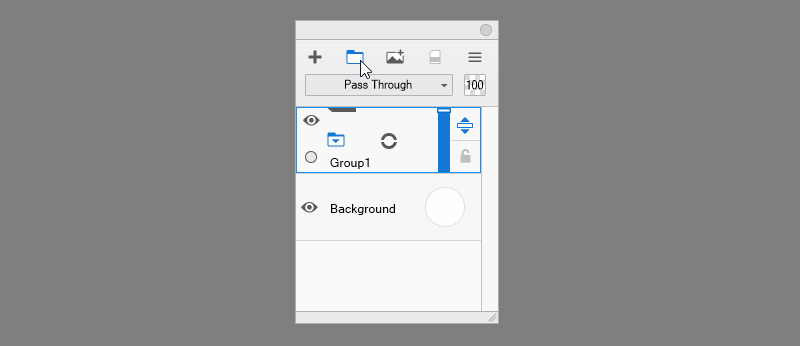
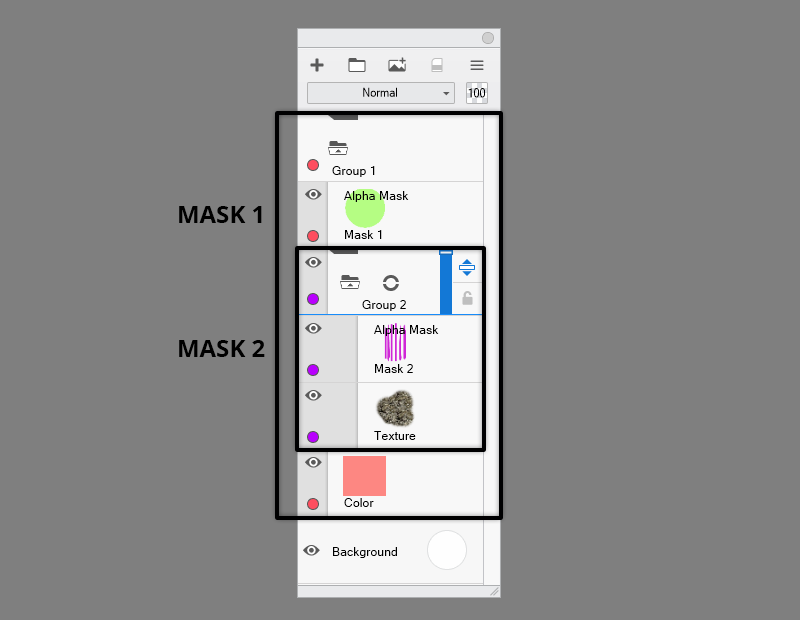
Go to the Layers panel and create a New Group. Grouping layers will help you quickly separate the clipped layers from the non-clipped ones.
Step 2
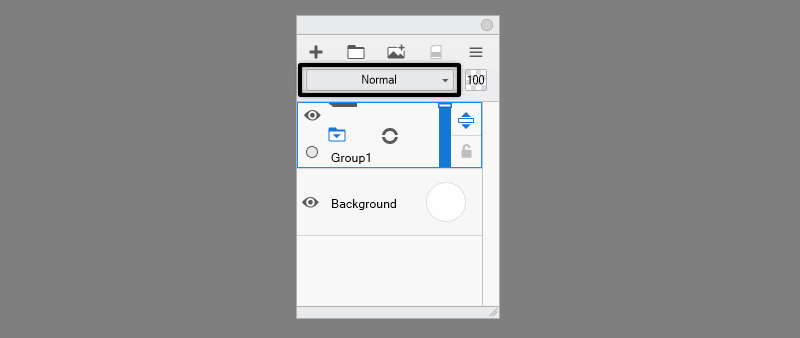
Change the Blend Mode of the group to Normal. This will ensure that whatever you do inside the group will not affect the layers outside of it.
Step 3
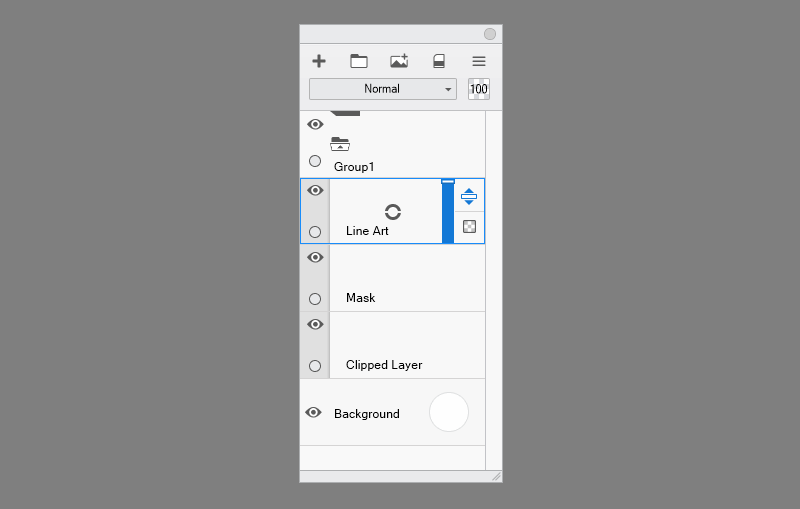
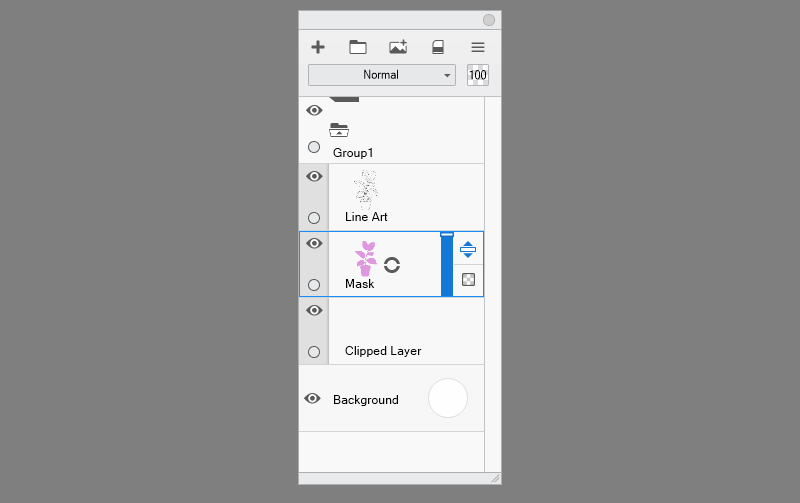
Create three layers inside the group. Name the upper one Line Art, the middle one Mask, and the lower one Clipped Layer.
Step 4
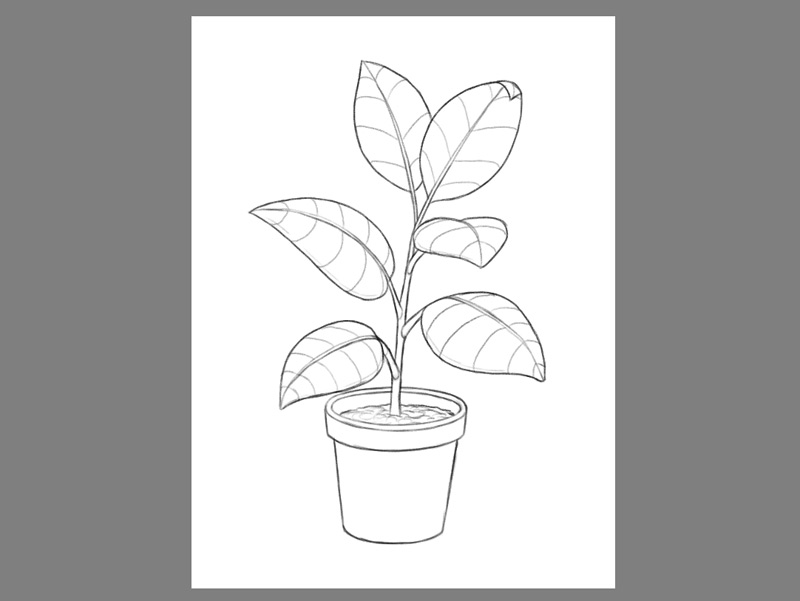
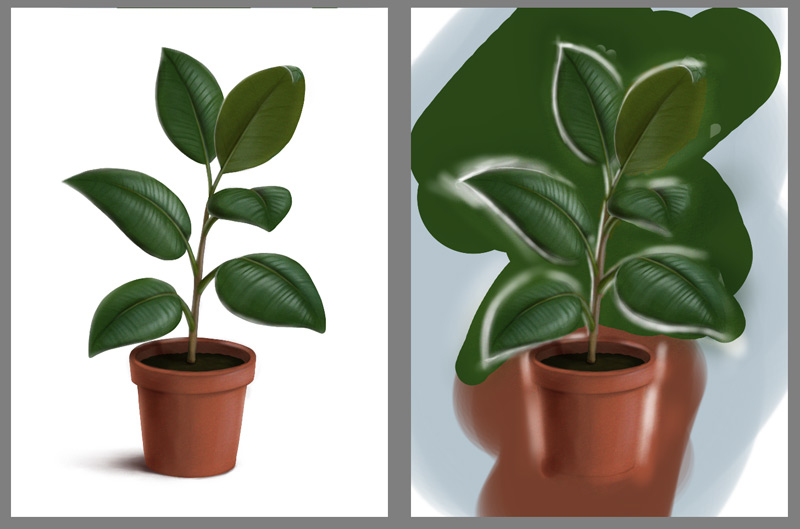
Sketch something on the Line Art layer. Keep it simple, just for the demonstration purposes. You can also download the sketch I’ve used here.

Step 5
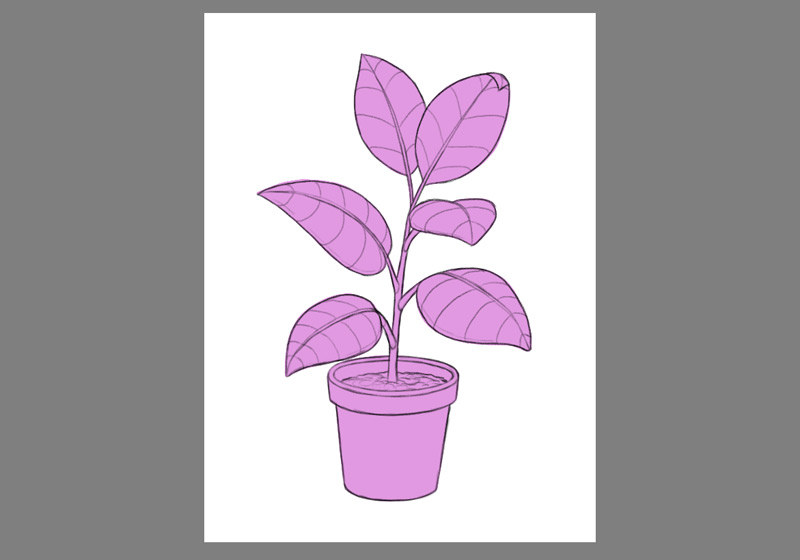
By drawing the line art you’ve created an inside and outside of the object—draw that inside area on the Mask layer using a hard brush.
Step 6
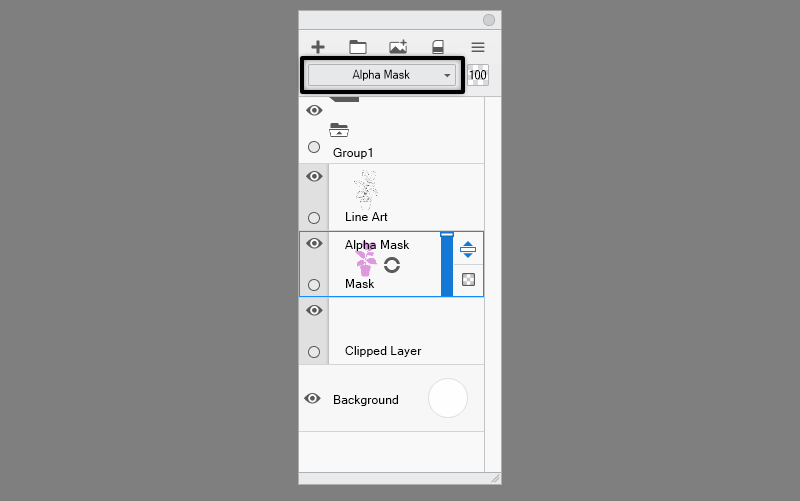
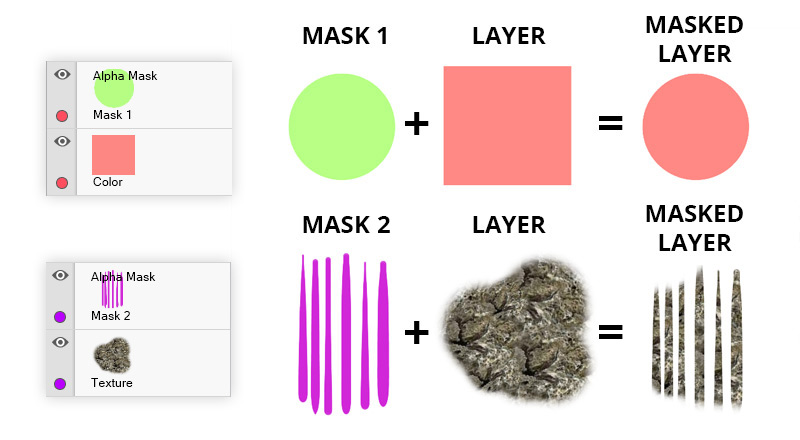
Time for the most important step: change the Blend Mode of the Mask layer to Alpha Mask. This will make the shape disappear, as it’s no longer a part of the drawing—it’s simply a definition of the area that you want to limit your drawing to.
Step 7
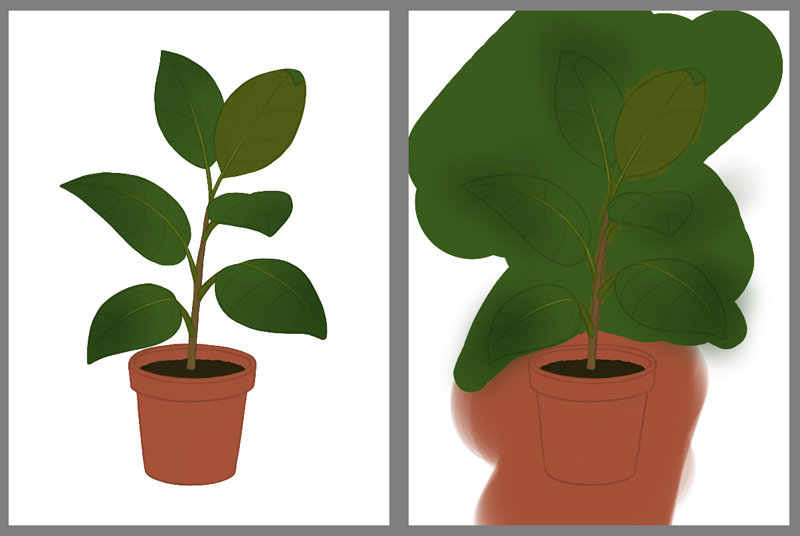
Now go to the Clipped Layer and start drawing whatever you want—Sketchbook will not let you cross the borders defined by the mask!
Step 8
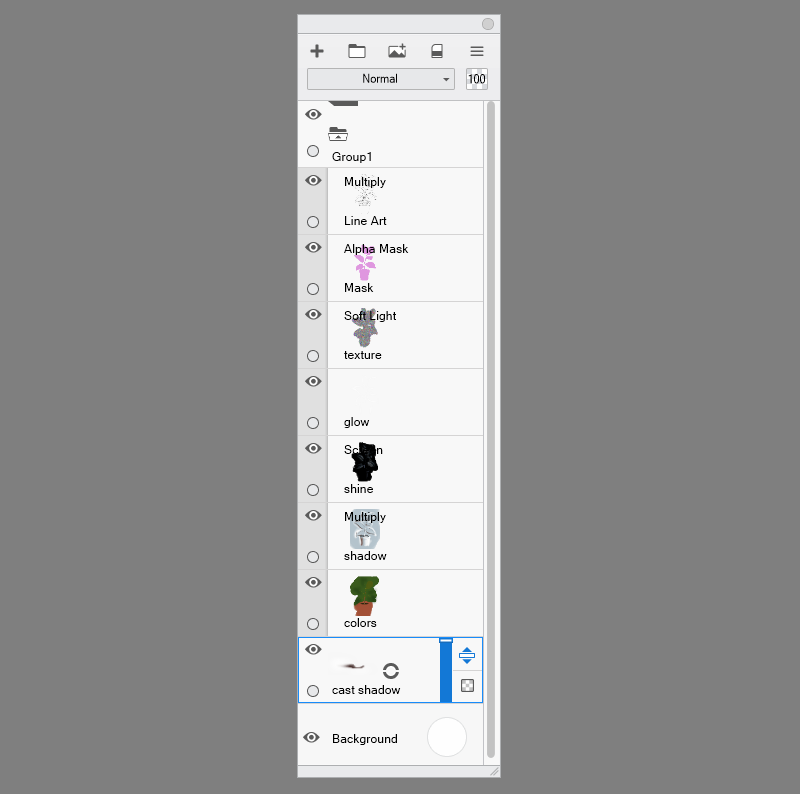
You can add as many layers below the mask as you want—as long as they’re inside the group, they will be properly clipped. So you can have separate layers for the colors, shadows, shine, textures—all clipped by default! If you want to draw something that is not clipped, just create a layer outside of the group, or above the Mask layer.
Step 9
If you want to edit the mask, just paint on it—you can erase it, repaint it, smudge it, move it around, and this will automatically affect the look of the layers below. You can even change the Opacity of the mask to make the clipped layers more transparent!

If you want to see the mask before doing these changes, just switch it back to the Normal mode (and maybe lower the Opacity to see the layers below), and then back to Alpha Mask mode once you’re done with the edits.
Step 10
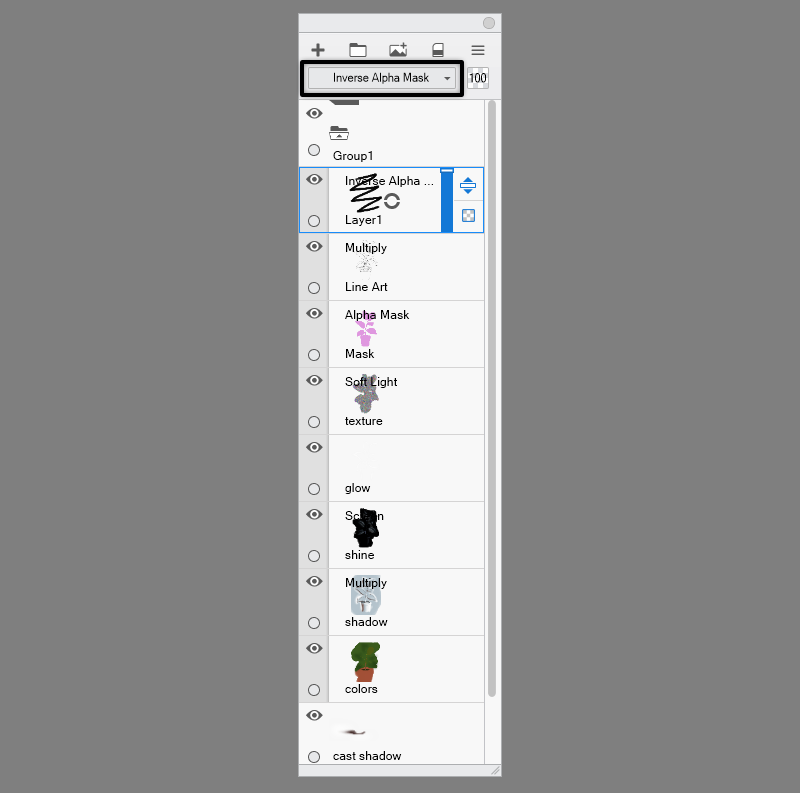
There’s also another new mode, called the Inverse Alpha Mask. You can use this layer to quickly “erase” parts of the layers below just by painting on it.

Isn’t it the Same as the Lock Transparency Function?
So what’s the difference between this new feature and the Lock Transparency function we’ve been using before for the same purpose? The most important difference is that the Alpha Mask is transparent. You can’t Lock Transparency to a transparent layer—you always have to start with some base color.

Second thing related to it is that you can clip multiple layers to one mask. In the past if I wanted to add a Multiply layer above the color layer, that was clipped to the same area, I had to copy the color layer and fill it with white (which in the Multiply mode renders as transparent). And if I wanted to erase a part of the color layer, I had to erase the same part in all “clipped” layers—because they weren’t really clipped, they were just copied.
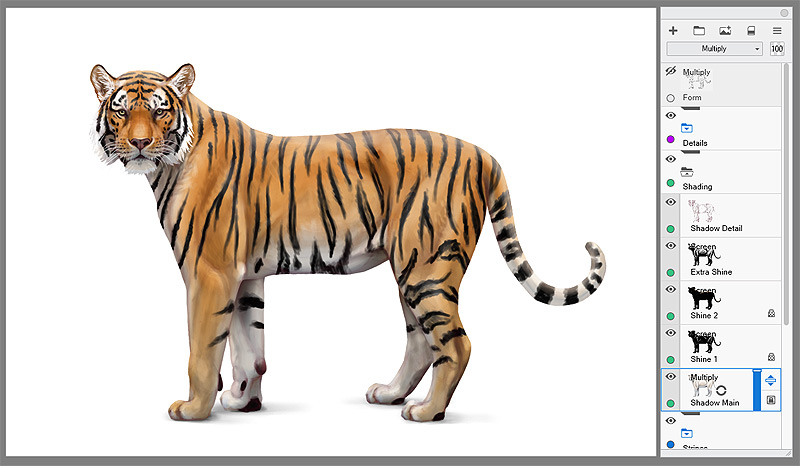
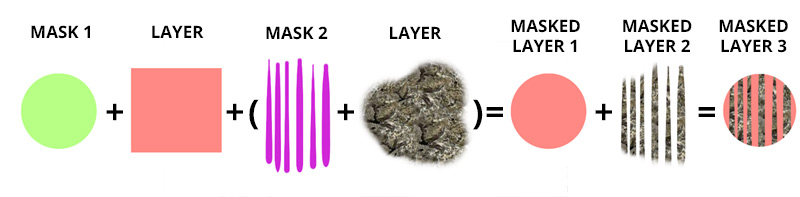
The third thing is, the Alpha Masks can be stacked! You can create a group inside a group, to mask something that’s already been masked, without actually editing that previous mask. And you’re also free to use the Lock Transparency function in any of the clipped layers, for a “quick” clipping mask.
That’s All!
As you can see, this is a pretty simple function with endless possibilities. I’ve been using it for a while in the Beta stage, and now I can’t really live without it—it makes the whole process of coloring and shading so much faster!
If you like the concept behind this function, but it still confuses you, please leave a comment—I’ll be happy to help!
Check out my tutorials for other features from the 9.0 update here:

2 Comments