When the inspiration strikes, you don’t want anything to stand between you and your new drawing—so that window that appears right before you create a new file may seem like nothing more than a hindrance. It may be tempting to just accept the default values and move on, but be careful—this decision has huge consequences for the quality of your artwork!
What’s the Problem?
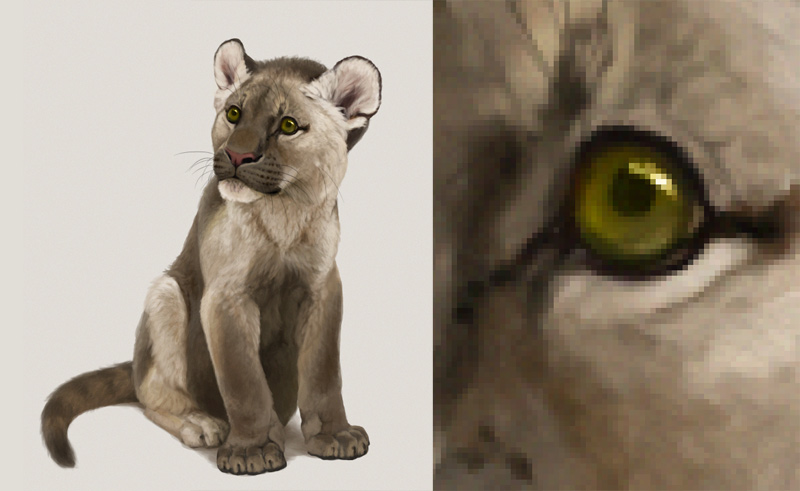
Your screen is made of pixels—tiny little “light bulbs”. Each pixel shines a single color, but when they’re tiny like this and seen at a distance, together they blend into big areas of colors and gradients. The resolution of your screen tells you how many pixels your screen has—for example, “1920 x 1080” means you have 1920 columns, each containing 1080 pixels.

Digital artworks are made of “pixels”, too—but unlike the screen pixels, their size can be easily increased or decreased at any time. That’s exactly what happens when you zoom in or out!
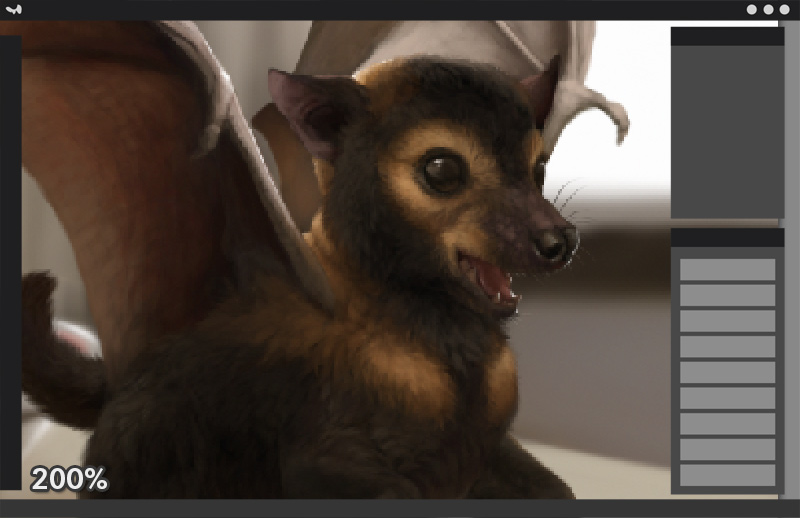
If you create a file with a resolution smaller than the resolution of your screen, then your image at 100% zoom will not fill the whole screen. To make it bigger, you’ll need to zoom in—but this will enlarge the pixels, giving the whole image a pixelated (or blurry) look. That’s what always happens when you zoom in over 100%.
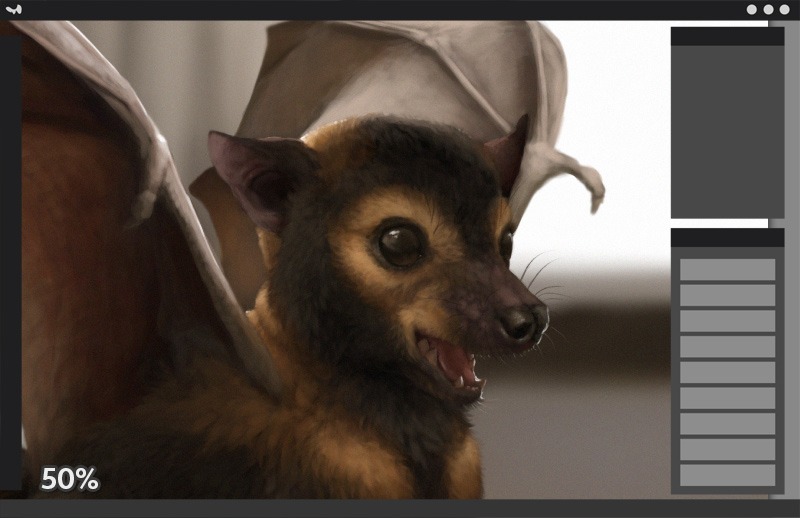
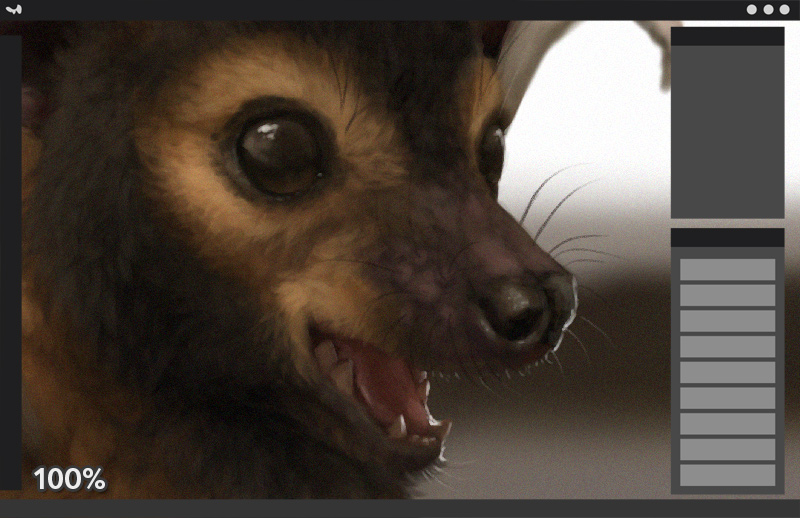
If you create a file with a resolution equal to the resolution of your screen, then each pixel of the screen will display one pixel of the image, and the image will fill the screen perfectly. However, this still isn’t a perfect solution, because oftentimes you may want to zoom in to work on the details—and as soon as you do it, you’ll cross that 100% threshold and enlarge the pixels.
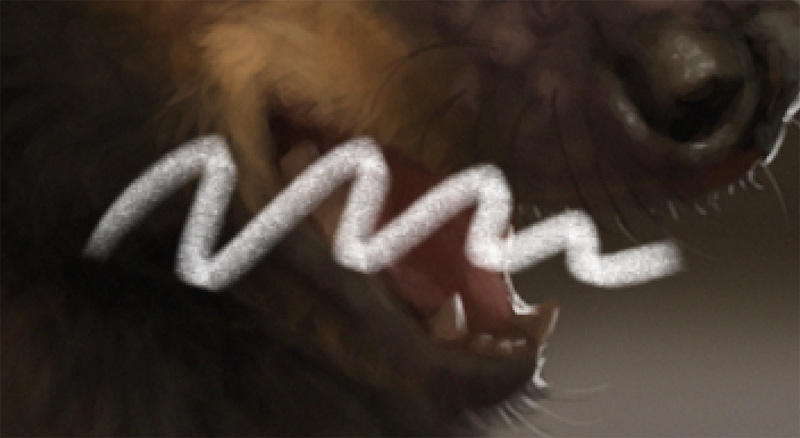
Pixelation isn’t the only problem. When you zoom in, you enlarge the pixels of the screen—and the pixels of the brushes as well! So even if you can look through pixelation, it may be harder to use your brushes in a precise way in this state.
How to Avoid Pixelated Look in Your Digital Drawing
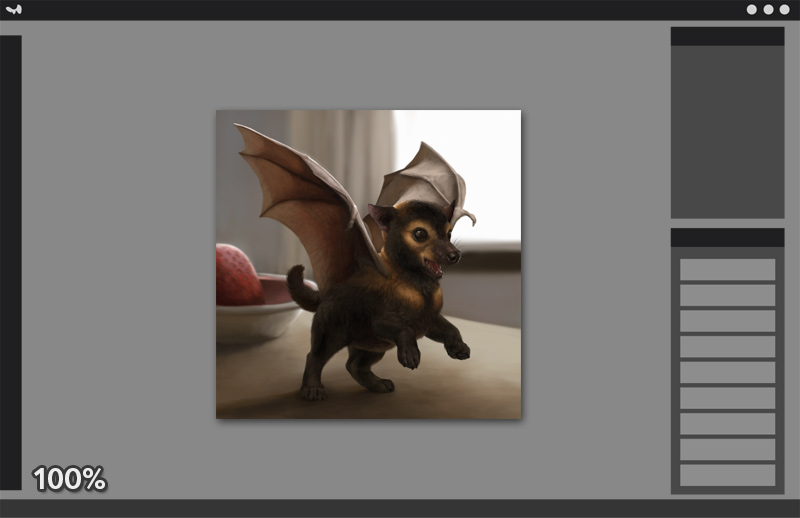
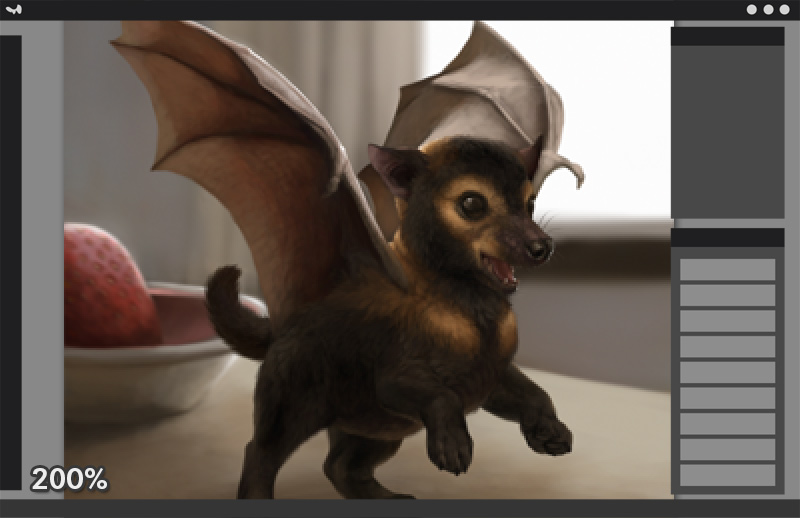
Here’s the solution to this problem: when creating a new file, make sure it’s two or three times larger than the resolution of your screen. Then, when the image fills the whole screen, it won’t be displayed at 100%, but at 50%, or 33%. Which means you can zoom in a couple of times, and the image will remain crisp—because you won’t be going over 100% in the process!

Here’s the easiest way to do it:
- Find the resolution of your screen
- Create a new file with this exact resolution
- Open the Resize window and switch from pixels to percent
- Type 200 (to make the image twice as large), or 300 (to make it three times as large)

Now, it’s very important to do it before you start drawing. If you resize an already existing image, the pixels are already in place, and resizing them will necessarily make them bigger. Various programs have special algorithms to smoothen the enlarged pixels, but the quality always suffers in result.
However, bigger doesn’t always mean better. The bigger the resolution, the harder it is for your device to handle. On some devices, the drawing app may start lagging if you use a big brush on a high resolution canvas (or the app may limit the number of layers available to avoid this!). That’s why you should use the 200% or 300% more like a suggestion—try to see how big you can go before the problems arise, and then you’ll know what number works for you.
Too big of a number may also be problematic, because your brushes have a limited resolution. If your image is 10,000 px wide, for example, and your cloud brush has a stamp of only 500 px, then you won’t be able to paint properly big clouds on your sky—or the clouds will look pixelated when you enlarge them over their limit. So the amount of crisp zoom comes at a cost, and you shouldn’t go ridiculously high just because your hardware can handle it.

It’s also fine to start smaller sometimes—for example, if you start with a sketch, or a thumbnail drawing. Then it’s not not necessary to zoom in that much, and your brushes can be made quite big without increasing their resolution (which lowers the risk of lags or reaching the resolution limit). Then you can resize the image (and merge the layers, if necessary) when you’re ready to add the details—and cover the pixelation of the base in the process.
But Isn’t that Too Big?
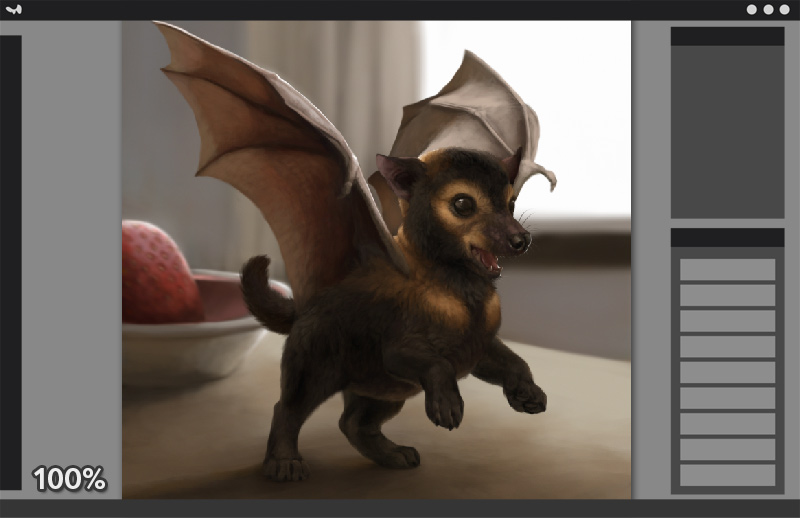
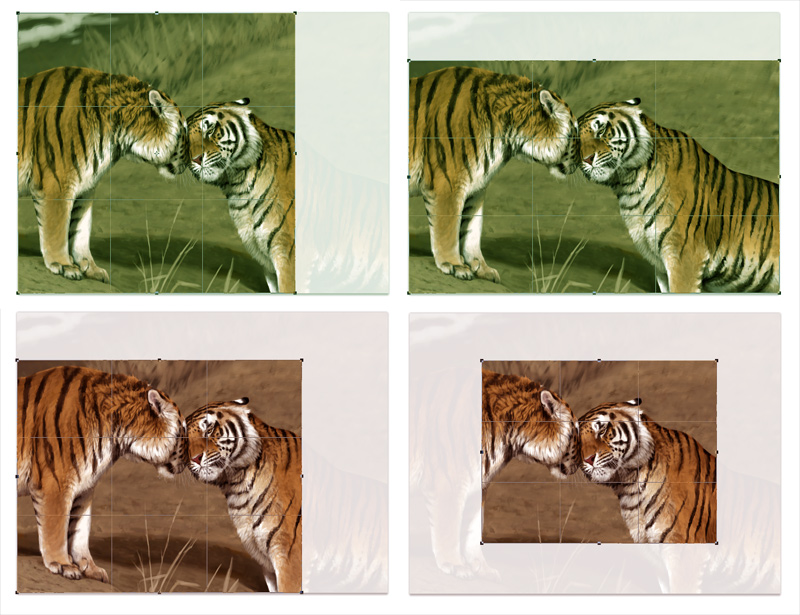
No matter how much you zoom, there may be a specific level of zoom that for you displays the image at its intended size. For example, it may look the best at 30% zoom, and you don’t really want your audience to look at all the details up close. If that’s the case, when you’re done with your artwork, just resize it again to the intended percent resolution. Don’t forget to save this smaller image to a new file—just in case you want to work on the original later!

Also, remember that you don’t need to limit yourself to the proportions of your screen. It’s fine to crop your canvas at any point—but if you want to keep your resolution high, always keep either width or height at its original value (e.g. for 1920 x 1080, 1920 x 1000, 1920 x 1500, 1080 x 1080, 700 x 1080 are all fine).
What About Prints?
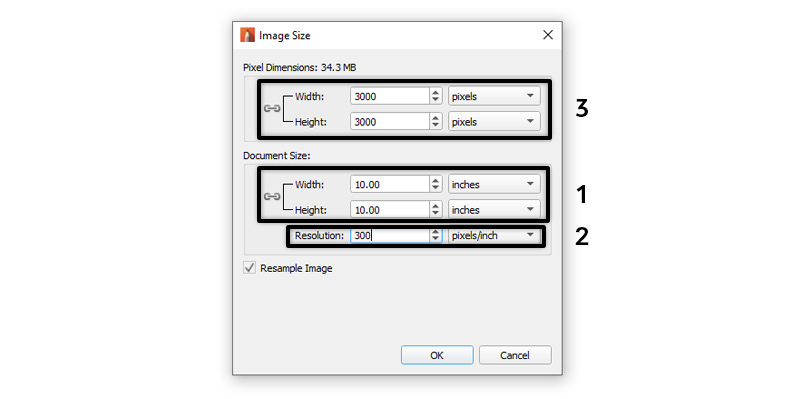
You might have heard that if you want your image to look good as a print, you need to set it to 300 DPI. However, it isn’t that simple! First, you need to know what DPI actually means.
You already know that if you zoom in too much and enlarge the pixels, the image will look pixelated. So when you print an image, you need to print each pixel at a very small size. The question is, how small? And how to translate these digital units into physical units, like inches or centimeters?
That’s what DPI was designed for. In digital art, DPI is used as a synonym for PPI—pixels per inch. The more pixels you put inside each inch of the print, the smaller they need to be to fit that space. So the higher the DPI, the higher the density and the smaller the pixels.

So, if you want your image to be print-ready, you need to keep the DPI very high, right? Not so fast! The problem is, when you make the pixels small to fit that high density, you make the whole image smaller—so it’s basically like zooming out.
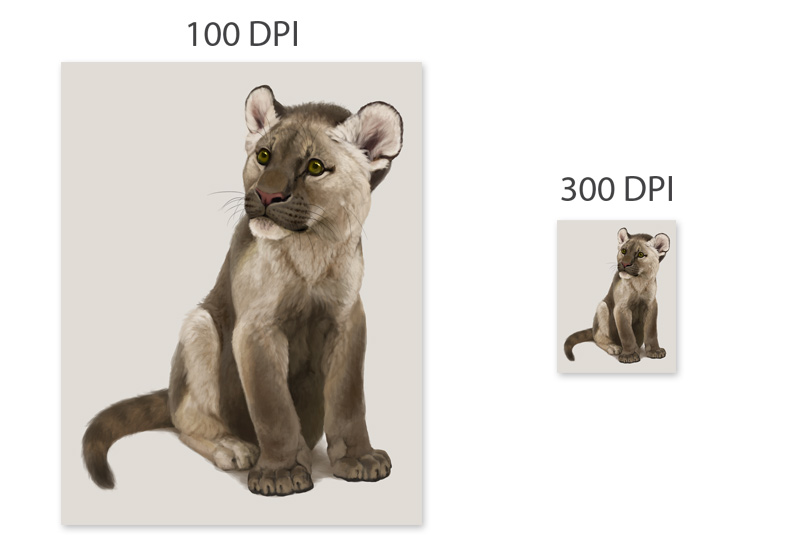
To counteract that, you need to adjust the pixel resolution—make it high enough that after “squeezing” it will fit the desired physical dimensions on paper. Luckily, you don’t need to do any math to calculate it—most drawing apps will do that for you! All you need to do is to define physical dimensions of your intended print when creating a new file. Then, after setting your DPI, the pixel resolution will be calculated automatically.
Again, it’s very important to do that when creating a new file, or when the canvas is still empty. Otherwise your pixels will have to be stretched to fit that new, increased size, and the final result will be pixelated regardless of the high DPI.
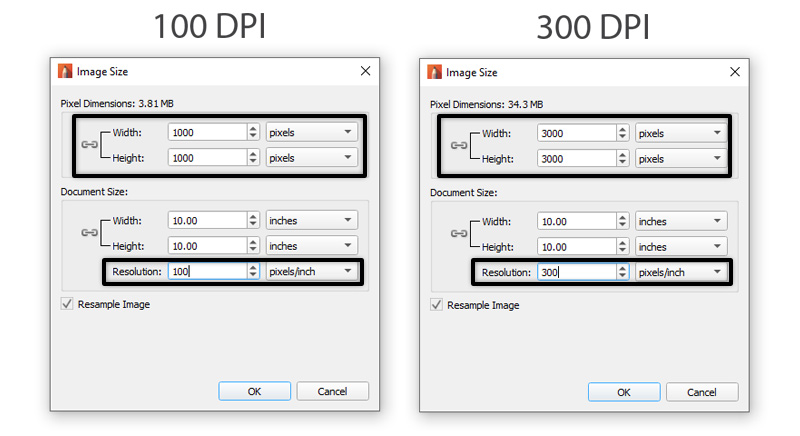
Now, I want you to really understand how it works. DPI is used solely to convert physical dimensions into pixel resolution, and vice versa. It doesn’t increase the quality of the artwork, or even the quality of the print. A 1920 x 1080 px artwork at 300 DPI will not be prettier/more printable than a 1920 x 1080 px at 10 DPI. Because, again:
- When you define physical dimensions, DPI is used to calculate how big the pixel dimensions must be to ensure the quality of the print. The higher the DPI, the bigger the resolution.
- When you define pixel dimensions, DPI is used to calculate how small the physical dimensions must be to ensure the quality of the print. The higher the DPI, the smaller the print.

In other words, giving your 1920 x 1080 px file 300 DPI will not give you a better print—just a smaller print. You can set it to 100, 300, 600, or even 1000 DPI—it won’t make any difference if you’ve defined the pixel resolution yourself and didn’t allow DPI to do its job.
So if you want to make sure your artwork will work nicely as a print, here’s what you need to do: when creating a new file, choose the physical dimensions (inches, centimeters, etc) of your imaginary print. Then set DPI/PPI to 300 (which is the standard for small to medium size prints), and you’re done! This is just the minimum resolution necessary for your chosen print size, though—so if you need more levels of zoom, feel free to increase the pixel resolution right afterwards.
And what if you’re creating a file specifically for social media, or your digital portfolio? Then don’t worry about DPI at all. Just set the pixel resolution the way I described it earlier. You can use this knowledge to your advantage, though—when you know that smaller pixel resolutions lead to pixelated/blurry prints, you may post smaller versions of your artworks on purpose, just to avoid them being used this way!
Too Complicated? Choose Vector Art!
All of the above applies to raster art, i.e. pixel-based art. There’s also something called vector art, i.e. math-based art. In vector art, your brush strokes aren’t saved as a set of colorful squares, but rather as equations. This makes them scalable—you can resize them infinitely without losing any quality. No pixels = no pixelation, ever!

So, what’s the catch? Traditionally, vector apps were designed mostly for graphic design, and not really for freehand drawing/painting. This made them more technical and less convenient to use for a general artist. In fact, you can easily create great vector art using a mouse—because the main tool in vector art is not a brush, but the path-building pen tool.
Today, most drawing apps are raster, but there are options for vector artists, too. If you have an iPad, Adobe Fresco will be perfect for you—it makes vector drawing as simple and intuitive as raster drawing! Just make sure to pick the vector brushes, because the app offers traditional, raster brushes as well.
For all other platforms (and iPad as well), you can use Affinity Designer. It’s more complex than Fresco, but you only need to master the Pencil tool to create free-hand vector drawings. In both cases, you need to keep in mind that these apps are better for drawing than painting—natural, organic blending still works best in raster apps.
Conclusion
As you can see, there are very good reasons to pay attention to that New File window and its values! And now you should know exactly what decisions you need to make, and what consequences they will have. Now go and test it in practice!
Did you find this post useful, helpful, inspiring? You can say “thank you!” by sending me a little donation:

0 Comments