The desktop users got their Clipping Mask update months ago, and finally it has come to mobile devices as well! You can read more about this feature in general in that older post—here I’d just like to show you quickly how it looks on the iPad (it should work similarly on Android as well).
Disclaimer: Clipping Masks are a premium feature, which means they’re not available by default in the free version of Sketchbook. You need to purchase the Premium Bundle to access them.
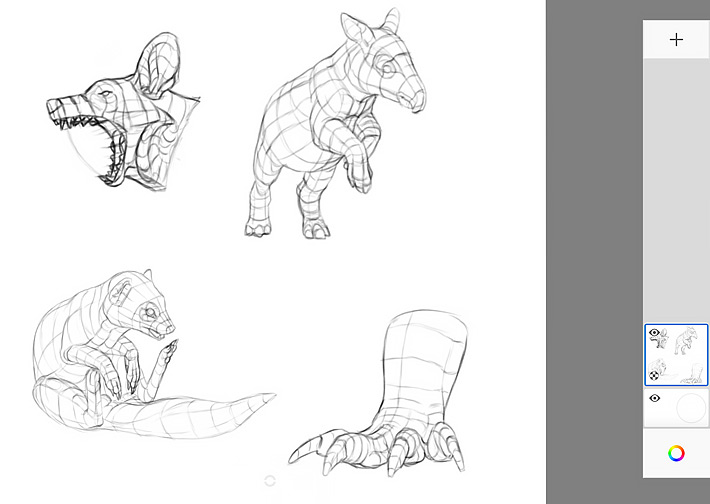
1. Prepare the Sketch
As always, start with the sketch. It doesn’t have to be super clean, but if you want to use a Clipping Mask, it’s good to make sure you know exactly where the edges of the object are.
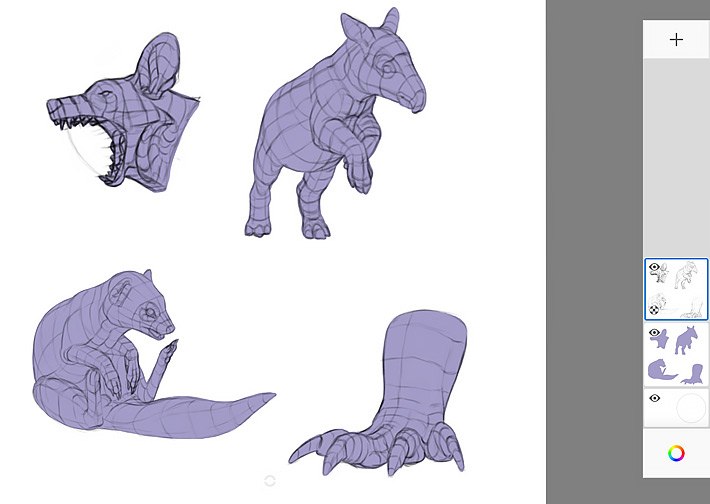
2. Draw the Mask
Create a New Layer under the sketch, and draw the mask—the area that will define the bounds of the subjects. You can do it by using a hard brush, or just make a selection with the Lasso tool and fill it with the Flood Fill tool. The color is not important, but keep it bright enough to see the lines.
3. Clip the Layer
Now, select the sketch and open the Layer Menu. You should see an option called “Clipping Mask“—click it!
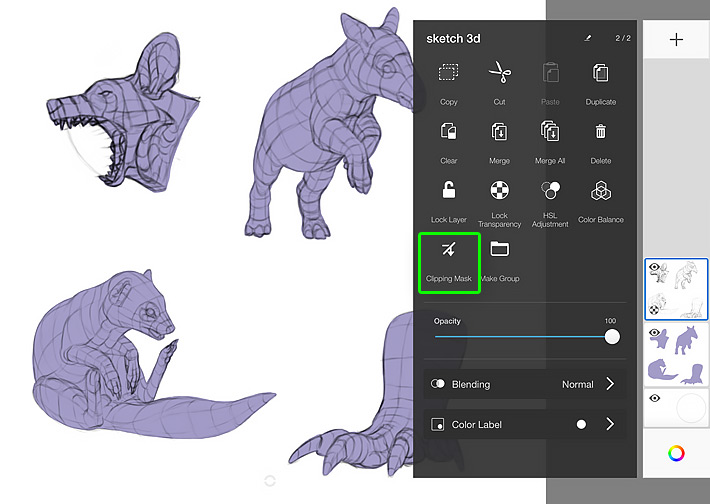
The sketch will be clipped to the shape of the mask, and all the lines that landed outside of that shape will disappear:

4. Add the Colors
With the Clipping Mask in place, you can now work on your drawing without worrying about crossing the lines. For example, you can create a New Layer between the mask and the sketch, and add the colors there. Creating a layer between the mask and a clipped layer will automatically clip that new layer too.
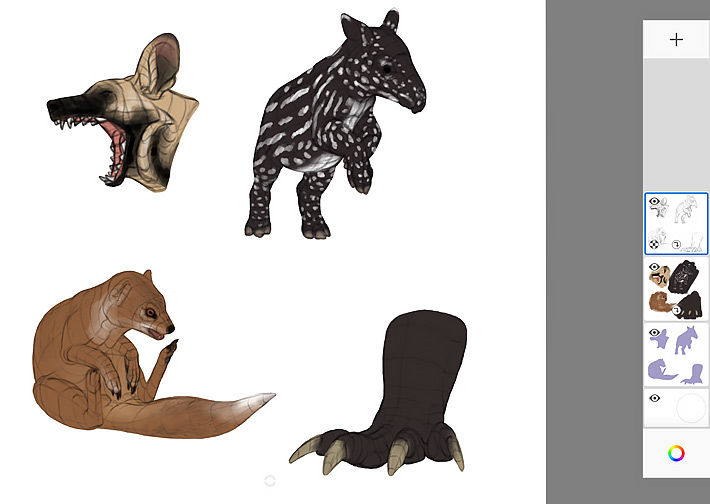
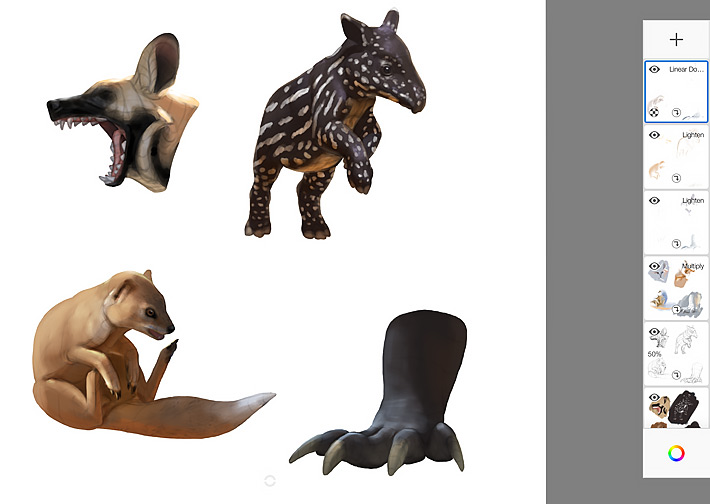
5. Add the Shadows
You can also create a New Layer over the clipped layers, and clip it again—change its Blend Mode to Multiply to draw some nice shadows that will cover the colors below, and nothing else!

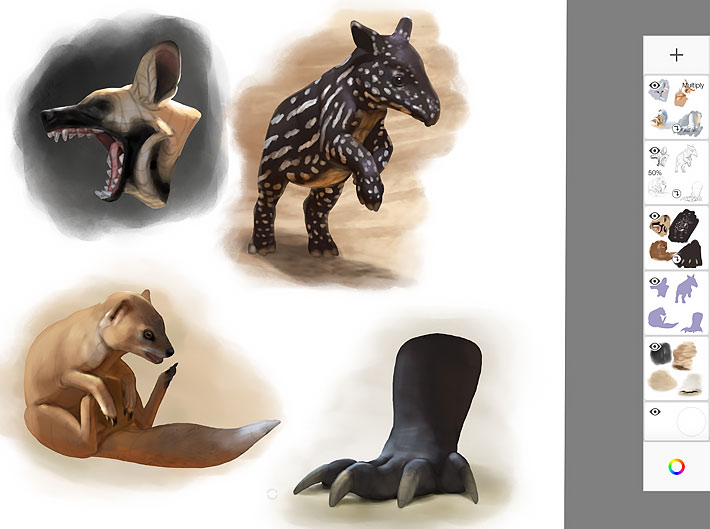
6. Add the Shine
You can keep growing your layer stack, and adding all the effects separately, to make them easier to modify.
7. Break the Limits!
Once you create a Clipping Mask, you don’t have to limit yourself to its bounds forever. You can create other layer above and below, and if you don’t clip them, you’ll be able to cross the mask however you want. You can also create mutliple masks, and combine the Clipping Mask with the Alpha Mask for even more complex results!
And that’s all! If you’ve been using the free version of Sketchbook for a while, and wondered if the Premium Bundle is worth investing into, the answer is yes—Clipping Masks will make your life so much easier, and you’ll never want to go back!
If you want to see how this feature can be used in practice in a more complex image, you can download my sample file below. Educational use only!


0 Comments