Tracing has a real bad name in the artistic community, and for a good reason—an artist can spend years to learn how to draw a realistic human from imagination, and a tracer can replicate the same end result in minutes.
However, there are other forms of tracing that have nothing to do with pretending you have artistic skills. On the contrary—these forms help you get the skills! Amateur tracers copy the final lines of the object, but to draw these final lines without a reference, you need to know where they come from. And drawing directly over the photo will help you discover it.
In this short tutorial I’ll show you what topics you can study with this technique to get better at drawing from imagination, as well how to study to get the best results.
What You Can Study by Tracing
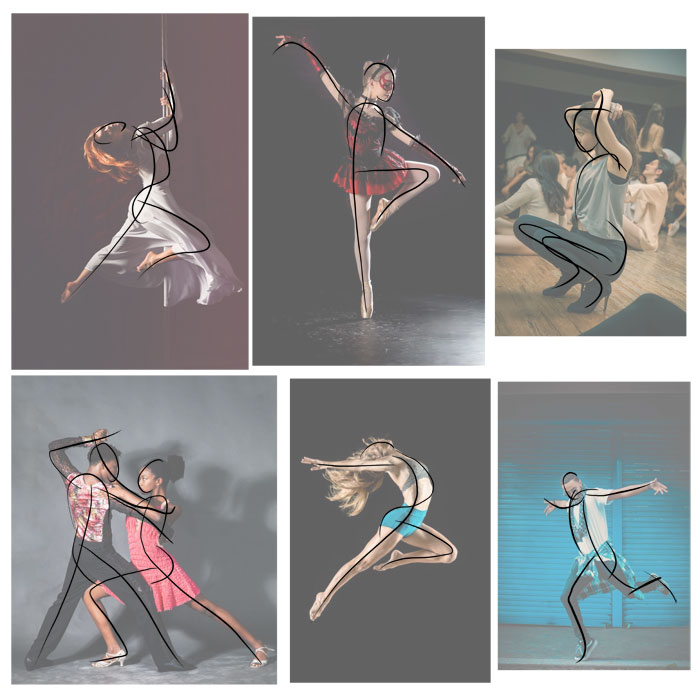
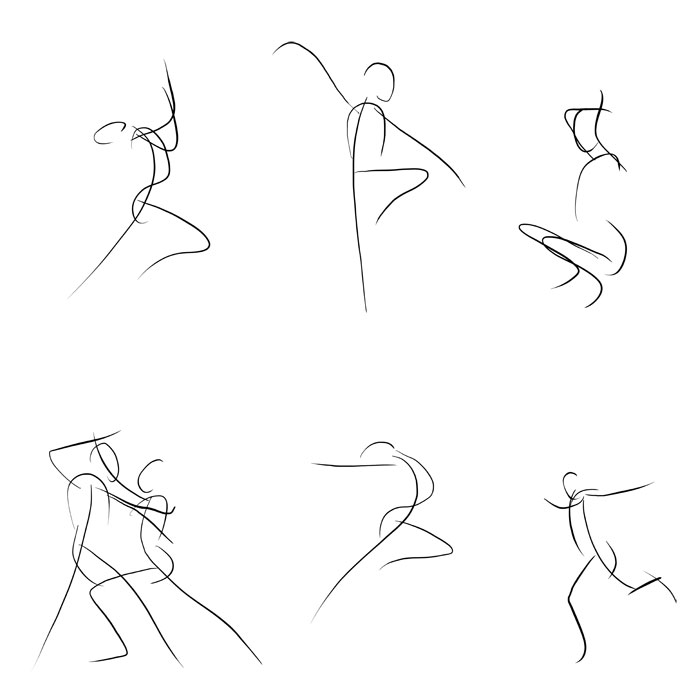
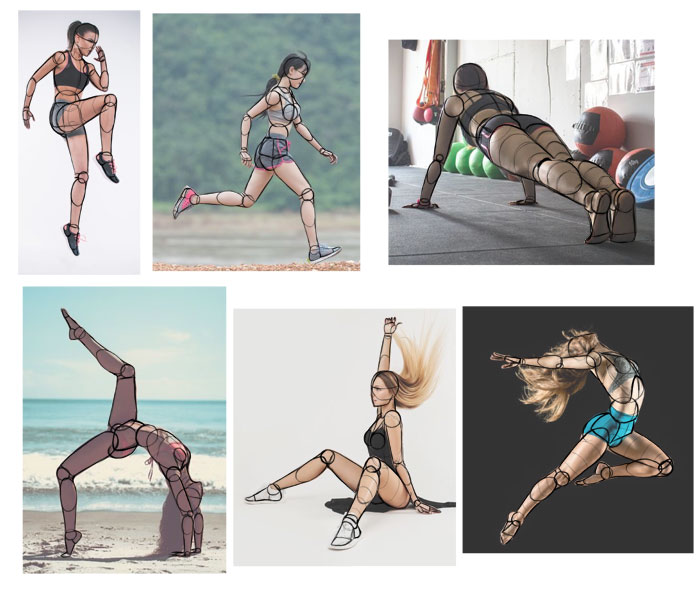
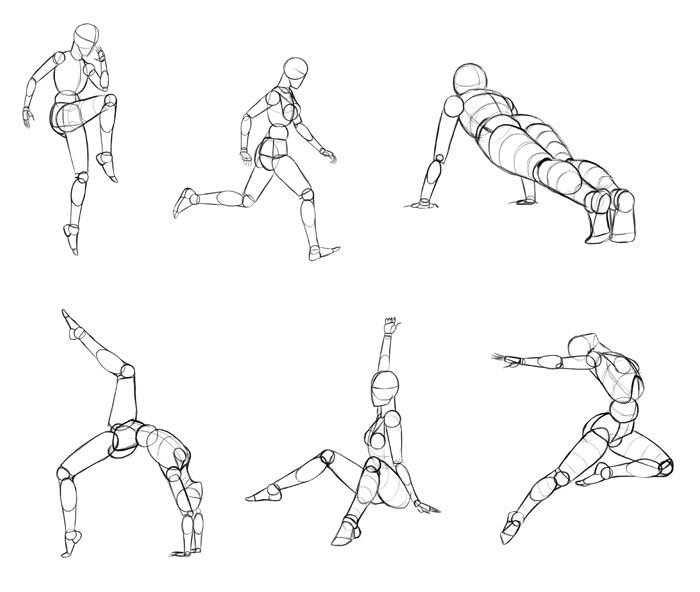
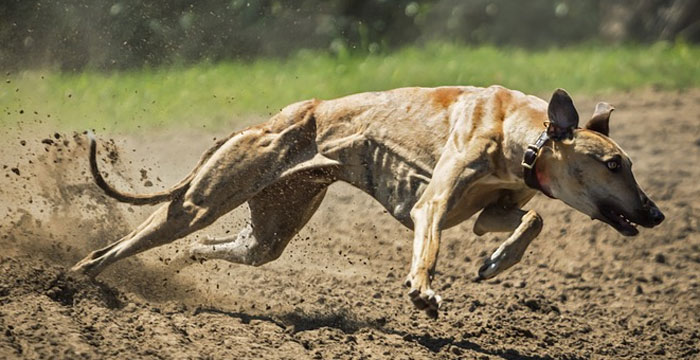
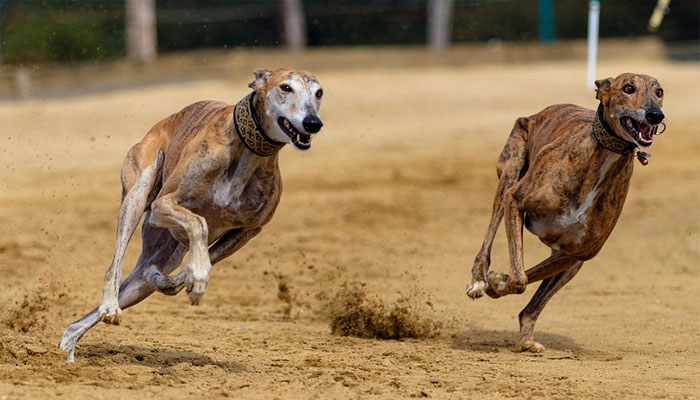
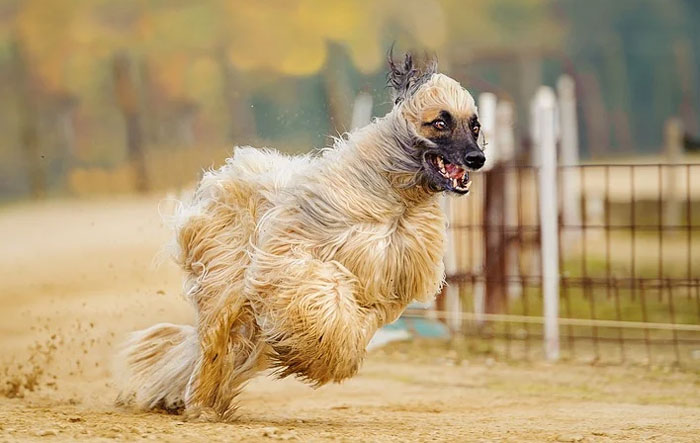
Gesture
Proportions and anatomy are all important, but if you start the image with them in mind, you’re likely to end up with a stiff, unnatural pose. That’s why it’s better to start with a gesture sketch—a couple of dynamic lines encapsulating the “rhythm” of the pose.
So that’s the general advice, but I always found it difficult to put it into practice. This is where tracing comes to help: you can sketch the lines over the body, experimenting with various sets of lines and testing which method encapsulates the motion best. After this exercise you’ll start to see these lines in your references even without sketching them!
Structure
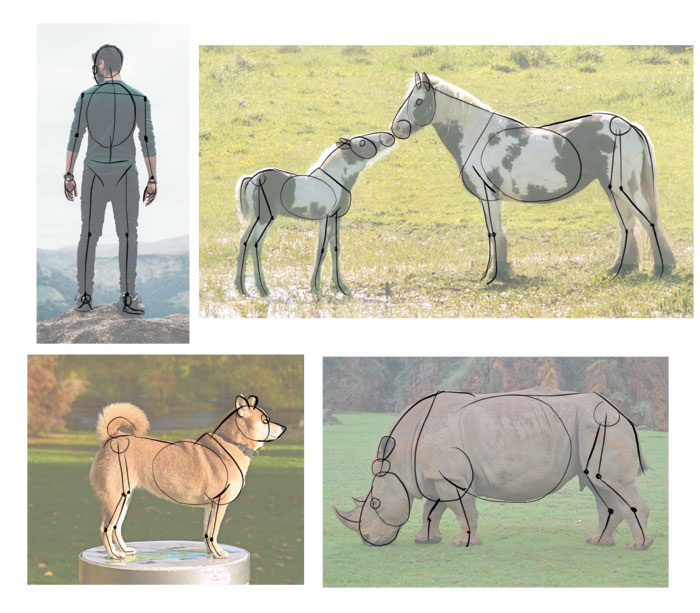
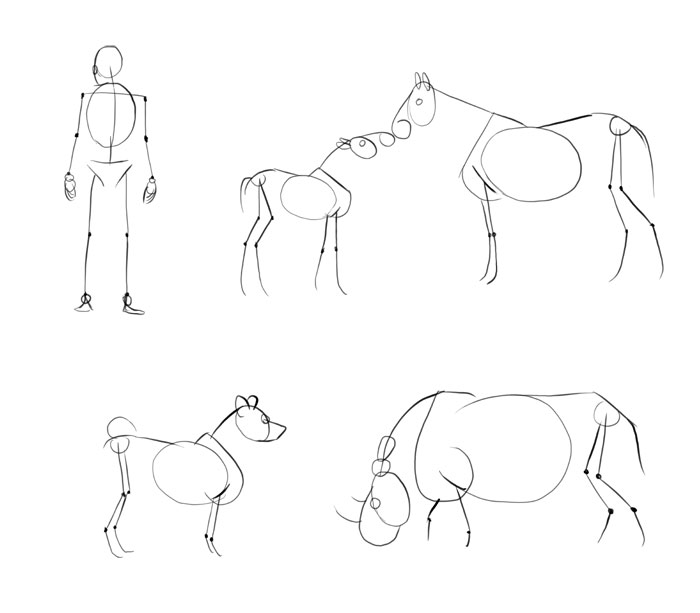
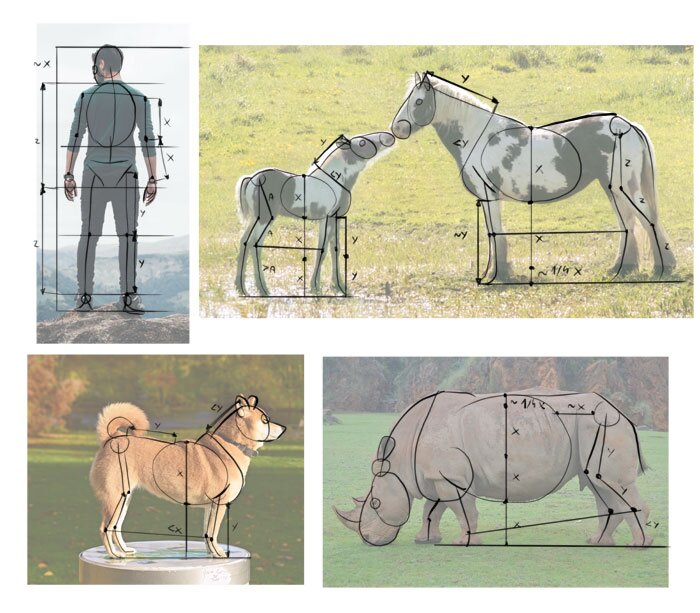
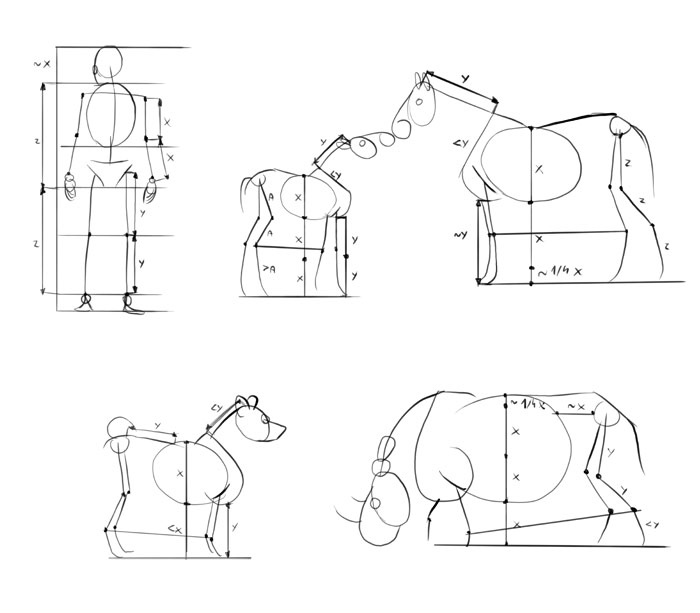
Once you have the gesture sketch, you can add structure to it—sketch the body parts. Every creature has its own body plan, and once you learn it, you’ll be able to draw it from imagination—as well as design believable creatures by combining various structures into something new.
Tracing allows you to analyze the structure and experiment with various ways of picturing it. For me the structure looks like a simplified skeleton, but you may discover something else works better for you. Practice on different poses to make sure your “recipe” is universal and takes everything into account.
Once you have the general recipe, you can also turn this exercise into the pose study. Learn about the motion of your subjects, about the limits of its joints, how it walks, jumps, and rests. This will add up to your visual library and will help you draw more convincing creatures from imagination.
Proportions
A good drawing must be proportional—even if you draw cartoons, there are certain proportions that must be followed. Your eyes recognize even the slightest mistakes in this matter, so when studying structure, study the proportions as well. Try to see the relation between various dimensions of the object, and memorize it as equal, slightly bigger/smaller, or as a certain fraction.
When studying proportions, make sure to use the 2D view—side, front/back, top/bottom. Foreshortening in 3D views will make it hard to compare the dimensions accurately. I’ve even created a Pinterest board just for this purpose—whenever I find a perfect side view for an animal, I put it there.
Remember that you can use this method for both the whole body, as well as the head or the paws alone. Later, you can test your proportions set in different views, to learn how foreshortening affects them.
Form
Form makes the object in the drawing look 3D, but it’s not so easy to understand how to capture it. You can improve a lot at this topic by trying to draw “a wireframe” around the object. Start with simple objects at first—possibly ones with clear curves, or a pattern suggesting their 3D form.
By studying the same object in different views, you can learn a lot about foreshortening. You don’t even need to understand it consciously—it develops your intuition in this matter, making you better at telling when something looks off.
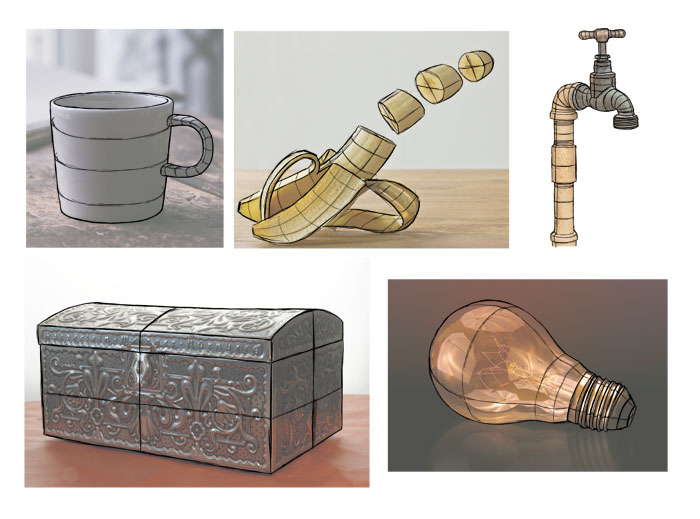

Once you learn how to draw the form, you can learn how to create a silhouette of a human or an animal by simplifying their body into forms. Imagine you want to create a wooden puppet in a shape of your subject—shave off all the unnecessary details and focus on the defining features.
Although this may look easy, it’s hard to do if you have no knowledge about the anatomy. So it’s good to study this topic a bit, find out what you don’t know, and then go to learn more about this subject in your anatomy books.
Additionally, you can use this method to study different styles. Draw over the drawings of your favorite artists, and you’ll see they all simplify the same body parts the same way. Once you learn this, you’ll be able to draw in this style yourself! And if you want to create your own style, this is the good way to go—start with the original recipe, and then modify it.
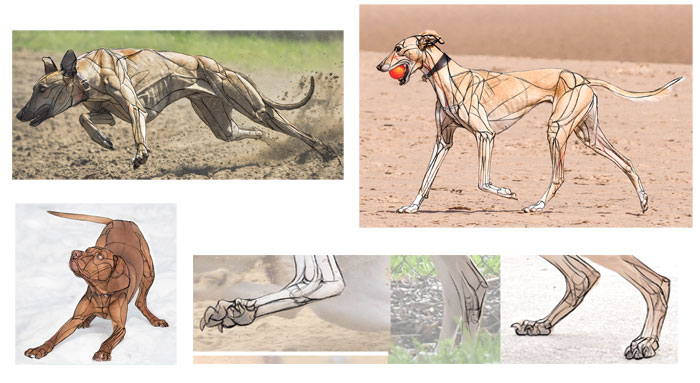
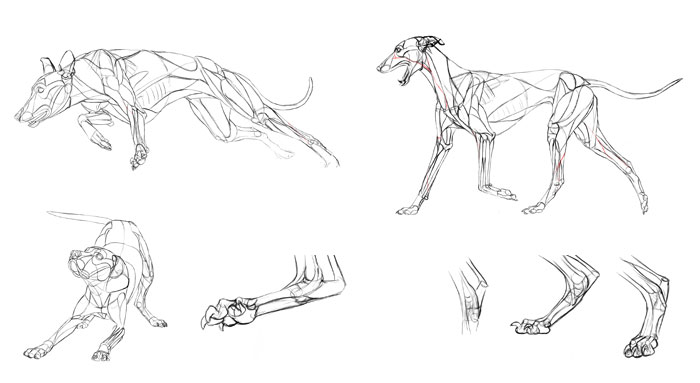
Anatomy
You don’t have to memorize all the muscles to draw realistic creatures—you can always use an anatomy atlas with cool illustrations as a reference. However, these illustrations may be difficult to understand and apply to a creature in motion, so to be more flexible, it’s best to study anatomy on real animals.
Find photos of muscular or skinny representatives of the species you’re interested in, collect as many animal anatomy resources as you can, and try to draw the muscles/bones where they’re supposed to be (according to you anatomy diagrams). This will be very difficult at first, but feel free to use shortcuts—if something is hard or impossible to see, is it really worth to learn about?
Also, don’t try to get it all perfectly at the first try. I’ve been studying animal anatomy for years, and I still learn something new about it every time I do this exercise. So it’s better to only try to learn what you need for your intended style of drawing. An artist drawing superhero comics will need a better understanding of anatomy than an artist drawing normal humans.
Shading/Light and Shadow
So far we’ve been only talking about deconstruction. But what if you only want to draw portraits? Tracing can help you here as well. Even if you only want to copy photos, tracing the border between the light and shadow area can help you get better as seeing this border in the future, as well as shade your drawing here and now.

How to Study by Tracing
Ok, so now you know why it’s good to study all these topics by tracing. But how to do it, to get the best results? Here’s my advice.
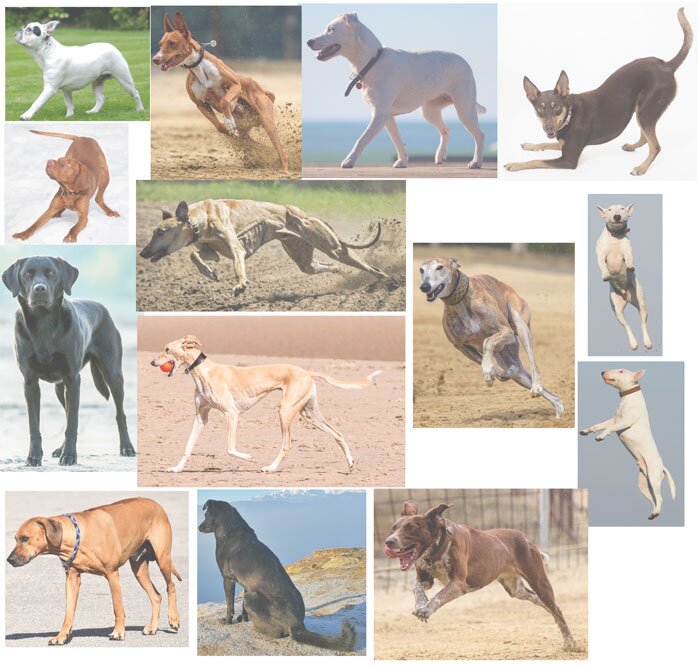
First, you need to find your references. Internet is full of photos, but not all of them are worth using. Google will give you plenty of great images for any subject, but most of them are in small resolution and therefore useless for this purpose. Also, most of these photos are copyrighted—you’re not allowed to publish them anywhere, even if they’re covered with the lines you drew.
You’re allowed to use these photos for your studies, as long as you don’t publish the original photo (you can publish the lines on their own). But if you want to be completely safe, it’s best to use sites with free stock images, like Pixabay or Unsplash—they provide plenty of photos in good resolution, free to use, modify, and publish even without credit.
Make sure you pick your references carefully, with the focus on what you want to learn. Pay attention to the view, pose, clarity of the lighting. Avoid photos where the body features are covered by baggy clothes, or where important body parts are cropped or hidden in grass. Nude models are the best for studying anatomy and form, but if they make you feel uncomfortable, tight clothing will be ok, too. Don’t pick photos just because they’re pretty—always have their usefulness in mind.

Once you have your references, it’s time to prepare them. Combine them into one big file in a photo editor—if you want to fit more of them without making the file huge, cut the parts of the photos that are not necessary for your study (for example, in a paw study, crop every photo to the paws).
If you have a graphics tablet, lower the opacity of this big combined photo, and start drawing. If you don’t, lower the opacity as well, and then print the image (plan the composition of the images to make it fit the A4 page). Draw on it using a black ink liner to make the lines clear, and try not to draw over the lines you’ve already drawn—if you want to fix something, print another page and try again. That’s how you learn!
This was the technical side of the issue, let’s talk more about the actual study now. To make it the most effective, here’s my proposed order:
- Draw your guessed lines on the first photo.
- Draw the same set of lines on the other photo. Do they work? If not, try to see what the issue is, and test it on another photo. Repeat until you find the “recipe” that works every time.
- Use the photos with the lines traced on them as a reference—copy these lines, this time only looking at them. You may discover that your recipe works in theory, but not in practice—come back to step 2 to fix it.
- Prepare a new set of references, with no lines traced on them. Use your recipe to copy them without tracing. If it’s hard*, modify the recipe to make it easier. You can come back to step 2 to make sure you’re not missing something.
- Finally, draw the recipe with no reference other than the images in your mind. Judge your results by comparing them to photos.
*Copying a reference will always be hard for someone who hasn’t practiced proportions enough. Copying proportions is one of the most basic fundamentals, so make sure you’re good at this before you start this study.
Keep in mind that your recipe may change with time. You may think you learned everything there is to learn at one point in time, but then you’ll get new information that will make you see what you’ve never noticed before. That’s why it’s good to repeat this study from time to time, to freshen up your memory and to add some nuance to your artistic repertoire.
But Isn’t It Cheating?
Now you know how useful tracing can be, but isn’t it cheating? After all, someone who never traces has to work harder to learn all of this. But… so what? An artist who only draws when hanging upside down from the ceiling works harder, but does it make them a better artist?
Look at it this way: tracing can be cheating, but it doesn’t have to be. Driving a car during a bike race is cheating, but it doesn’t mean that driving a car to get your groceries is cheating as well. Tracing can be a great, useful tool to make you a better artist, and you shouldn’t avoid it just because you heard that it’s bad to trace.
If you only give this method a try, you’ll see it has little to do with mindless drawing. You have to analyze and think, and spend plenty of time trying different things. And when you finish a study, what you produce is not even an artwork—it’s just a visual side effect of your learning.
Sometimes the end result of your study may be quite educational, so it’s good to share it with others. However, always remember to call it for it is: a study, not an artwork. Studies can look quite impressive, but be careful not to make it the priority—learning should always be the focus. It’s better to draw an ugly study and learn something, than to draw something pretty without learning anything!
8 Comments