Some time ago someone on Reddit asked about a Sketchbook grass brush, so I shared mine. And since custom Sketchbook brushes are so hard to find (it’s an underrated app, unfortunately), I decided to post it here as well. Enjoy!
How to Download and Install the Sketchbook Grass Brush Set
You can download the grass brush set here. This is a ZIP file—to use it, you need to unzip/extract it until you can see an .skbrushes file.
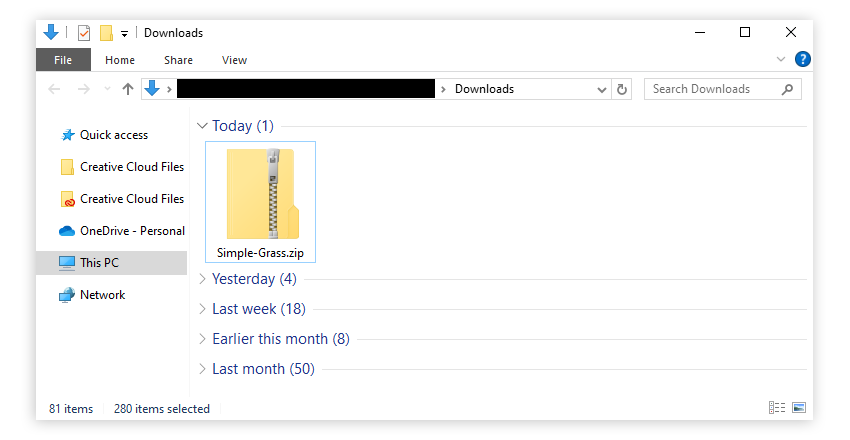
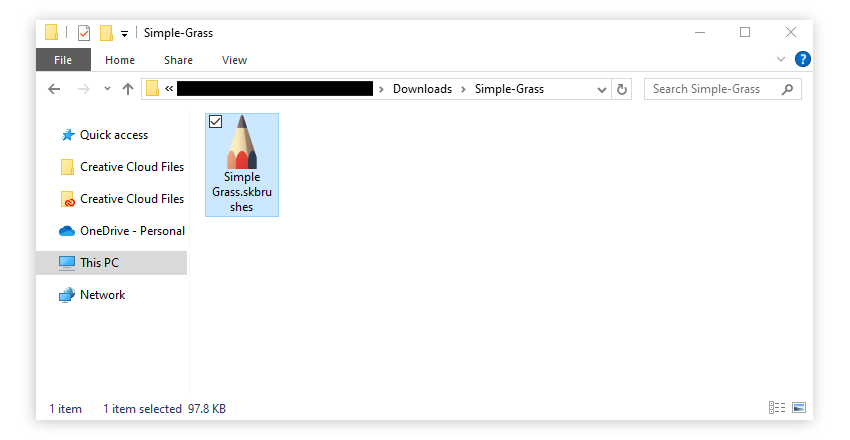
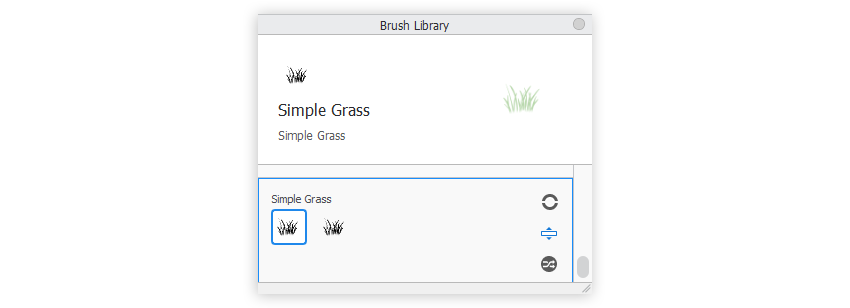
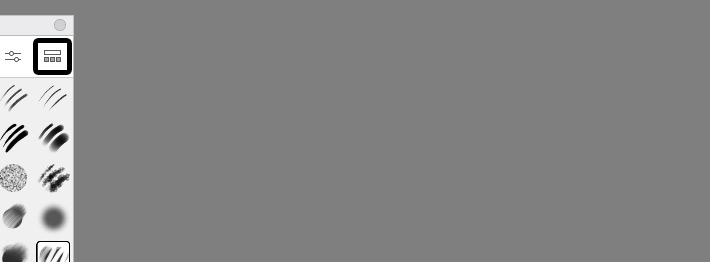
Now, if you’re on desktop, just drag the file onto the canvas. The brush set should appear on the bottom of the brush library:
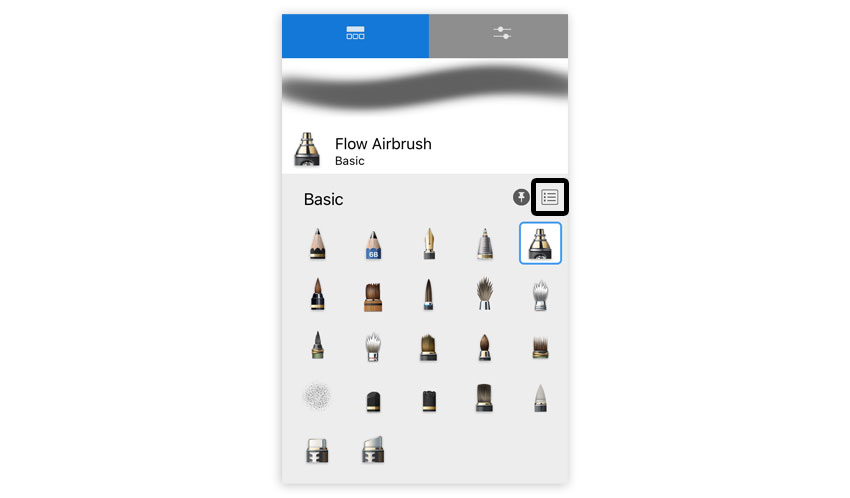
If you’re on mobile, click the brush menu in any brush set, and tap Import. Then select the downloaded file to import it. The brush set should appear in the brush library afterwards. Caution: you need the Premium Bundle to use this feature!
How to Use a Sketchbook Grass Brush
Once you have the grass brush set installed, there are three ways to use it:
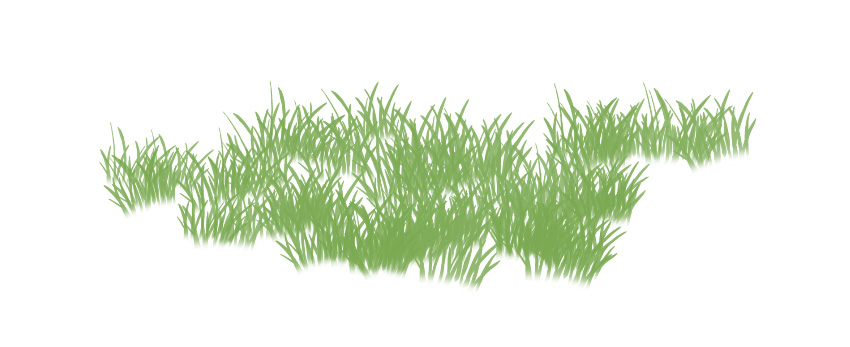
Method 1: Just Draw the Grass!
Take the Simple Grass brush, select a shade of green, and draw your grass. It can’t be any simpler than that!
Method 2: Randomize Colors
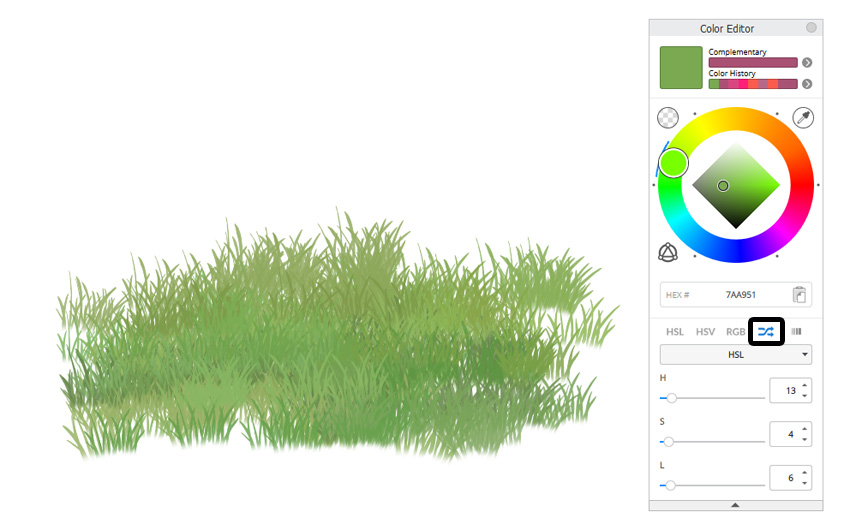
If you want a more natural effect, you can use the Randomize option in the Color Editor. Add a bit of variety to your Hue, Saturation, and Lightness, to give your grass multiple shades of green without having to switch the colors all the time.
Method 3: Smudge the Colors
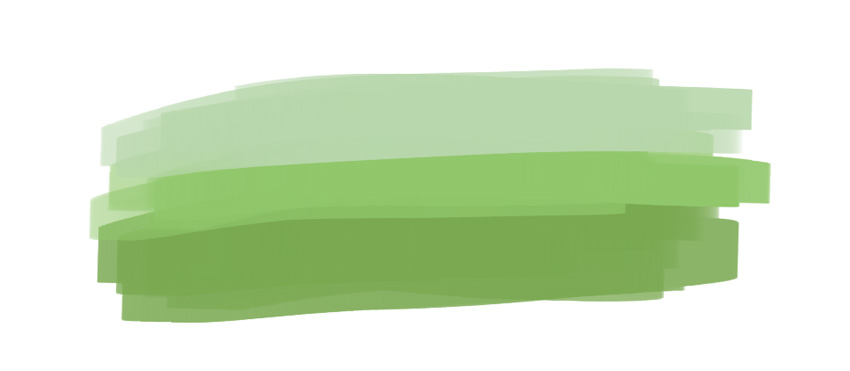
There’s a second brush in the set, called Grass Smudge. It doesn’t draw anything on its own, but it’s very powerful if you combine it with other brushes. To use it, first draw some shades of green with a different brush, for example like this:
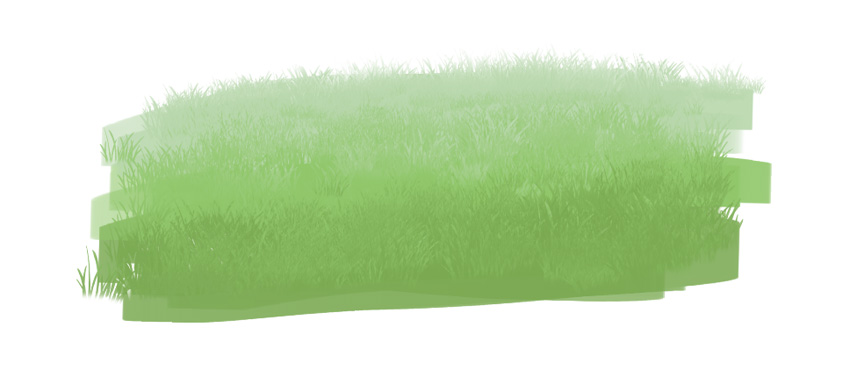
Then take the Grass Smudge brush and drag it over the borders between colors. It will create a nice grass texture over these borders, giving an effect of less detailed grass.
That’s All!
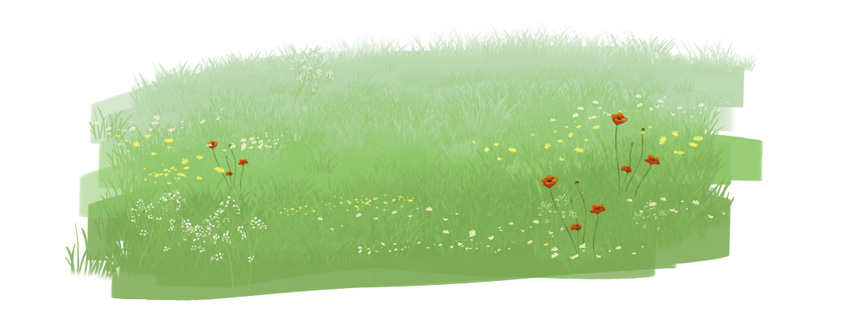
As you can see, this is a pretty simple brush, but it will allow you to quickly add some background to your scenes. If you want to make your grass more detailed, you can create custom flower brushes—you can learn how to do it here:

0 Comments