Drawing is cheap—all you need is a pencil and some paper. That’s why most of us have more experience in drawing than painting. So even if you have a graphics tablet, it may be difficult to switch from the style you’re so familiar with to the the more painterly one.
In this tutorial I’ll show you how to go from a colored piece of line art to a “lineless” painting. You don’t have to do it exactly the same way as me, but this process should show you what to pay attention to.
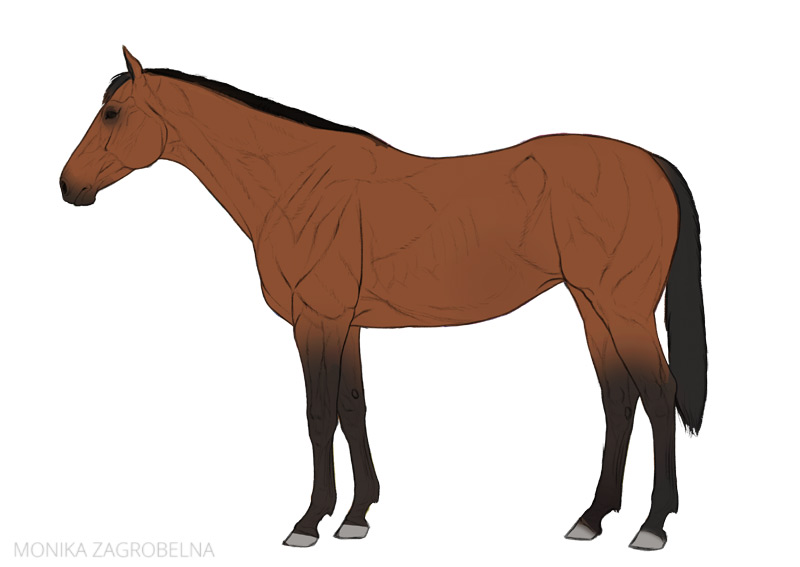
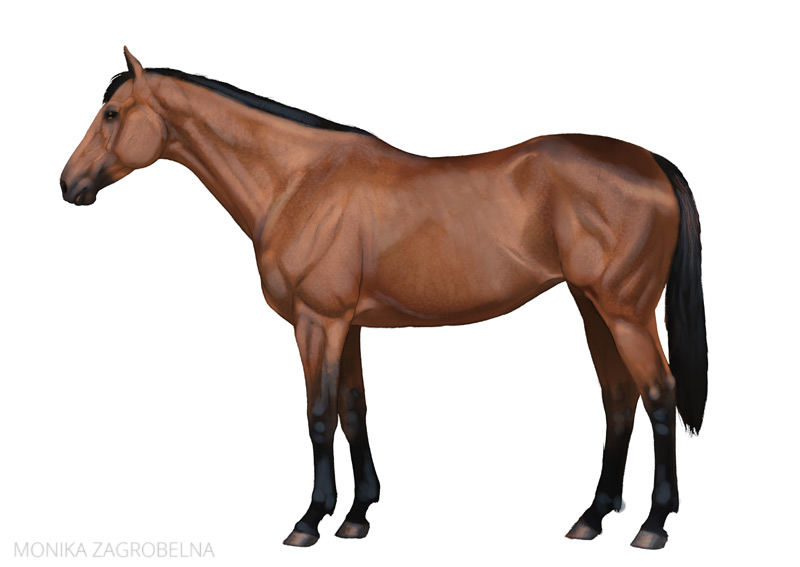
So let’s say this is is drawing. The lines are pretty clean, the colors look natural, but it looks very flat:
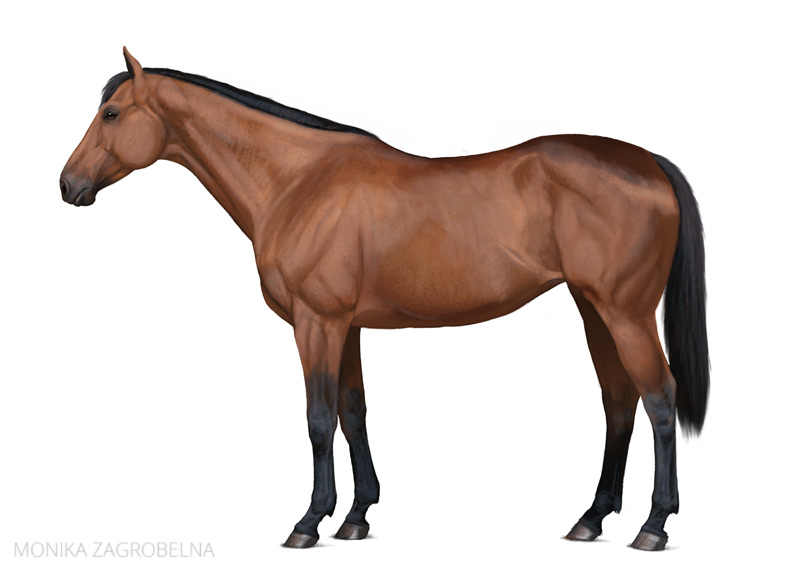
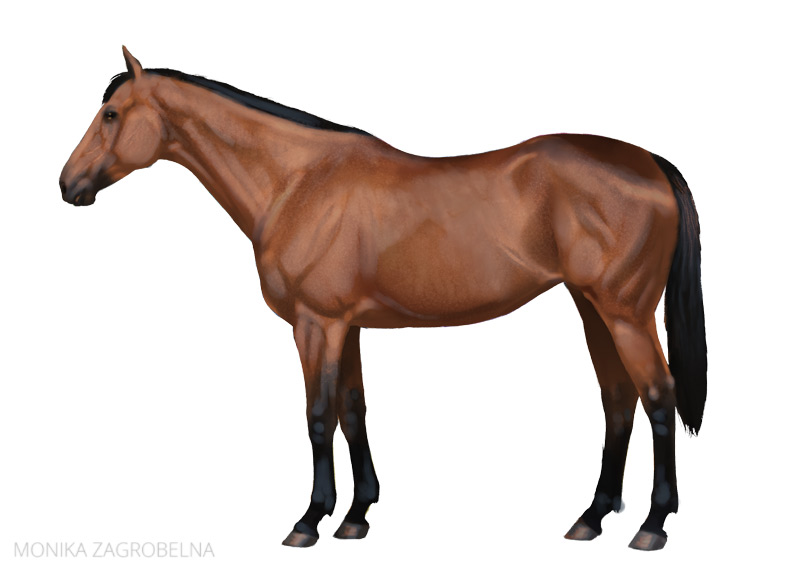
So how to change it to something more like this?
1. Colors
First thing you need to pay attention to are the colors. Organic things are rarely uniform in color—even if a horse looks brown from a distance, if you look closely, you’ll notice patches of different shades. Also, the transition between the colors shouldn’t be too smooth—the texture of the surface should disturb it.
Pay attention to the skin folds as well—they’re often darker than the rest of the skin. Try not to spend too much time on details, and paint with large, rough, textured brushes. It’s good to “sprinkle” the whole surface with a scatter brush as well, to make it look less smooth even if it seems to have only one color.
One more thing: keep the line art and the colors on separate layers—this will allow you to turn the lines off.
2. Shadows
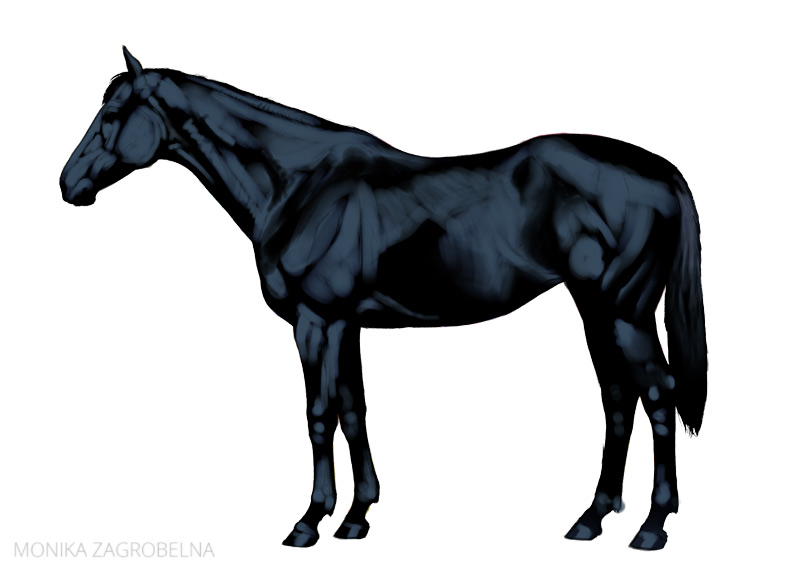
Analyzing the shape of the shadows is one of the ways our brains use to recognize something as 3D. So adding proper shading will keep your drawing from looking flat. To shade the drawing, duplicate the color layer and fill it with white. Then change its Blend Mode to Multiply. Everything you paint on this new layer will darken the colors below!
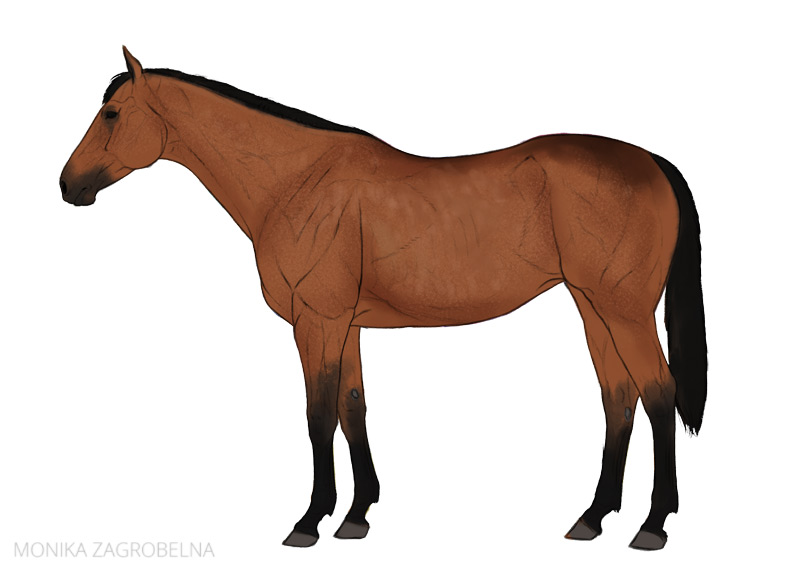
Here you can see what my shadow layer looks like in Normal mode. Notice that the shadows are not very dark, and that they accentuate the 3D form of the body. Remember that it’s not the presence of the shadows alone that makes the object look 3D—it’s the shape of these shadows. If you want to learn about painting shadows, check out this article about shading.
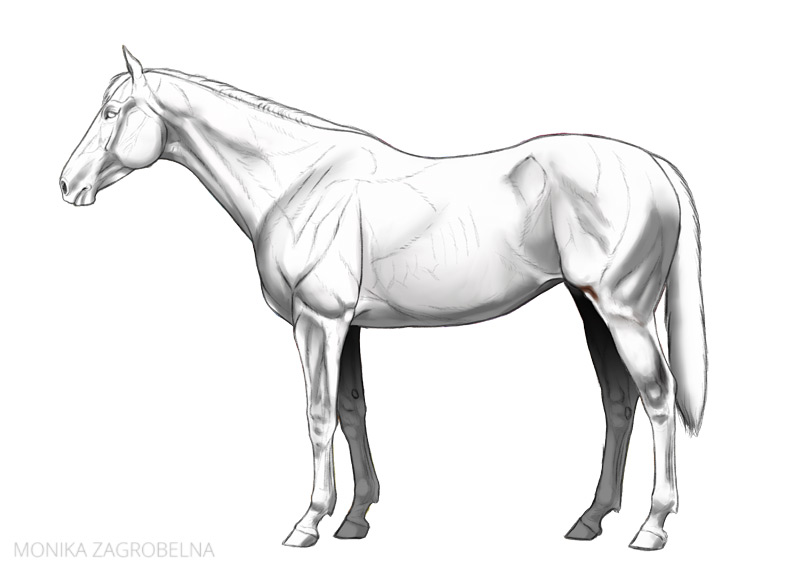
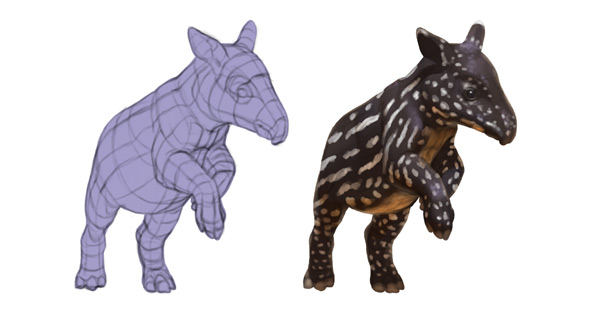
But even if you know how to shade, it may be difficult if you don’t know what you’re supposed to shade. For example, shading a horse like this requires some anatomy knowledge. Here are a couple of handy anatomy diagrams if you’re not familiar with it!
3. Shine
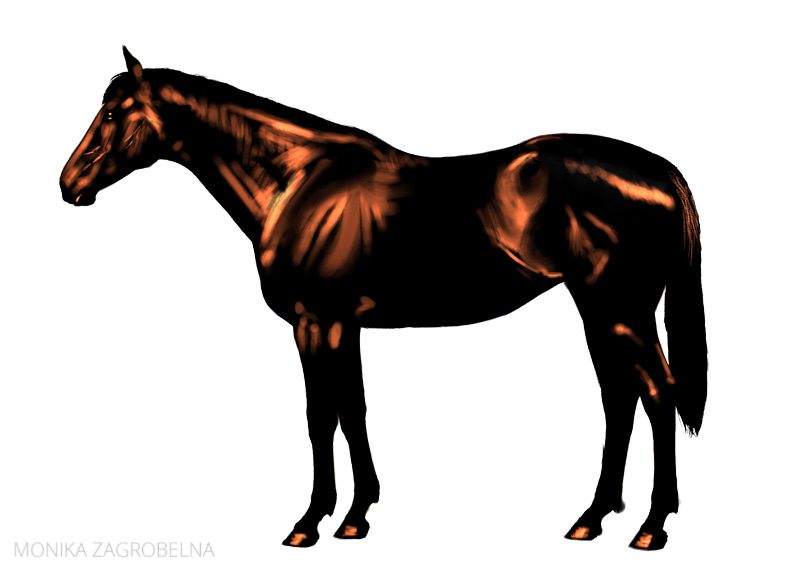
If you want to accentuate the form of the illuminated part of the surface, it’s good to add at least subtle shine. To do this, duplicate your shadow layer and fill it with black. Change the Blend Mode to Screen this time. Everything you paint on this layer will brighten the colors below!

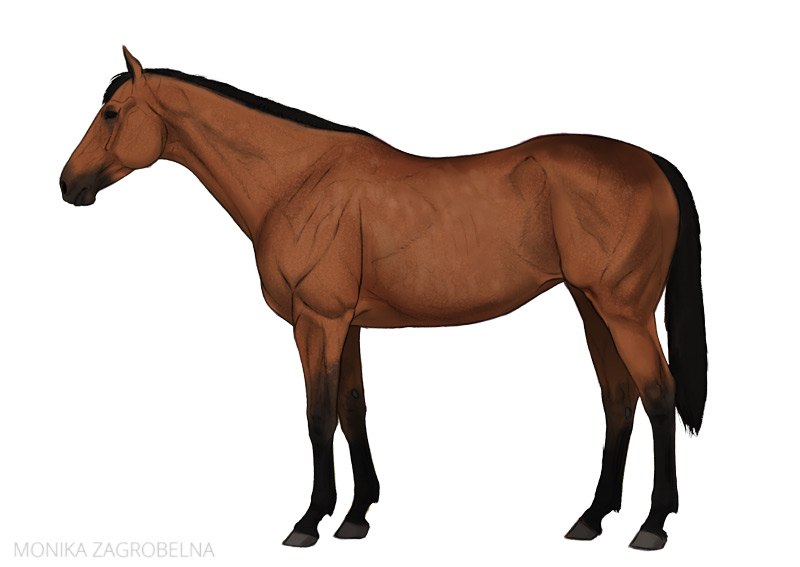
Here’s what my shine layer looks like in the Normal mode. It’s good to paint a strong shine first, and then lower the Opacity of the layer to make the effect more natural.
Caution: shine should follow the texture of the surface. If your subject is fluffy, for example, the shine should appear on the tufts of hair, and not between them. Here’s a good explanation for how to paint shine on fur.
4. Highlights
There may be certain areas in your subject that are extra glossy—like eyes, or metal parts. To make them more shiny, add another Screen layer and paint some extra shine. Use a bright color, but make the strokes smaller than previously. The smaller you make it, the glossier the surface will look.

And here’s what it looks like in the Normal mode. Notice that the highlights take much less space than the shine.
5. Remove the Lines
If you hide the lines now, you should notice that your drawing looks very much like a painting! It’s an unfinished painting, of course, but it’s no longer as dependent on the lines as it was before.
You could remove the lines now, but it’s better to use them for your benefit—lower the Opacity of the line art until it fits the darkness of the shadows. Then take a soft eraser and remove the lines from the parts that look good without them.
6. The Details
Now you can merge all the layers, zoom in, make your brush smaller, and start working on the details. This stage is less important than it seems—it’s a cherry on top, but if you followed the previous steps properly, your painting should look good even without any more details.
In fact, it’s all a matter of the style you’re going for. If you want to make the painting photo-realistic, you may need to spend a few extra hours on this, covering the lines, making the shine more detailed, and painting over the hard transitions between shades. But if you simply want to show a concept, then a few extra details may be all you need!
Conclusion
To turn a drawing into a painting, you only need a couple of ingredients:
- Non-uniform colors
- Form-accentuating shadows
- Form-accentuating shine
- A pinch of highlights
- Non-uniform line art
This method will work for every type of lineless art, not only realism. And keep in mind that all the methods I present are only a suggestion—feel free to take what you need from them and reject the rest, for the benefit of your own, personal style!
4 Comments