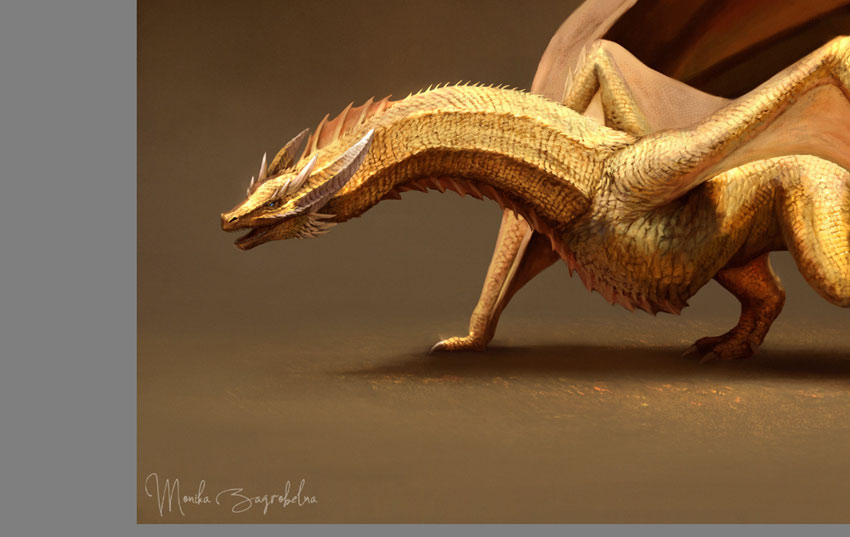
Digital art has many perks, one of them being able to reduce repetitive tasks. For example, instead of signing your work every time you finish one, you can just create a signature brush and re-use it indefinitely. This is especially handy if you’re using a detailed signature, or a watermark. In this quick tutorial I’ll show you how to create such a brush in Sketchbook!
How to Create a Signature Brush in Sketchbook for Desktop (Sketchbook Pro)
Step 1
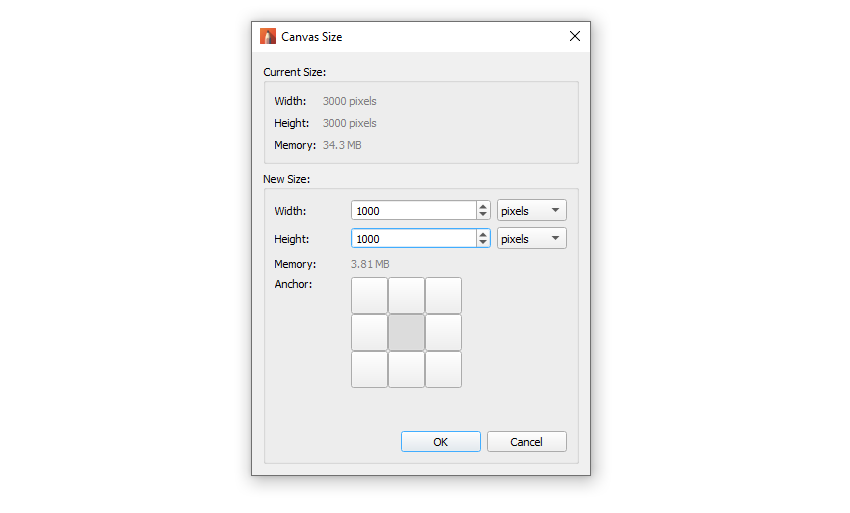
Go to Image > Canvas Size. Set the Size to 1000 x 1000 px.
Step 2
Create your signature on this canvas. You can either hand-write it for a more authentic feel, or use the text tool for legibility. Use only black—if you need more shades, achieve them by varying the opacity of the lines. It’s possible to create a colorful signature brush in Sketchbook, but they’re not recommended—they may distract the viewer from the artwork.
If you’re looking for a nice font for your signature, check out this collection—just make sure to search for the ones with Free or Public domain, GPL, OFL License Type.
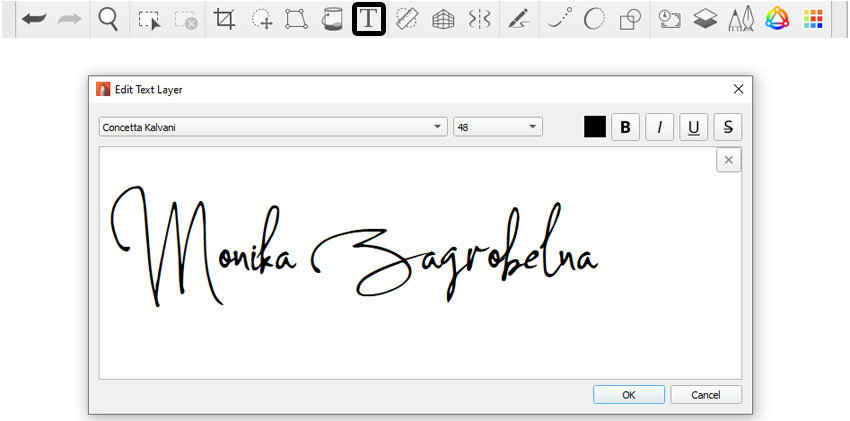
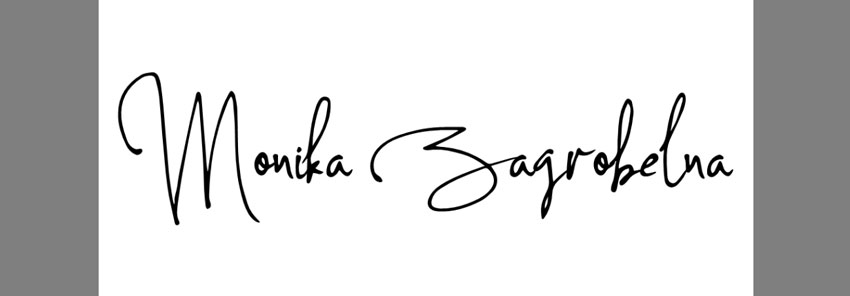
Make sure to fill most of the space with your signature. If you’re using the text tool, you can resize the line of text once you’re done.
Step 3
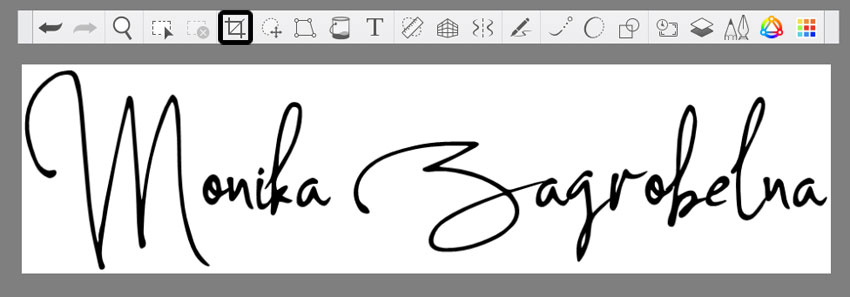
Take the Crop tool and crop the signature in such a way to leave as little white space around it as possible.
Step 4
Hide the Background layer—this will make the background transparent.

Step 5
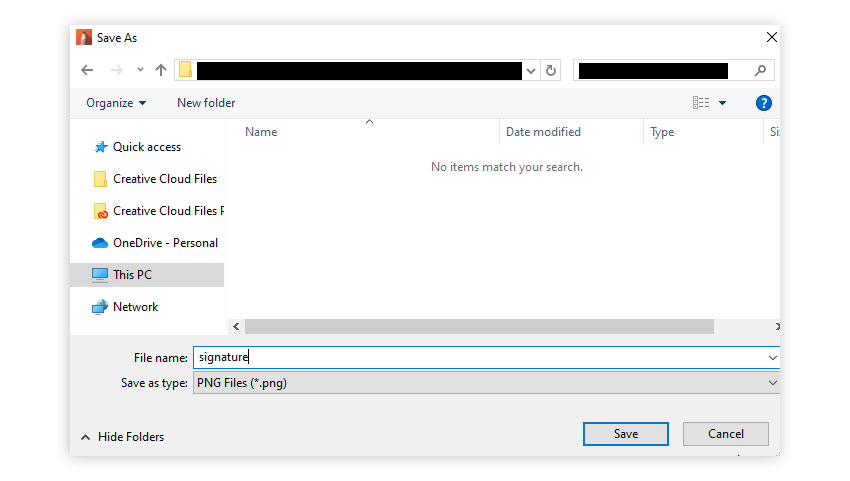
Go to File > Save As and save the image as a PNG file.
Step 6
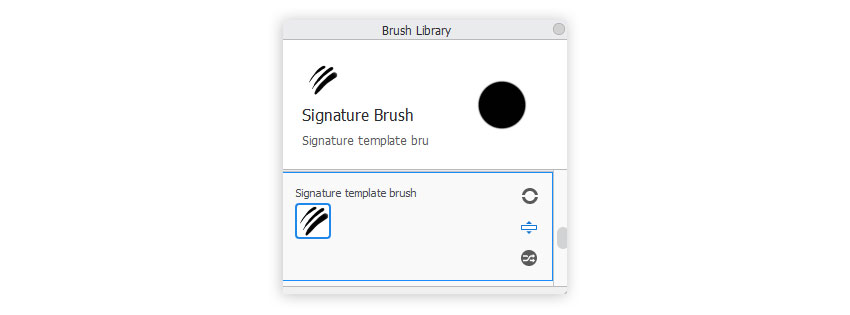
Now, download this template brush—it has all the settings prepared to work well with a signature. Unzip it until you see a .skbrushes file. Then drag it into Sketchbook’s canvas.
Step 7
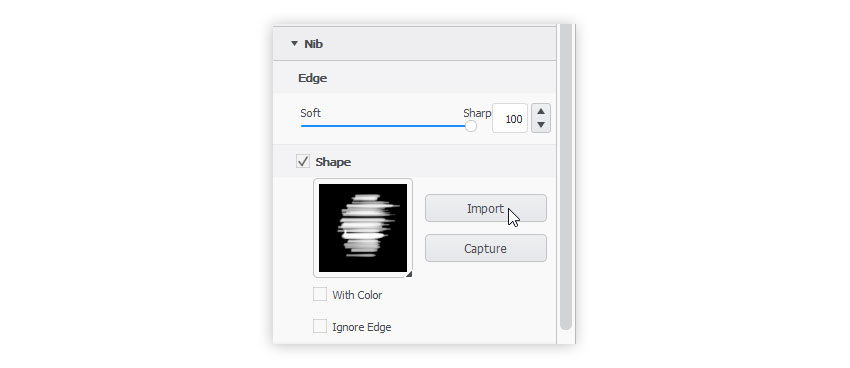
Double click this brush to open Brush Properties. Go to Advanced tab and in the Nib tab, check Shape.

Step 8
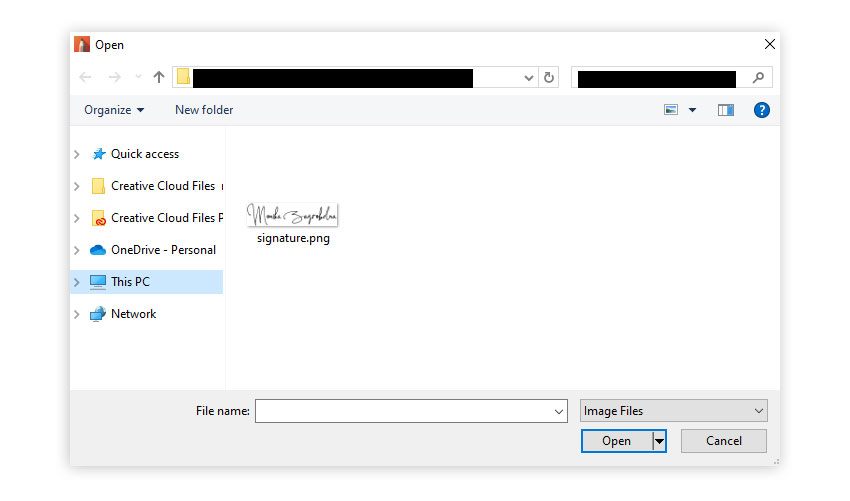
Now, click Import and select the PNG file you’ve created earlier.
Step 9
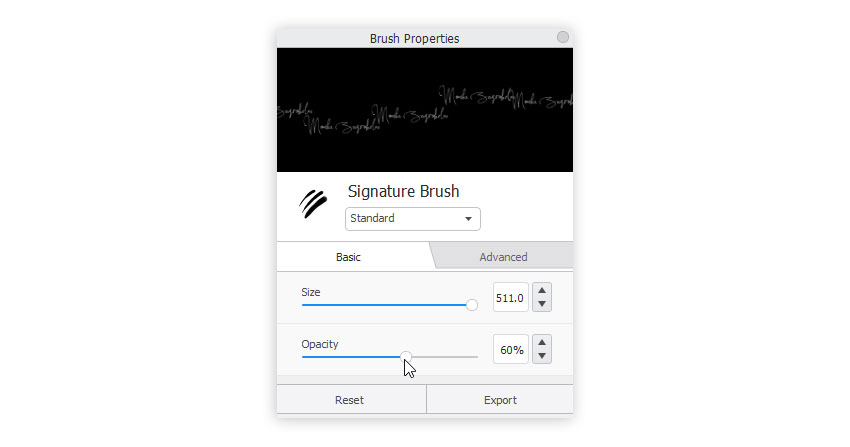
And you’re done! Your new signature brush can now be used in any file, whenever you need it! By default, it 100% solid, but if you want it to be semi-transparent, you can adjust its Opacity in Basic tab. You can also adjust its size dynamically with the square bracket keys: [ and ].
Caution: because Spacing is so high in this brush (to avoid drawing multiple signatures by accident), sometimes the brush may not react if you press it too quickly. Make sure to always press it firmly and even drag it a little when applying it to your drawing.
Step 10
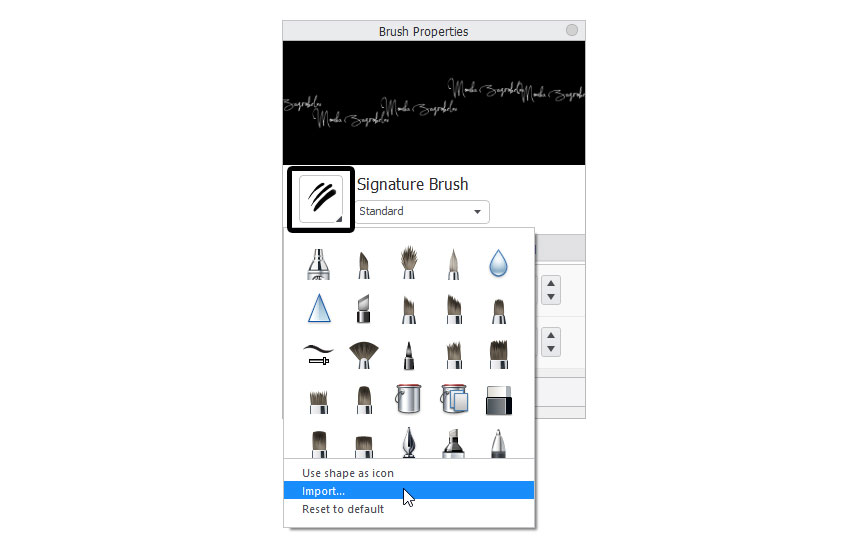
You can also change the brush icon to make it more recognizable. You can use the same image as for the stamp shape, or draw a new one and save it as a PNG file.
How to Create a Signature Brush in Sketchbook for Mobile (iPad & Android)
Creating custom brushes is very similar on mobile devices, but since the interface is slightly different, let me show you this process separately. Also, while the mobile versions of Sketchbook are free, some of the features are locked in the paid Premium Bundle. Creating custom brushes is one of them, so if you want to follow this instruction, make sure you’ve purchased the Premium Bundle first!
Step 1
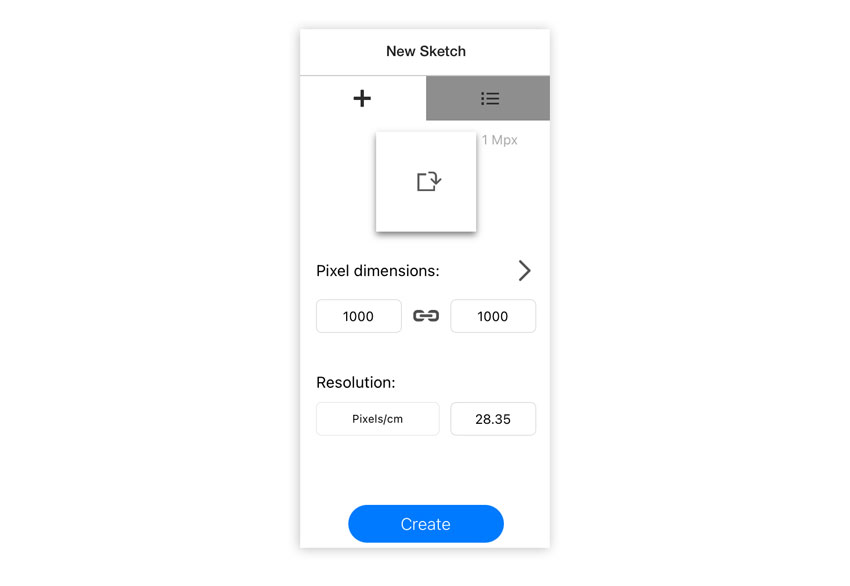
Create a New Sketch with 1000 x 1000 px dimensions.
Step 2
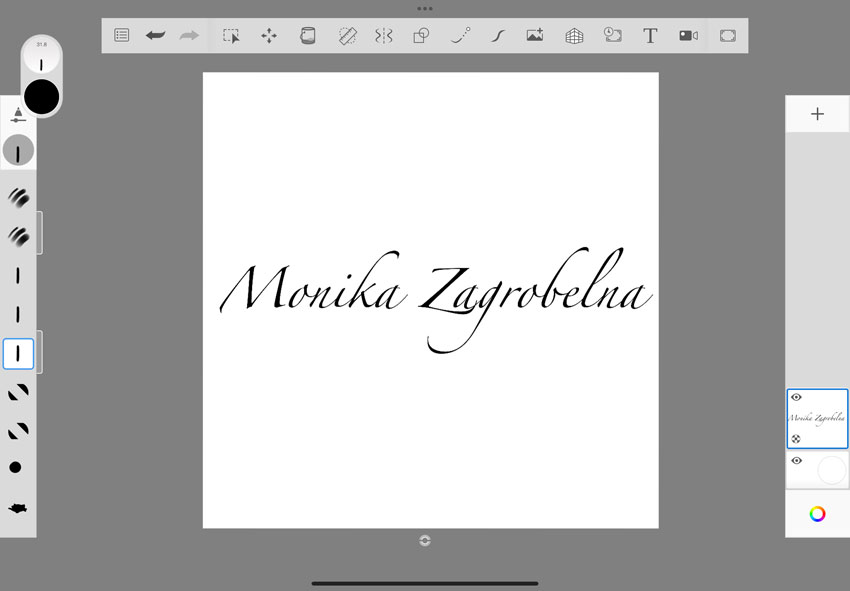
Create your signature on this canvas. You can either hand-write it for a more authentic feel, or use the text tool for legibility. Use only black—if you need more shades, achieve them by varying the opacity of the lines. It’s possible to create a colorful signature brush in Sketchbook, but they’re not recommended—they may distract the viewer from the artwork.
Step 3
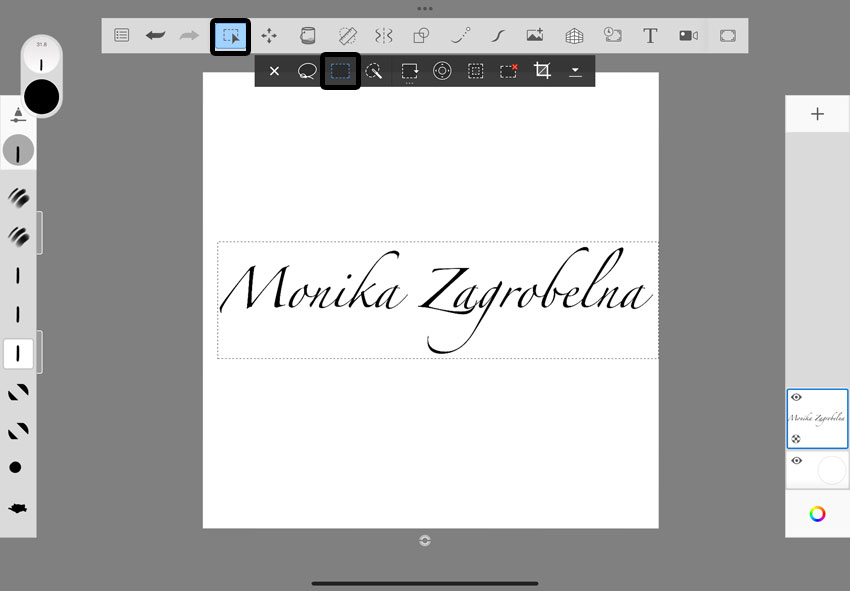
Take the Selection tool and choose the rectangular selection. Select the signature in such a way to leave as little white space around it as possible.
Step 4
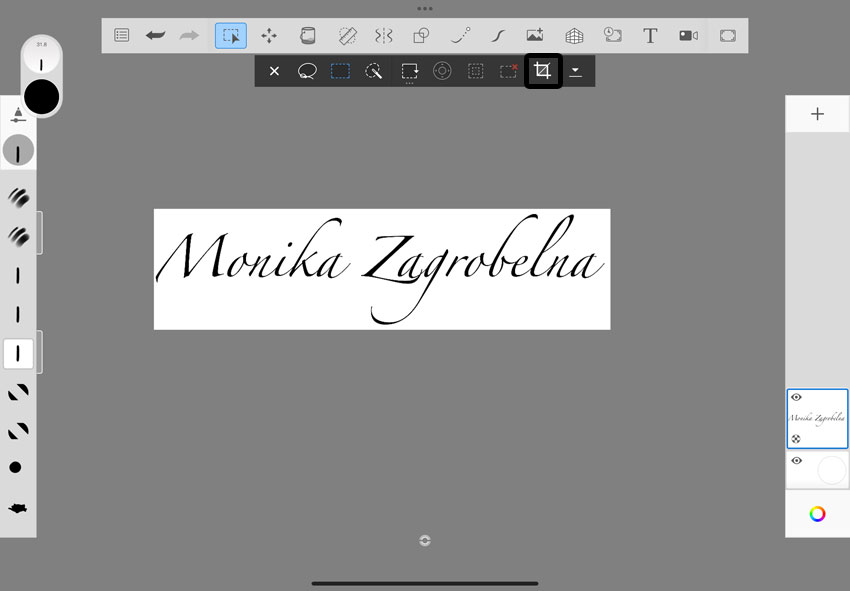
Then click the Crop icon to crop it.
Step 5
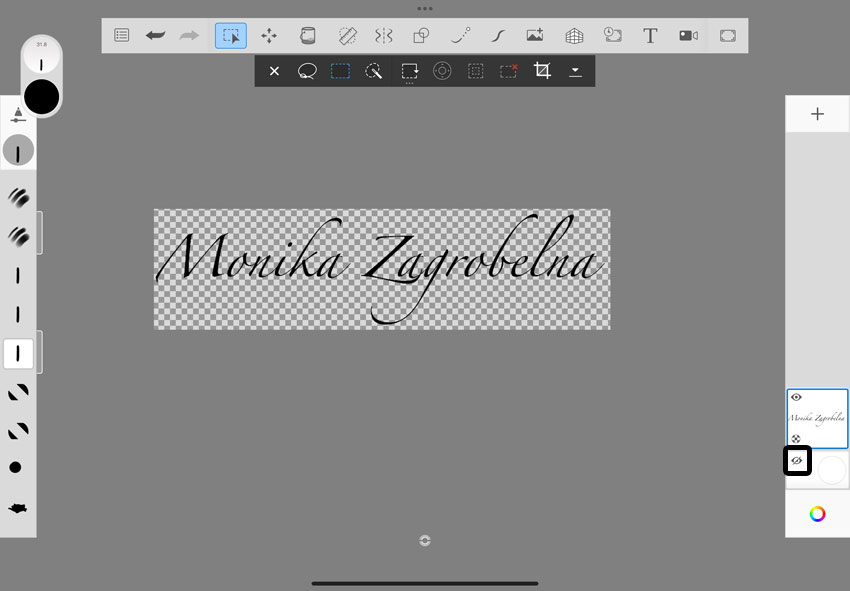
Hide the background layer—this will make the background transparent.
Step 6
Go to Menu > Share/Export > Share > PNG > Save Image.

Step 7
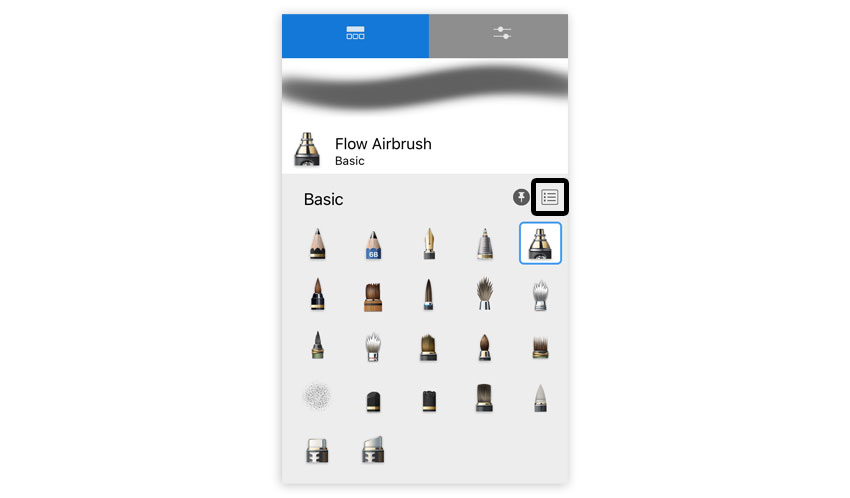
Now, download this template brush—it has all the settings prepared to work well with a signature. Unzip it until you see a .skbrushes file. Then open the Brushes palette, open the menu, and click Import. Locate the signature brush and open it.
Step 8
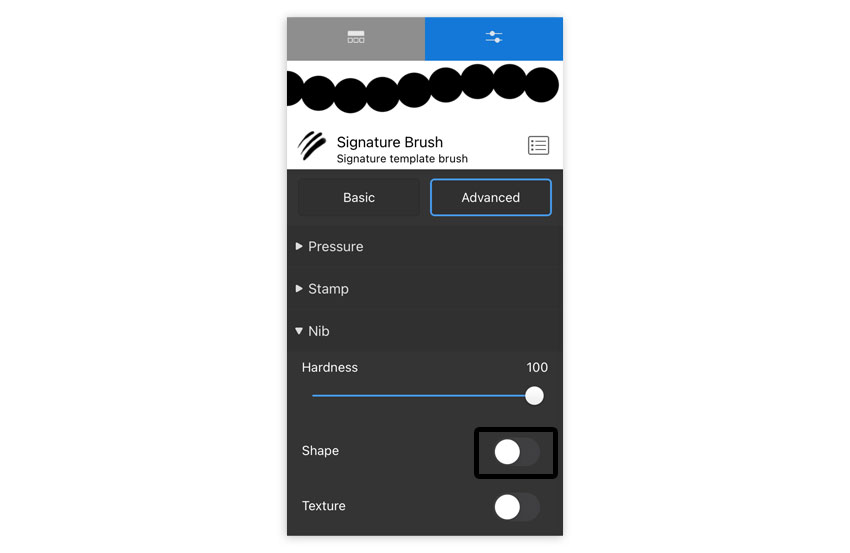
Double tap this brush to open Brush Properties. Go to Advanced tab and in the Nib tab, check Shape.
Step 9
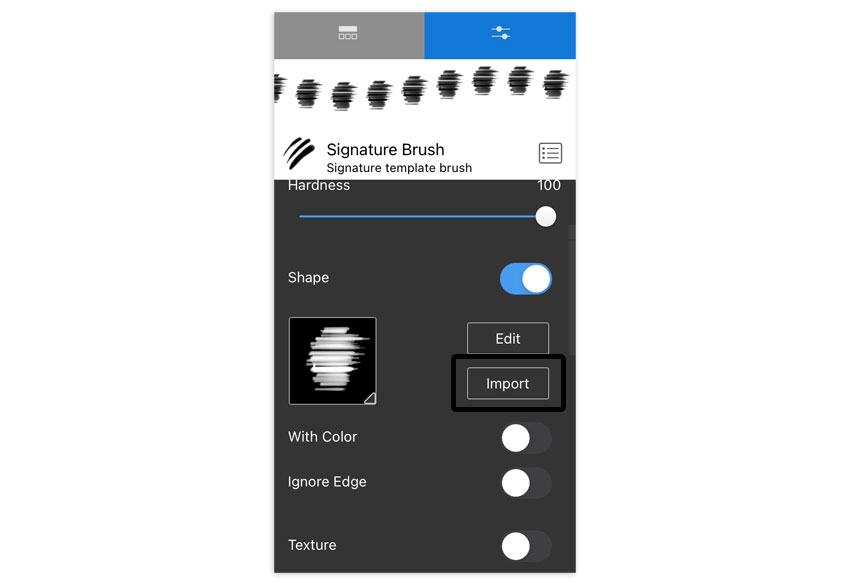
Now, click Import and select the PNG file you’ve created earlier.
Step 10
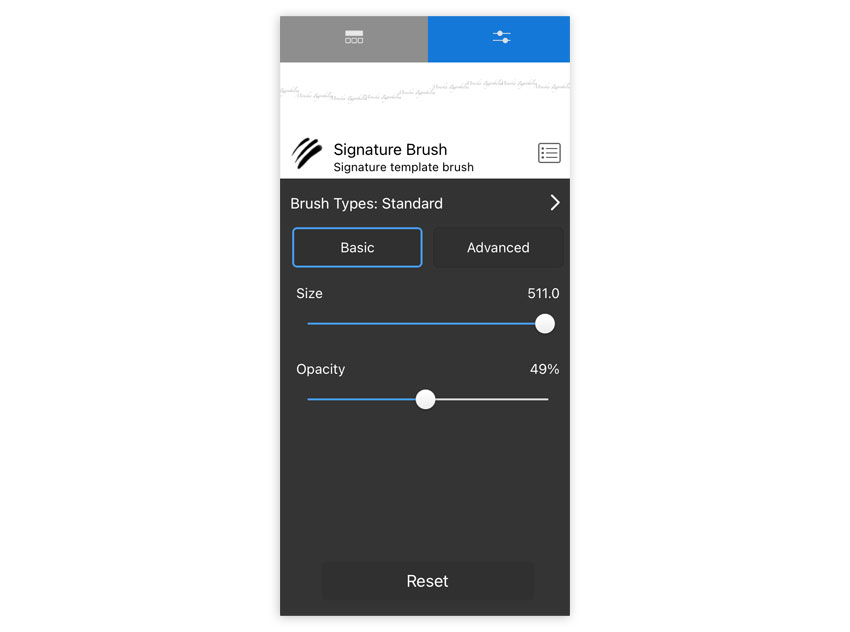
And you’re done! Your new signature brush can now be used in any file, whenever you need it! By default, it 100% solid, but if you want it to be semi-transparent, you can adjust its Opacity in Basic tab. You can also adjust its size dynamically with the square bracket keys: [ and ].
Caution: because Spacing is so high in this brush (to avoid drawing multiple signatures by accident), sometimes the brush may not react if you press it too quickly. Make sure to always press it firmly and even drag it a little when applying it to your drawing.
Step 11
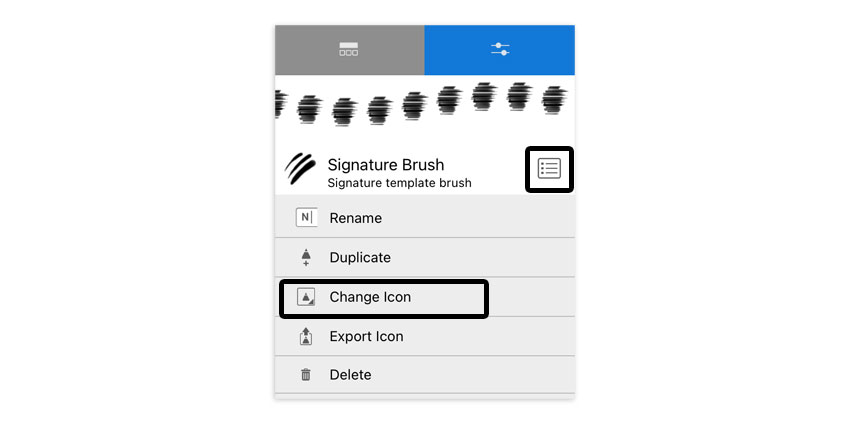
You can also change the brush icon to make it more recognizable. You can use the same image as for the stamp shape, or draw a new one and save it as a PNG file.
All Done!
Now you know how to create a signature brush in Sketchbook! If you want to learn more about creating custom brushes in Sketchbook, you can check out my other tutorial: How to Create Custom Brushes in Sketchbook.

0 Comments